Hub’O: Getting started
All Rights Reserved – nke Watteco®
Hub’O: Description of the exchanges with the Server
Page
13
of
14
6
I
NSTALLING
H
UB
’O
WITH END
-
DEVICES ON SITE
Once all the steps listed before completed, the distant server can send the list of allowed end-devices
to Hub’O (for more information about this exchange, please read the pdf document explaining that:
“
Hub'O_Server_Exchanges_Description_X_X.pdf”).
6.1
I
NSTALLATION
When the end-devices list is received by Hub’O, the corresponding end-devices can be installed on
site and can be turned on.
Depending on which end-device is used, either a led will flashes or a “bip” will be emitted from the
sensor. The association process will be run between the end-device, Hub’O and the distant server
(for more details, please see “
Hub'O_Server_Exchanges_Description_X_X.pdf”).
To have more details about nke Watteco end-devices association status, please see our support
website:
http://support.nke-watteco.com/
Once all the end-devices installed on site, a control can be done on Hub’O, thanks to the user menu.
Indeed, Hub’O is able to display the list of all paired end-devices, together with a rating about the RF
link.
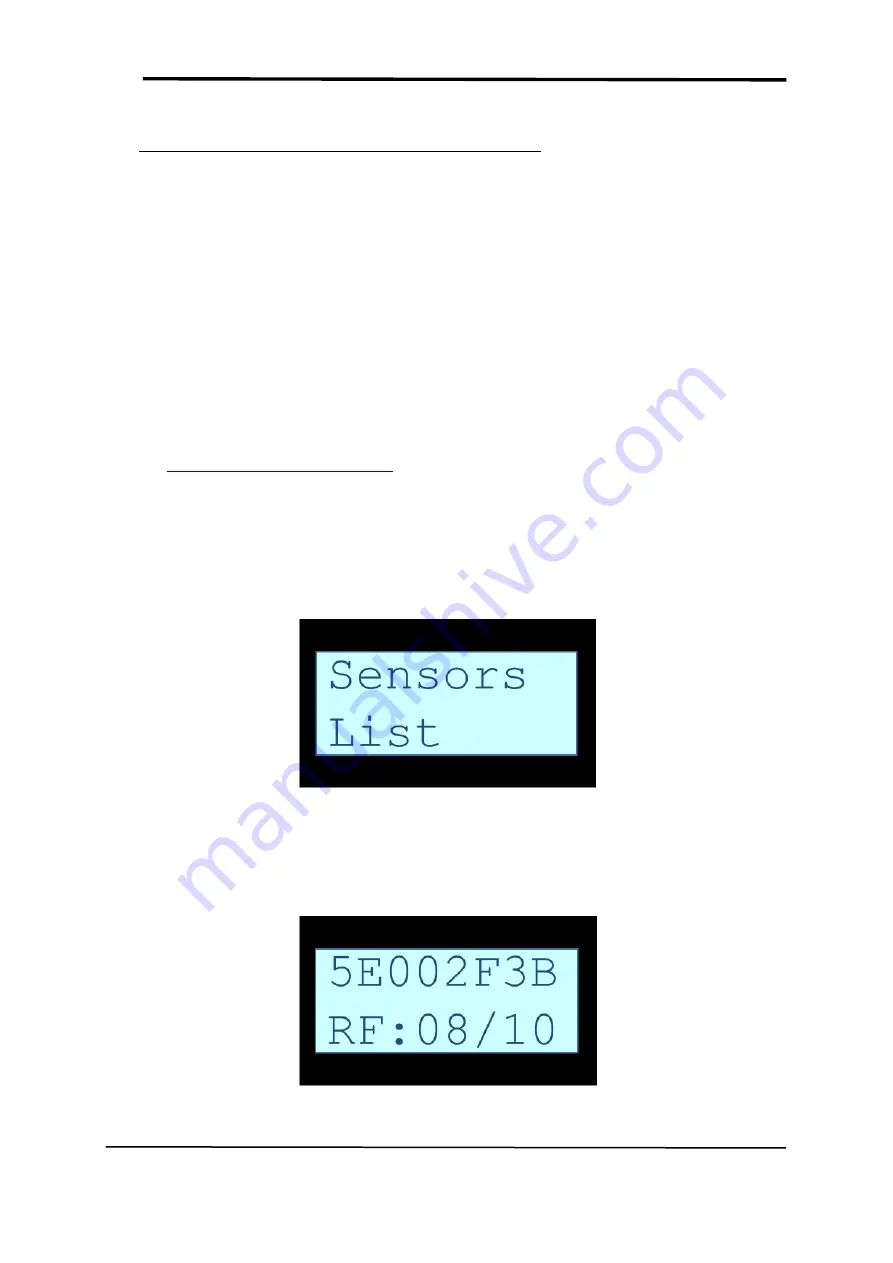
To access this list, please press the user button (next to the LCD screen), until the Figure 5 screen
appears.
When this message appears on the screen, press again the user button for more than 1 second.
Then, you will access to the list, starting with the first sensor (an example is given on the figure 6
here below).
FIGURE 7 - END-DEVICE LIST SUBMENU
FIGURE 8 - EXAMPLE OF AN END-DEVICE DISPLAY
Содержание Hub'O
Страница 1: ...HUB O GETTING STARTED ...


