SOLUTION SYSTEM
1
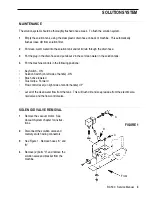
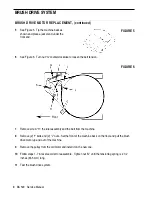
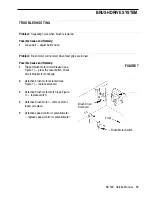
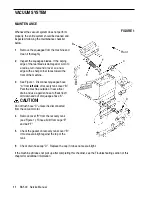
Remove the vacuum motor. See
Vacuum System
chapter for instruc-
tions.
2
Disconnect the solution valve and
mercury switch wiring connectors.
3
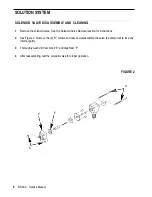
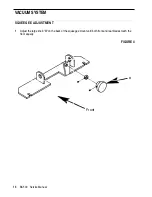
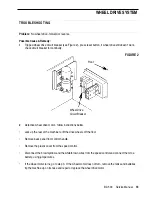
See Figure 1. Remove hoses “A” and
“B”.
4
Remove (2) bolts “C” and remove the
solution valve and bracket from the
machine.
________________________________________________________________________________________________________________________________________________________________________________________________________________________________________________________________________
MAINTENANCE
The solution system should be thoroughly flushed once a week. To flush the solution system...
1
Empty the solution tank, using the clear plastic drain hose on back of machine. This automatically
flushes loose dirt from solution filter.
2
Put clean, warm water into the solution tank and let it drain through the drain hose.
3
Put the plug in the drain hose and put about 2 inches of clean water in the solution tank.
4
Put the machine controls in the following positions:
•
Key Switch - ON
•
Solution Switch (on left side of handle) - ON
•
Brush drive lowered
•
Twist Grips - Forward
•
Flow control lever (on right side of control handle) UP
•
Let all of the clean water flow from the tank. This will flush dirt and soap residue from the electric sole-
noid valve and the flow control valve.
________________________________________________________________________________________________________________________________________________________________________________________________________________________________________________________________________
SOLENOID VALVE REMOVAL
C
A
B
FIGURE 1
Front
BA 500
Service Manual
4


