121
Connecting to a Printer
Con
n
e
cti
ng t
o
Te
le
vi
sion
s, Comp
u
te
rs
a
n
d
Pr
in
te
rs
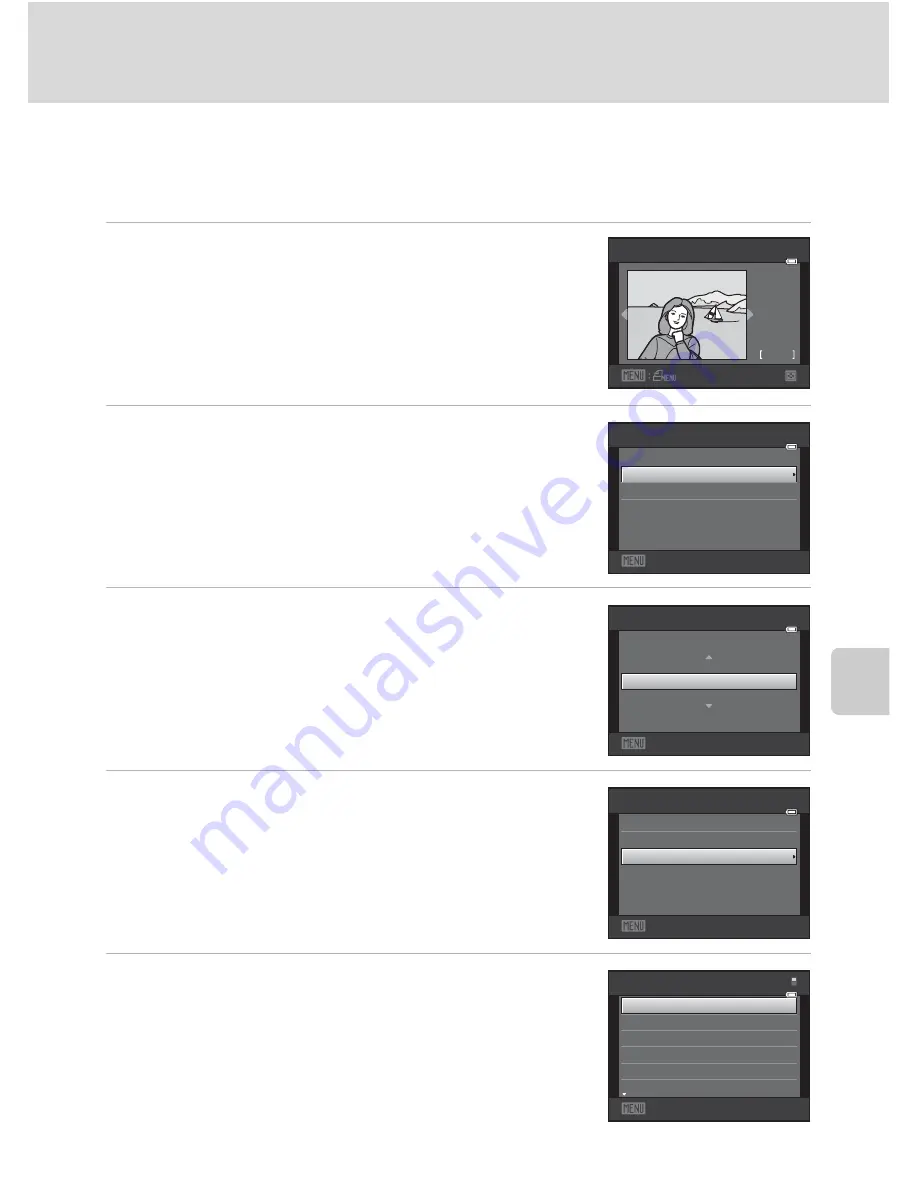
Printing Pictures One at a Time
After properly connecting the camera to the printer (
A
120), follow the
procedure described below to print a picture.
1
Use the multi selector to choose the desired
picture and press the
k
button.
Rotate the zoom control to
f
(
h
) to switch to 12-
thumbnail display, and to
g
(
i
) to switch back to full-
frame playback.
2
Choose
Copies
and press the
k
button.
3
Choose the number of copies (up to nine) and
press the
k
button.
4
Choose
Paper size
and press the
k
button.
5
Choose the desired paper size and press the
k
button.
To specify paper size using printer settings, choose
Default
in the paper size menu.
se
l
ection
4
N O .
4
2 0
1 1
1
5 / 0 5
Exit
PictBridge
Paper
size
Copies
Star t
Exit
Copies
4
Exit
PictBridge
Copies
Paper
size
Star t
Paper
size
Defau
l
t
3.5×5
in.
1
00×
1
50
mm
4×6
in.
8×
1
0
in.
5×7
in.
Exit
Содержание COOLPIX S2550
Страница 1: ...DIGITAL CAMERA User s Manual En ...
Страница 182: ...170 Index Technical Notes and Index Welcome screen 127 White balance 39 Z Zoom control 4 25 111 ...
Страница 183: ......


