1.
1.
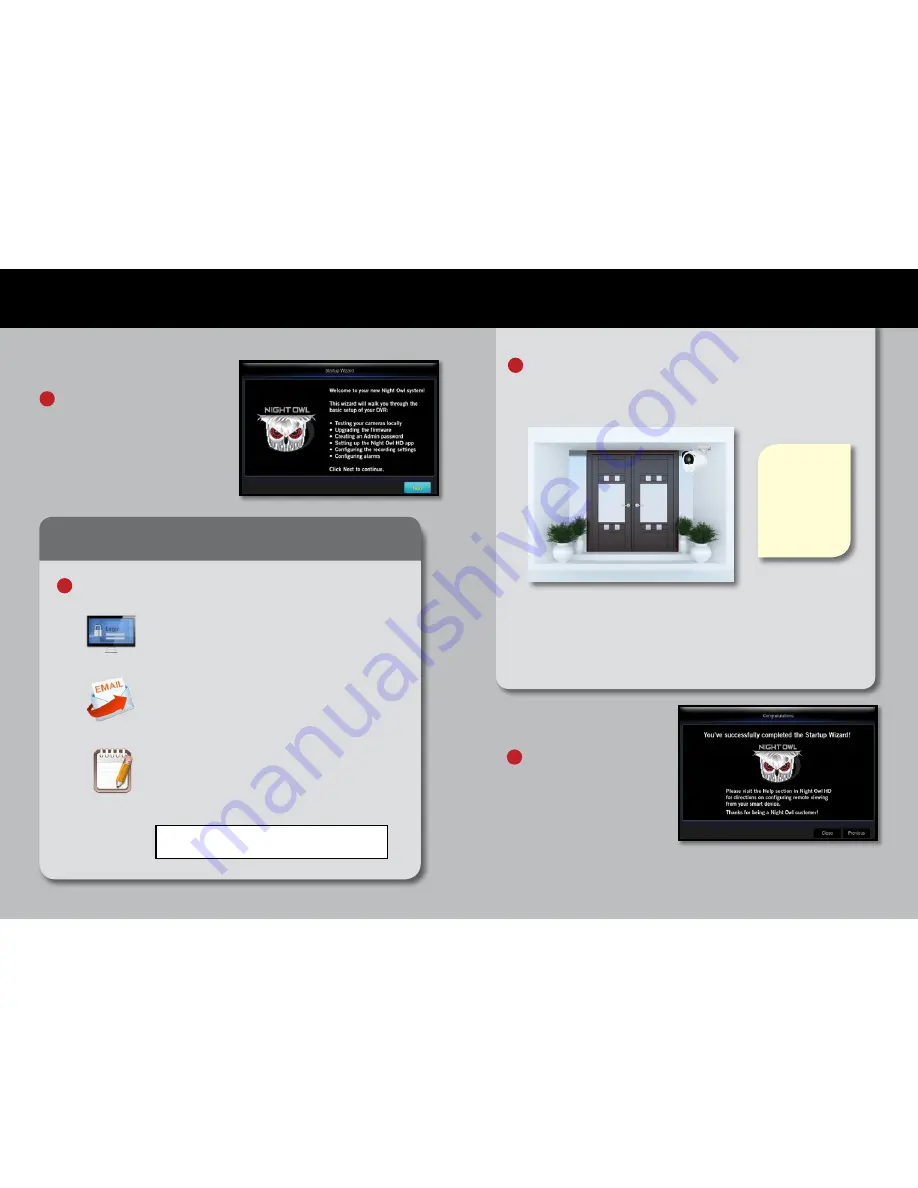
When you reach the
‘Channel Settings’ screen, you will want to have
installed the cameras in their final position. Please make sure you
have mounted cameras at least 7ft. above the ground and angled them
slightly down.
At this stage of the Startup Wizard, you will be instructed on adjusting
the camera sensitivity and setting the Motion Detection Area. Having
your cameras in their final position will be key.
So, if you would like to detect motion for the front door to your home,
place the camera to the side of the entrance.
The infrared sensor
works best for
‘side to side’
movement across
the cameras field
of view as opposed
to movement
directly to or away
from the camera*
3
On the
‘Password Creation’ screen, please note the following:
2
Write your
password here:
Admin Account Creation
By default, the username will be ‘admin’. It must
remain ‘admin’ upon your initial account configuration.
However, you may add additional users at a later time.
Recovery Email Address
Please ensure you provide a valid email address in
case your ever forget your account information.
Remember Your Password
Night Owl strongly recommends writing down your
password within the Quick Setup Guide. You will need
it every time you log into your DVR and to remotely
view on a Smart Device.
5
6
Booting Up for the First Time
Important… Please Read
*This note only applies if you
have Smart Infrared cameras.
1
When you power on the DVR
you will be prompted with the
following screen. Please follow
the instructions to complete the
Startup Wizard.
Startup Wizard
This is the last screen you
will see when you have
successfully completed the
Startup Wizard.
4
NOTE:
For additional configuration of your DVR, please refer to the
owner’s manual located on our support page at www.NightOwlSP.com.


