


NI-FBUS Installation Guide for Windows 2000/XP
4
ni.com
6.
Windows 2000
users
select
Display a list of the known drivers for this
device so that I can choose a specific driver
and click
Next
.
Windows XP
users
select
Don’t Search. I will choose the driver to
install
and click
Next
.
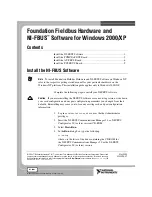
Figure 2.
Hardware Type
7.
Windows 2000
users select
National Instruments FieldBus Interfaces
as shown in Figure 2 and click
Next
. If you do not find this hardware
type, refer to step 10.
Windows XP
users see a slightly different screen than what is shown in
Figure 2, but make the same selection.
8.
Choose the appropriate type.
PCMCIA-Fbus
is for the one-port card
and
PCMCIA-Fbus/2
is for the two-port card. Click
Next
.
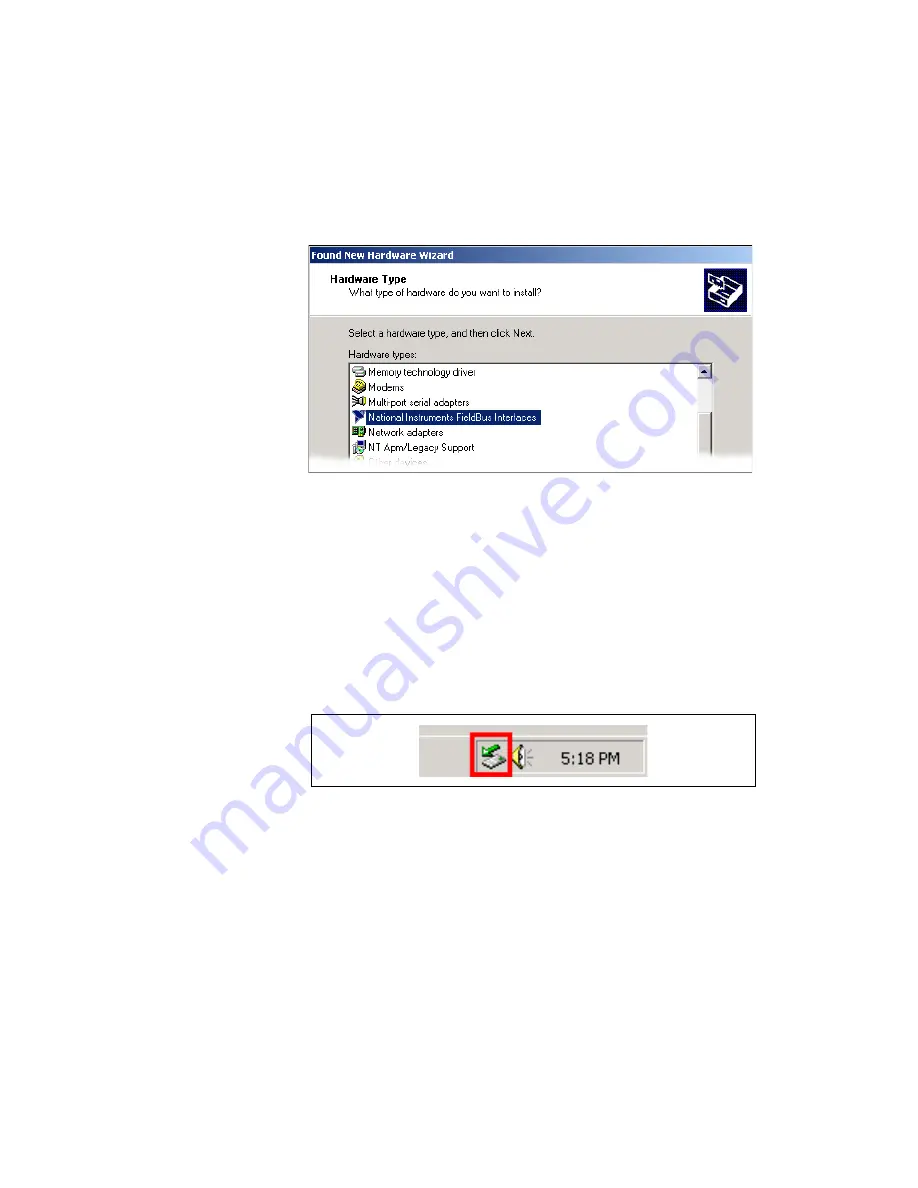
9.
To determine if your card is working, in the Windows System Tray
click the PCMCIA adaptor icon, shown inside a box in Figure 3.
Figure 3.
System Tray with PCMCIA Icon
10. Launch the Interface Configuration Utility, locate the PCMCIA-FBUS
board and right-click to
Enabl
e.
11. Close Interface Configuration Utility and start NI-FBUS
Communications Manager or NI-FBUS Configurator.


