All users should read the Nextiva
HDR 1800 User Guide
for complete details on installation, usage and
functionality.
Quick Installation Guide
HDR 1800 High-Definition Receiver
Version 1.0
Nextiva
®
1
This installation guide provides instructions for installing and performing the initial configuration of
the Nextiva
®
HDR
1800
.
Package Contents
Each installation kit comes with the following:
One HDR 1800 featuring H.264 technology
One set of rack-mount brackets
One set of wall-mount brackets
Six screws (Philips M4 x 6mm pan head)
Four bumpons
One 19V DC +/-5% power adaptor with cable.
One Nextiva HDR 1800 Quick Installation Guide
One RJ45 to DB9 adaptor
Hardware Overview
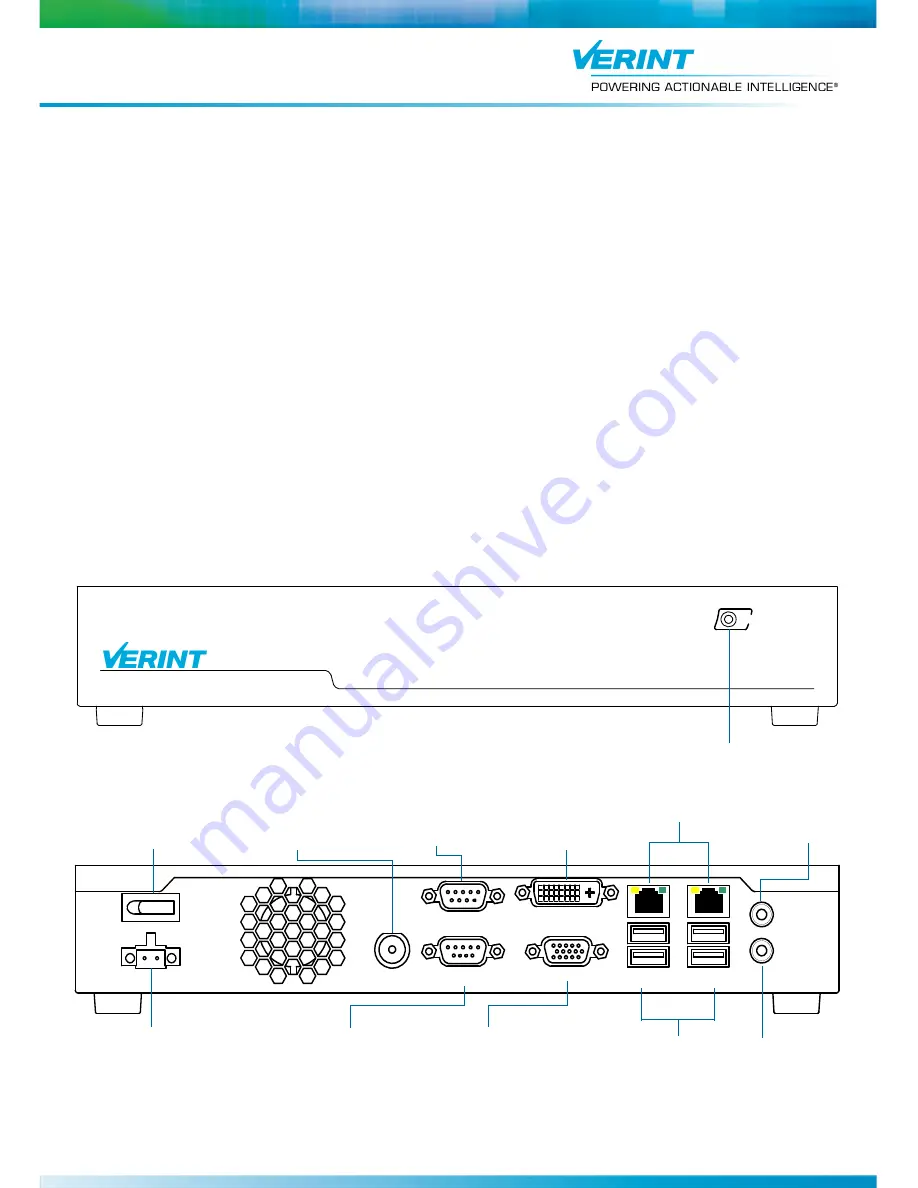
The HDR 1800 includes the following components:
One Power/Status LED
Power button
19V DC +/-5% power receptacle
One BNC connector for composite video (NTSC/PAL)
One Digital DVI-D connector
One VGA (RGB) connector
One RS-232 (DB9) serial port for CCTV keyboard
connection
One RS-422 (DB9) serial port for CCTV keyboard
connection
Two RJ45 (Ethernet 10/100/1000 Base-T) network
connectors
Four USB 2.0 ports
One Line-out, 1/8in (3.5mm) stereo jack for
connecting external audio equipment
One Mic-in, 1/8in (3.5mm) stereo jack
HDR 1800 Front View
HDR 1800 Rear View
POWER
HDR 1800
High-Definition Receiver
Nextiva
Power LED
GND
+19V DC
POWER
TV-OUT
COM2
(RS-422)
COM1
(RS-232)
DVI-D
VGA
LAN1
USB1-2
LAN2
USB3-4
LINE-OUT
MIC-IN
19V DC +/-
5%
Power
receptacle
RS-232 Input (DB9)
USB Ports
Power button
RS-422 Input
(DB9)
Network Connectors (RJ-45)
DVI-D Connector
BNC Connector
Line-out
Mic-in
VGA Connector


