


5. Insert the replacement Expansion Controller into the slot and carefully slide it back until the spring lock
tab clicks.
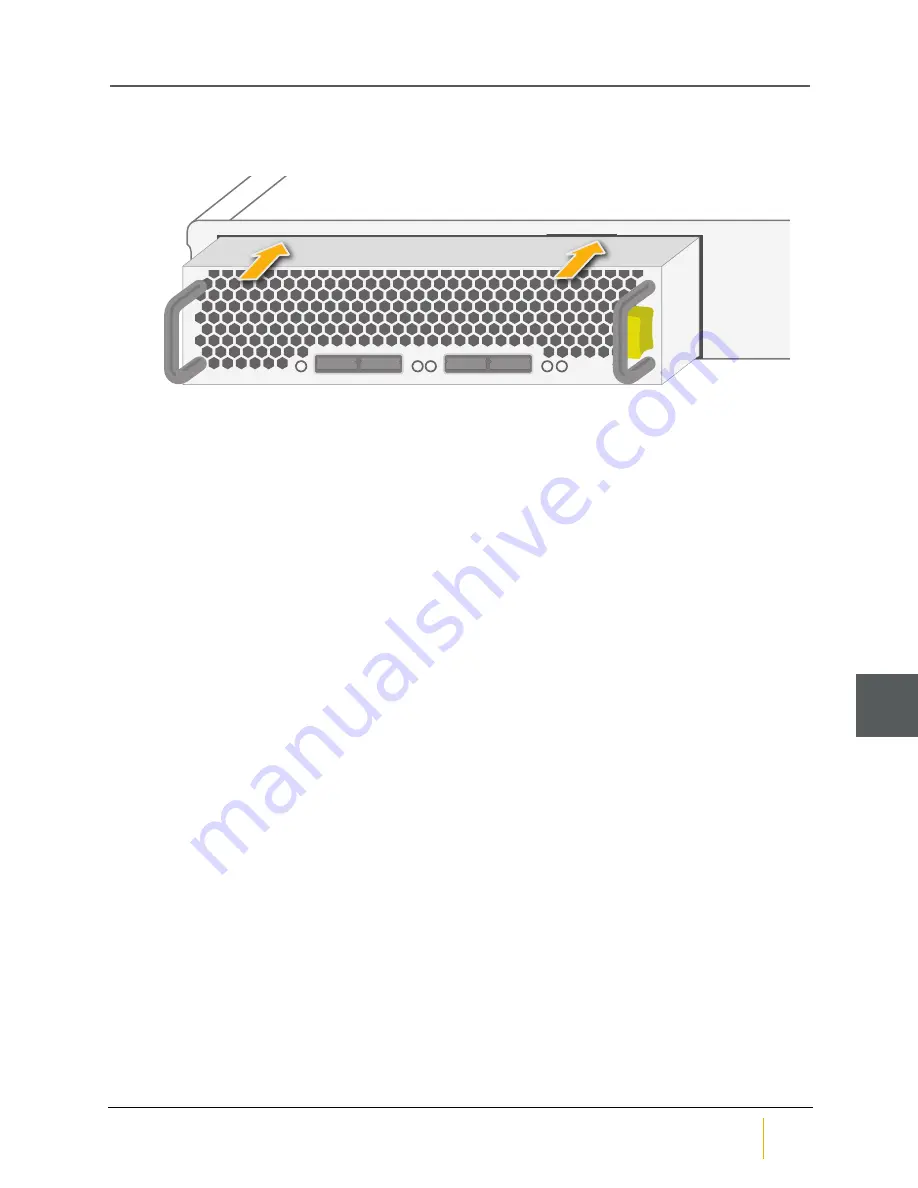
Figure 3-9: Sliding the Expansion Controller into place
EXP 0
EXP 1
L1
STAT
L0
EXP 0
EXP 1
L1
L0
The STAT LED lights up green to let you know that the unit is functioning properly.
6. Attach the SAS cables to the
EXP IN 0
and
1
connectors on the replaced Expansion Controller.
7. In the graphical user interface (GUI), do the following:
a. Go to
System Admin > Reboot
.
b. Scroll down to the Controller Maintenance section.
c. Click the
Re-enable controller
X
button.
d. Check the confirmation check box.
e. Click
Execute NOW
.
The RAID Controller is brought back online and connects to the replaced Expansion Controller.
Chapter 3: Replacing Modules
Nexsan BEAST BT60 and BT60X
FRU Removal and Replacement Guide
Nexsan
38
3
Содержание BEAST BT60
Страница 21: ...Physical characteristics 1 21 Part Number P0450132 Rev B www nexsan com Nexsan BEAST and E Series...
Страница 29: ...Adding disk drives 2 29 Part Number P0450132 Rev B www nexsan com Nexsan BEAST and E Series...
Страница 51: ...51 Part Number P0450132 Rev B www nexsan com Nexsan BEAST and E Series...