


Copyright © 2014 NEXCOM International Co., Ltd. All rights reserved
39
VMC 1100 User Manual
Chapter 5: Touchscreen Driver Installation
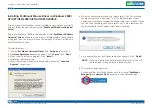
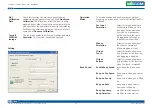
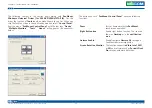
2. On enabling “
Screen
Rotation
Monitor
”, you will see a screen like
below:
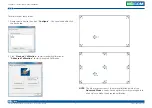
3. Choose rotate function (0°, 90°, 180°, 270°) in the 3rd party software.
The calibration screen will appear automatically. Touch this point and
rotation is mapped.
NOTE:
Rotate
function is disabled if you use
Monitor
Mapping
.
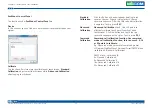
Touchscreen Configuration of PenMount
Digitizer Driver
With PenMount Windows Universal V2.2.0.283 and the later versions, since
the touchscreen is automatically installed as a digitizer device in Windows
Vista/7, the functions built in Windows Vista / 7 such as rotation, multi-
monitor, flicks, and context menu function (which launches a context menu
by user’s long-pressing on touchscreen rather than clicking the right mouse
button or pressing the application key on the keyboard) will be supported.
To configure touchscreen in PenMount Digitizer driver:
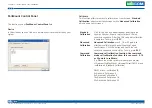
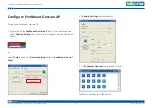
Double-click on the
PenMount
Control
Panel
icon
on the Desktop.
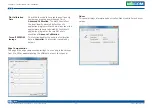
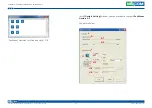
On
PenMount
Control
Panel
you are able to see the device of PenMount
6000 USB/RS-232 detected by your system under
Device
tab. Select a
device and click the
Configure
button.


