NETGEAR genie Advanced Home
33
N150 2-Port Wireless Router WNR612v3
•
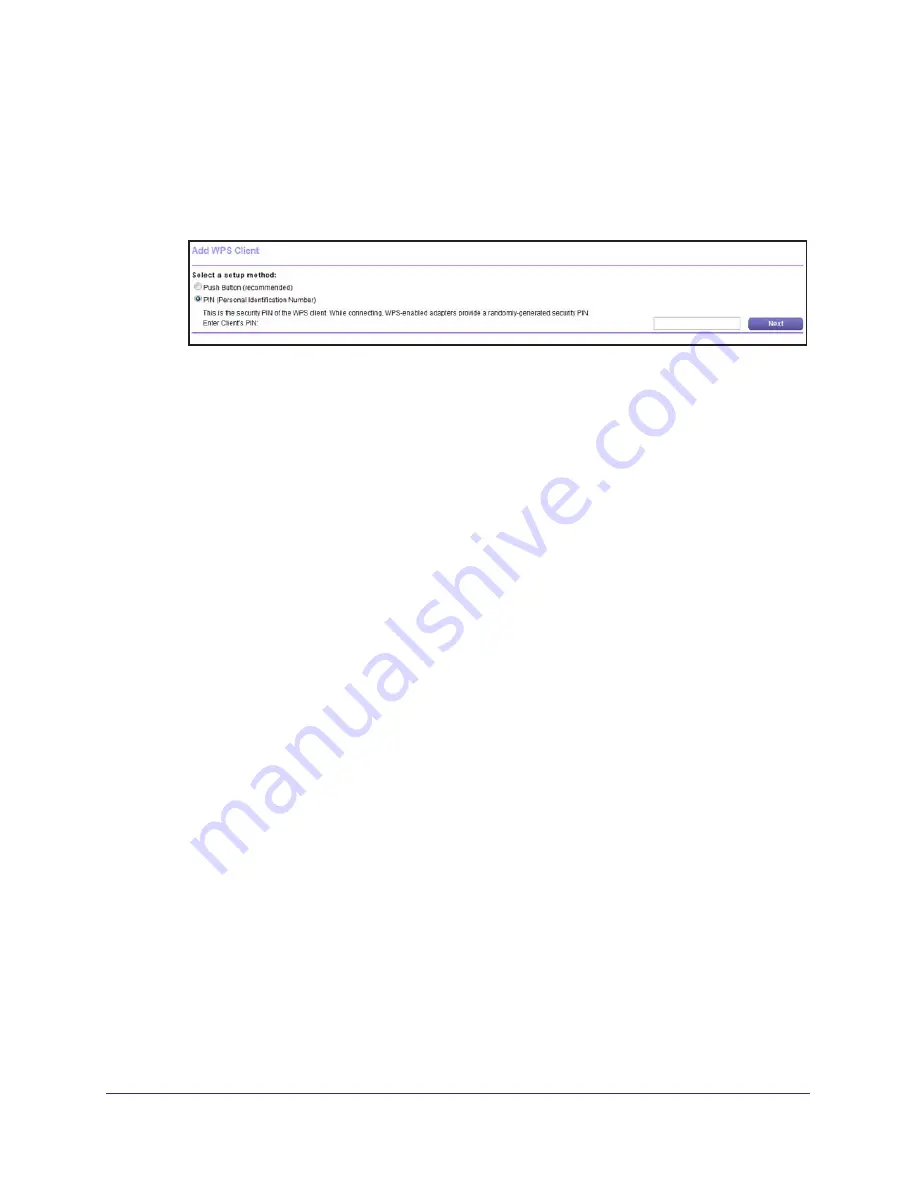
To use the push button method, either click the
WPS
button on this screen or press
the
WPS
button on the side of the router. Within 2 minutes, go to the wireless client
and press its
WPS
button to join the network without entering a password.
•
To use the PIN method, select the
PIN Number
radio button, enter the client security
PIN, and click
Next
.
Within 2 minutes, go to the client device and use its WPS software to join the network
without entering a password.
The router attempts to add the WPS-capable device.
4.
Repeat Step 2 and Step 3 to add another WPS client to your network.
Setup Menu
To display the Setup menu:
Select
Advanced > Setup
to display the Setup menu.
The following selections are available:
•
Internet Setup
. Go to the same Internet Setup screen that you can access from the
dashboard on the Basic Home screen. See
Internet Settings
on page
19.
•
Wireless Setup
. Go to the same Wireless Settings screen that you can access from
the dashboard on the Basic Home screen. See
Basic Wireless Settings
on page
24.
•
Guest Network
. This is a shortcut to the same Guest Network screen that you can
access from the dashboard on the Basic Home screen. See
FastLane
on page
29.
•
WAN Setup
. Internet (WAN) setup. See
WAN Setup
on page
33.
•
LAN Setup
. Local area network (LAN) setup. See
LAN Setup
on page
37.
•
QoS Setup
. Quality of Service (QoS) setup. See
Quality of Service (QoS) Setup
on
page
40.
WAN Setup
The WAN Setup screen lets you configure a DMZ (demilitarized zone) server, change the
Maximum Transmit Unit (MTU) size, and enable the router to respond to a ping on the WAN
(Internet) port.


