Option
Steps
To remove individual drives
a. Click
Actions
for the drive you want to remove.
b. Click
Remove
.
To remove multiple drives
a. Select all the drives you want to remove, and
click
Bulk Actions
.
b. Click
Remove
.
3. Select
Cluster
>
Nodes
.
4. Note the serial number (service tag) of the faulty node. You should match it with the serial number on the
sticker at the back of the node.
5. After you note the serial number, remove the node from the cluster as follows:
a. Select the
Actions
button for the node you want to remove.
b. Select
Remove
.
Replace the node in the chassis
After you remove the faulty node from the cluster using the NetApp Element software UI you are ready to
physically remove the node from the chassis. You should install the replacement node in the same slot in the
chassis from which you removed the failed node.
Steps
1. Wear antistatic protection before proceeding.
2. Unpack the new storage node, and set it on a level surface near the chassis.
Keep the packaging material for when you return the faulty node to NetApp.
3. Label each cable that is inserted at the back of the storage node that you want to remove.
After you install the new storage node, you should insert the cables into the original ports.
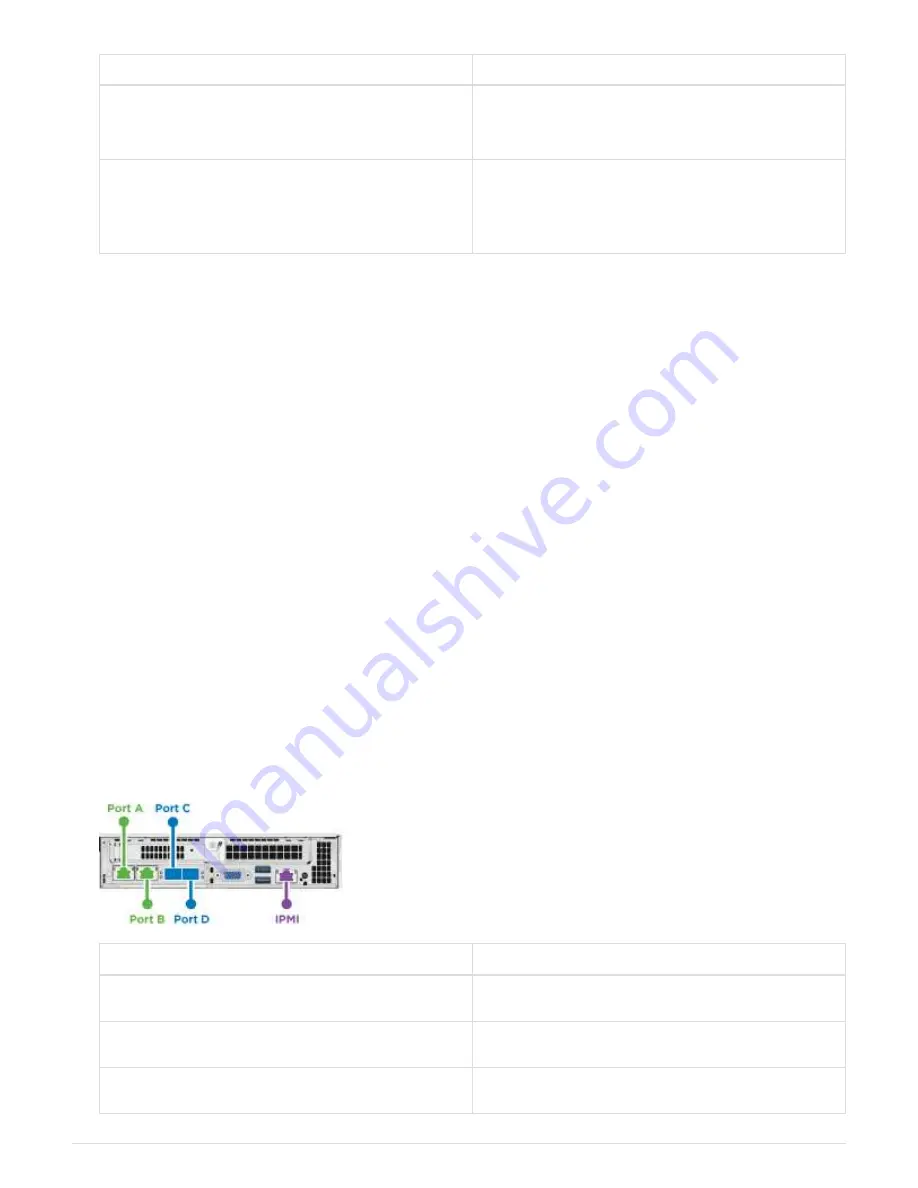
Here is an image showing the back of a storage node:
Port
Details
Port A
1/10GbE RJ45 port
Port B
1/10GbE RJ45 port
Port C
10/25GbE SFP+ or SFP28 port
10


