Digital Video Recorder for Ness IQ-Series
CAUTION
IF USER USES “Rec Days” FUNCTION, DVR WILL STORE ONLY THE DAYS THAT SPECIFIED BY USER. PLEASE
BEWARE OF DATA LOSS DUE TO “Rec Days
NOTE
Notify setting does not affect saving the recorded data. It only gives notification and keep recording until hard disk is ful
NOTE
For more specific setting about Alarm-out, use Setup>DEVICES>Alarm Out.
Clear All Data
Use to delete or purge all normal recorded data from database. Please follow the procedure below.
①
Click (
) Clear All Data frame.
②
When a dialogue box asking “Remove All Data?” shows, choose ‘OK’.
③
Then, Progress window will appear and the process starts.
④
When all data are deleted, a dialogue box asking “Are you sure to remove log?” will pop up.
⑤
Choose ‘OK’ to delete all the recorded data as well as System Log.
When user finished all the necessary inputs to SYSTEM menu, please click (
screen.
NOTE
This might take a while to completely delete all data
CAUTION
DELETED DATA CANNOT
BE RESTORED
.
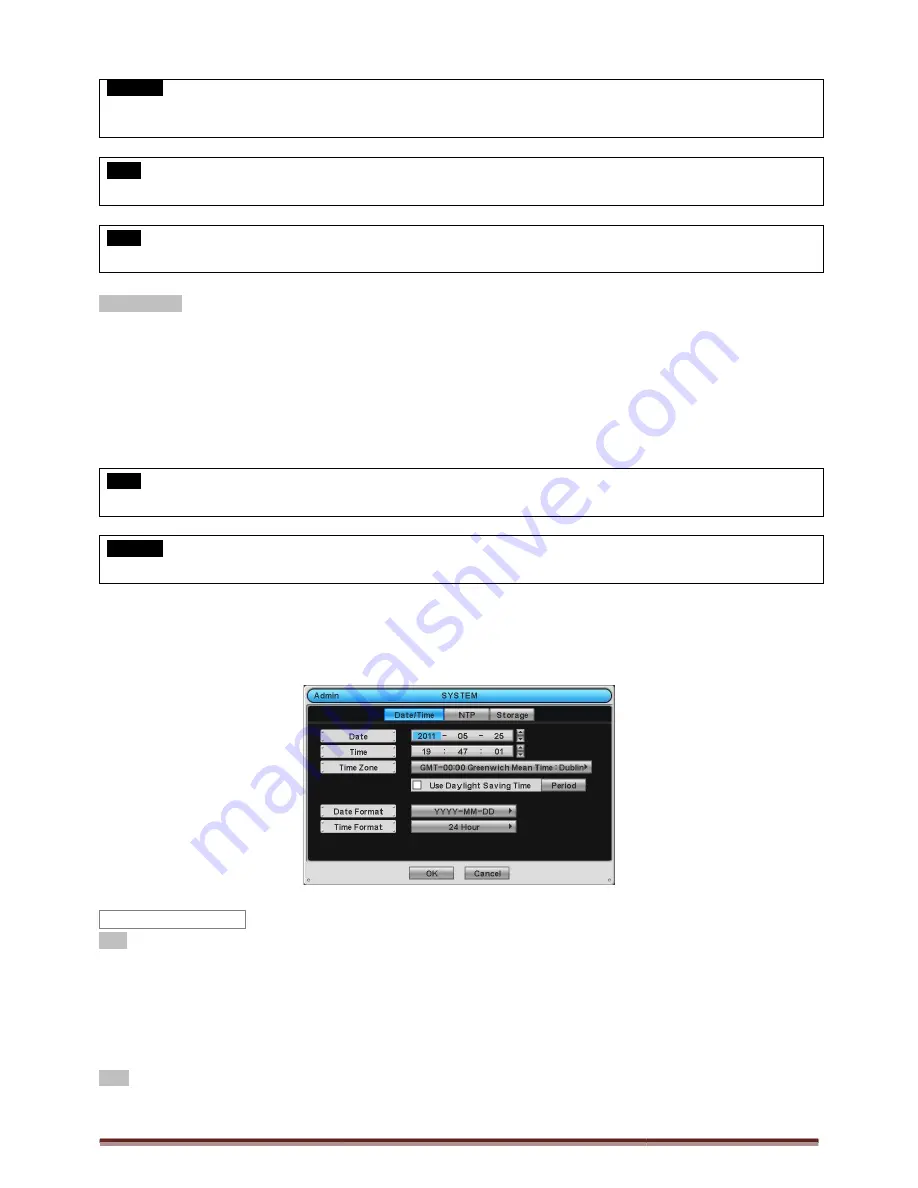
3.2.2 Admin
Please click (
) SYSTEM>Admin and the following screen will appear.
Date
This menu will allow user to adjust the settings.
Please follow the procedure below for time adjustment.
①
Click (
) items (Y, M, D) to change. A designated item will be highlighted in a box (Y: Year, M: Month and D:
②
Adjust the number by clicking (
)
▲
,
▼
③
Repeat the same procedure to change Y, M and D.
Time
This menu will allow user to adjust the current time. The adjustment procedure is same as of Date.
Date / Time
Series 960H & SDI DVR
FUNCTION, DVR WILL STORE ONLY THE DAYS THAT SPECIFIED BY USER. PLEASE
Rec Days” FUNCTION.
Notify setting does not affect saving the recorded data. It only gives notification and keep recording until hard disk is ful
out, use Setup>DEVICES>Alarm Out.
Use to delete or purge all normal recorded data from database. Please follow the procedure below.
“Remove All Data?” shows, choose ‘OK’.
Then, Progress window will appear and the process starts.
When all data are deleted, a dialogue box asking “Are you sure to remove log?” will pop up.
Choose ‘OK’ to delete all the recorded data as well as System Log.
When user finished all the necessary inputs to SYSTEM menu, please click (
) ‘OK’ on the bottom to go back to SETUP
This might take a while to completely delete all data, and DVR will reboot after the data is cleared.
SYSTEM>Admin and the following screen will appear.
This menu will allow user to adjust the settings.
Please follow the procedure below for time adjustment.
items (Y, M, D) to change. A designated item will be highlighted in a box (Y: Year, M: Month and D:
▲
,
▼
buttons on the right-hand side.
Repeat the same procedure to change Y, M and D.
This menu will allow user to adjust the current time. The adjustment procedure is same as of Date.
Page 23
FUNCTION, DVR WILL STORE ONLY THE DAYS THAT SPECIFIED BY USER. PLEASE
Notify setting does not affect saving the recorded data. It only gives notification and keep recording until hard disk is full.
Use to delete or purge all normal recorded data from database. Please follow the procedure below.
When all data are deleted, a dialogue box asking “Are you sure to remove log?” will pop up.
) ‘OK’ on the bottom to go back to SETUP
items (Y, M, D) to change. A designated item will be highlighted in a box (Y: Year, M: Month and D: Date).
This menu will allow user to adjust the current time. The adjustment procedure is same as of Date.


