


Filling the Sealing Li-
quid Reservoir
on
page 62
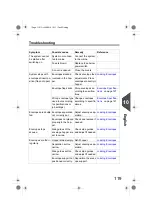
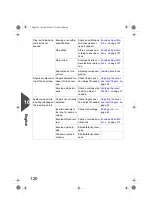
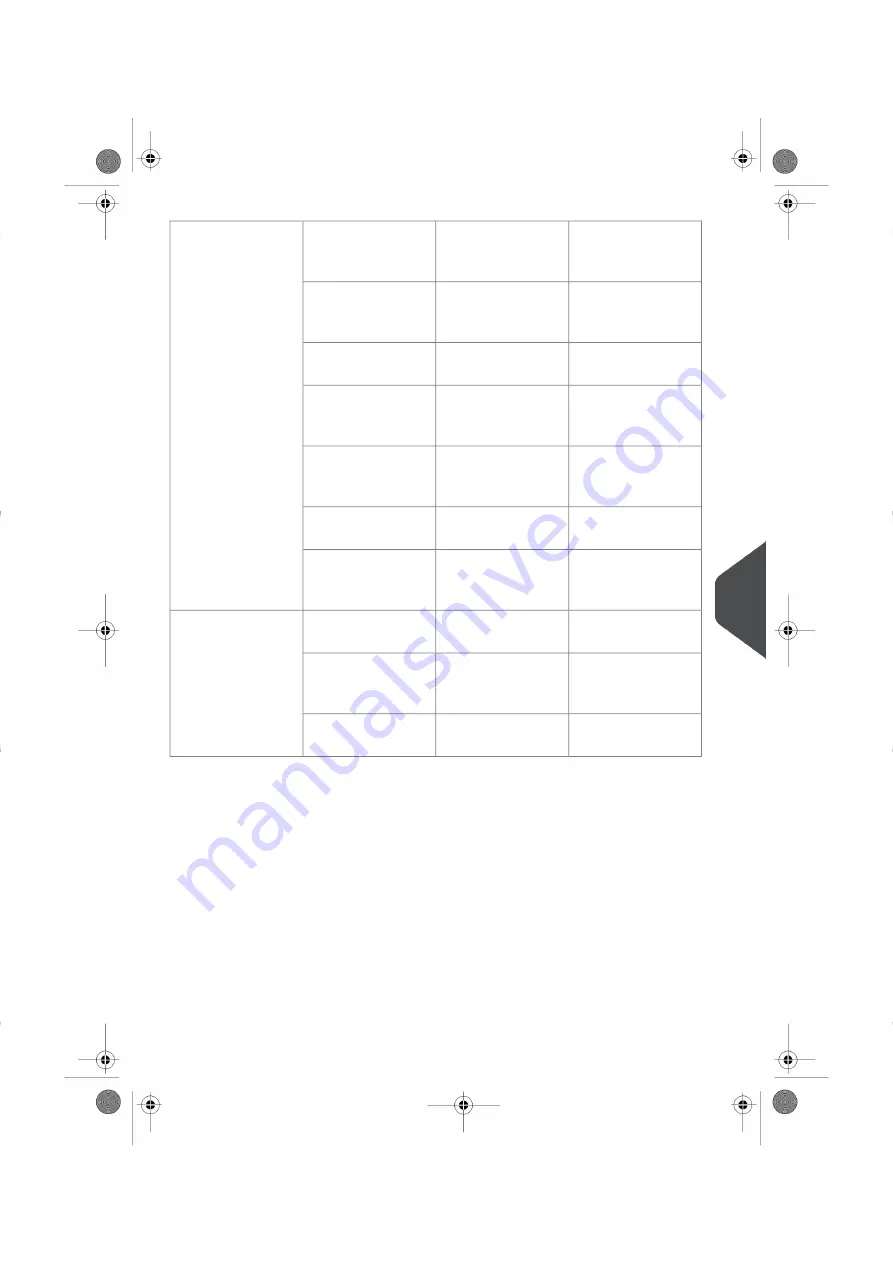
Check water level,
refill if needed.
Water level low.
Flap not sufficiently
moistened.
on page 108
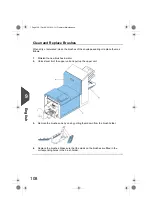
Check brushes, re-
place if needed by the
extra soaked set.
Brushes dry.
on page 108
Check brushes, clean
if needed.
Brushes dirty.
Filling the Sealing Li-
quid Reservoir
on
page 62
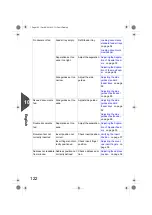
Check the moistening
felt, refill water tray if
needed.
Moistening felt dry.
Replace or clean
moistening cloth
on
page 109
Check the moistening
felt, clean if needed.
Moistening felt dirty.
on page 108
Replace brushes.
Brushes worn out.
Replace or clean
moistening cloth
on
page 109
Replace moistening
felt.
Moistening felt worn
out.
on
page 45
Check fold settings,
adjust if needed.
Inserted document
too big.
Envelope not always
ejected from sealer.
on page 37
Check adjustment of
envelope stop posi-
tion and fingers.
Document not inser-
ted deep enough.
on page 107
Clean sealing area.
Sealing area dirty.
10
English
121
| Page 121 | Oct-09-2019 10:11 | Fault Finding
Содержание DS-64I
Страница 4: ...Page 4 TOC Oct 09 2019 10 11...


