


SECTION 3
OPERATING THE PRINTER
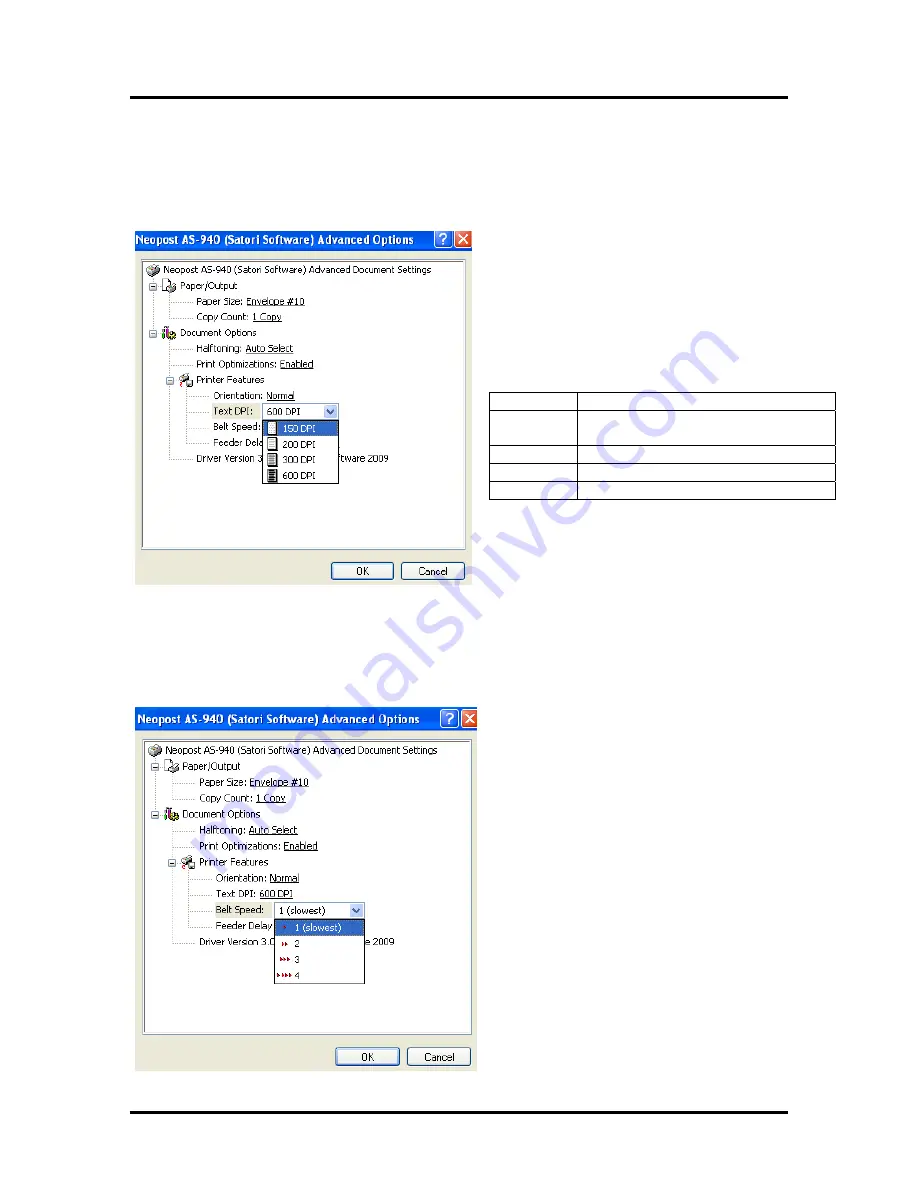
Text DPI
•
Raising the Text DPI, e.g. from 200 DPI to 600 DPI will increase the quality of the image.
Increasing the DPI will also limit the Belt Speeds available (see below)
Belt speed
.
•
The Belt speed (IPS) automatically changed to the optimum speed for the resolution selected.
You can, however change the speeds to a lower speed as follows:
Text DPI
Belt Speeds Available
150 DPI
Low(1), Medium(2), Medium(3) High,
and High(4)
200 DPI
Low(1), Medium(2), Medium(3)
300 DPI
Low(1), Medium(2),
600 DPI
Low(1),
© 2009 Neopost USA Inc. All rights reserved.
31
Содержание AS-940
Страница 1: ...AS 940 Addressing Solution Operating Guide...
Страница 12: ...SECTION 1 GETTING ACQUAINTED Notes 2009 Neopost USA Inc All rights reserved 12...
Страница 36: ...SECTION 3 OPERATING THE PRINTER Notes 2009 Neopost USA Inc All rights reserved 36...
Страница 42: ...Notes 2009 Neopost USA Inc All rights reserved 42...


