


7
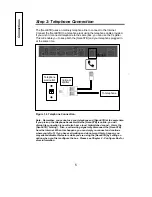
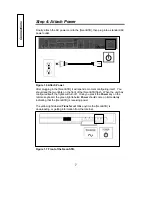
Step 4: Attach Power
Finally, attach the AC power cord to the [NeonSTB], then plug into a standard AC
power outlet.
Figure 1.6 Attach Power.
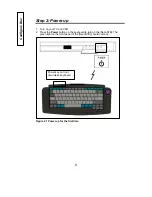
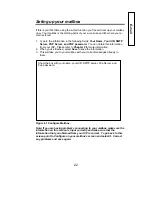
After plugging in the [NeonSTB], it will spend a moment configuring itself. You
should see the two lights on the front of the [NeonSTB] flash. When the unit has
configured itself, the lights will turn off. Once you press the
Power
key on the
remote keyboard, the green light labeled
Power
should come on immediately,
indicating that the [NeonSTB] is receiving power.
The yellow light labeled
Transfer
will blink anytime the [NeonSTB] is
downloading, or getting information from the Internet.
Figure 1.7 Front of the Neon STB.
Connections
Содержание NTFPSMSFD11NT
Страница 2: ......
Страница 23: ...18 F Fa av vs s Figure 3 7 Favs Toolbar Web Browsing...
Страница 41: ...36 A Ap pp pe en nd di ix x C C S Sp pe ec ci if fi ic ca at ti io on ns s Specifications...
Страница 42: ...37 A Ap pp pe en nd di ix x D D I IS SP Ps s I S P...


