Questions? Call us at 800/621-8829 or 859/254-1221
12
Battery and AC battery charger
A 12-volt gel cell battery and AC battery charger are supplied with ElectroJac 6. To ensure
optimum power performance from the unit:
1. Always start with a fully-charged battery.
2.
ElectroJac 6 can be left plugged in indefinitely after each use. The electronics ensure
that the battery is not damaged due to overcharging.
3. Charge the battery immediately when the battery light glows red. Charge for at least
30
minutes
. Although the low battery light has not come on, it is recommended that the
battery be charged after moderate use.
4. Do not plug the AC battery charger into a portable generator. Surges can damage the
battery charger and ElectroJac 6’s electronics.
1. Remove the dwell cable (if used) and the probe cable. Remove the bottom from the
electronics case by opening the latches on both sides of the case, while carefully sup-
porting the relatively heavy case bottom.
2. Remove red and black leads from the battery by pulling
lead connectors away from battery contacts, being care-
ful not to pull on the wire.
3. Remove the two wing nuts from the aluminum battery
hold-down bracket.
4. Remove the aluminum battery hold-down bracket and lift
out battery.
5. Install the new battery by reversing steps 1 through 4.
CAUTION:
Be careful not to short the replacement bat-
tery by inadvertently connecting the battery’s terminals
with a metal object.
Battery replacement
Remote control battery replacement
Only use a replacement battery from Ideal Instruments. The use of other batteries in
ElectroJac 6 may damage the unit, and/or void the warranty.
Battery size for remote control: CR2032
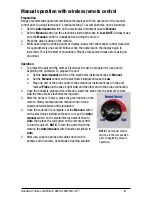
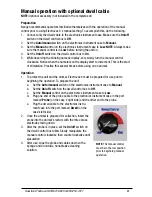
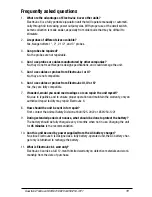
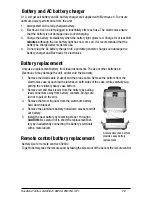
To get to battery, take the remote apart by taking the screw out of the back of the remote control.
A removable case bottom
provides easy battery
replacement.
Содержание Electro Jac 6
Страница 1: ...Operator s Manual...
Страница 2: ......


