background image

Digital Video Recorder Quick Start Guide   

24 

Chapter 4 


Accessing by Web Browser 


You shall acknowledge that the use of the product with Internet access might be under network security risks. For 

avoidance of any network attacks and information leakage, please strengthen your own protection. If the product 

does not work properly, please contact with your dealer or the nearest service center. 

Purpose: 

You can get access to the device via web browser. You may use one of the following listed web browsers: Internet 

Explorer 6.0, Internet Explorer 7.0, Internet Explorer 8.0, Internet Explorer 9.0, Internet Explorer 10.0, Apple 

Safari, Mozilla Firefox, and Google Chrome. The supported resolutions include 1024*768 and above.   

Steps: 

1.


Open web browser, input the IP address of the device and then press Enter. 

2.


Log in to the device.   


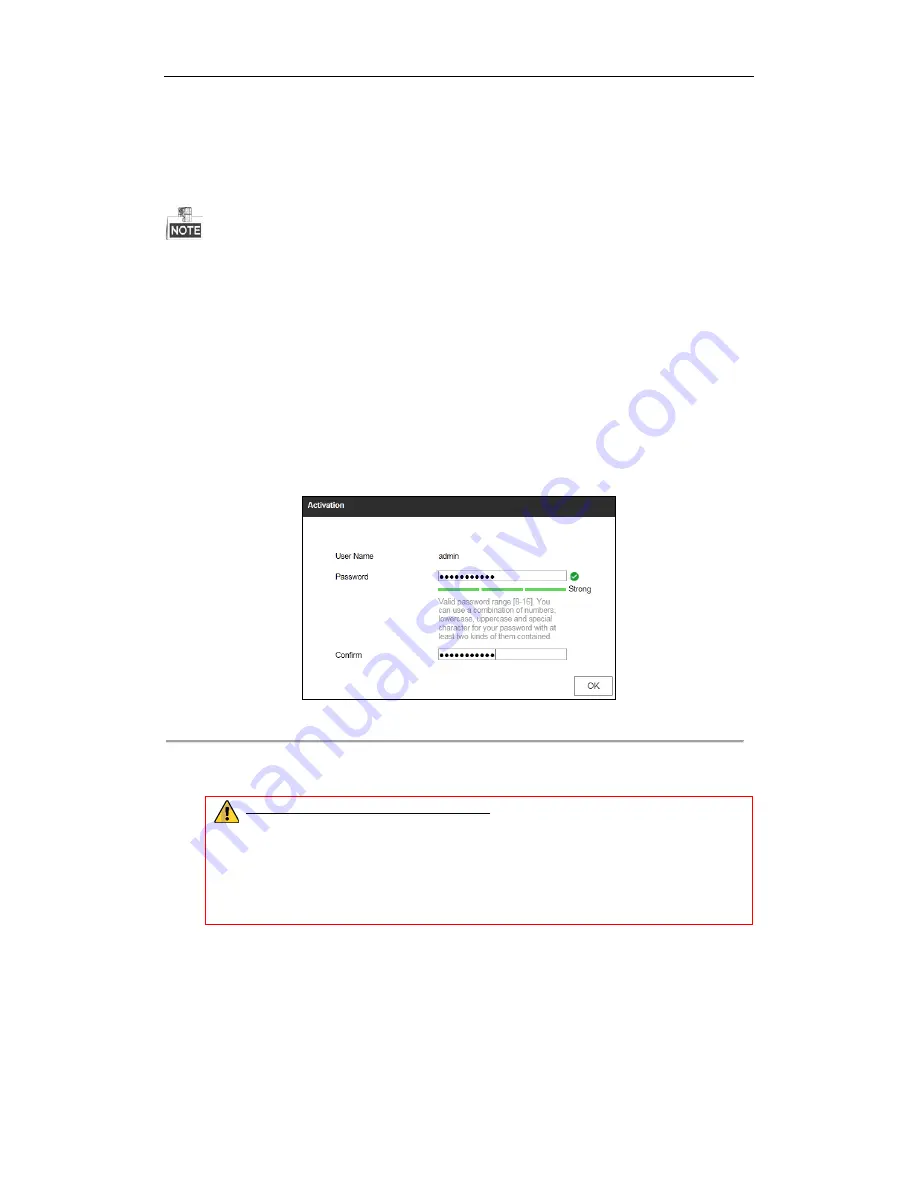
If the device has not been activated, you need to activate the device first before login.     


Figure 4. 1


Set Admin Password 


1)


Set the password for the admin user account. 

2)


Click 

OK 

to log in to the device.   

STRONG  PASSWORD  RECOMMENDED–  We highly recommend you create a strong 

password of your own choosing (using a minimum of 8 characters, including upper case letters, 

lower case letters, numbers, and special characters) in order to increase the security of your 

product. And we recommend you reset your password regularly, especially in the high security 

system, resetting the password monthly or weekly can better protect your product. 


If the device is already activated, enter the user name and password in the login interface, and click the 

Login

 button. 

Содержание TVI

Страница 1: ...Digital Video Recorder Quick Start Guide...

Страница 2: ...Controller Connection 11 2 4 HDD Storage Calculation Chart 12 Chapter 3Menu Operation 13 3 1 Menu Structure 13 3 2 Startup and Shutdown 13 3 3 Activating Your Device 14 3 4 Login and Logout 15 User L...

Страница 3: ...laimer REGARDING TO THE PRODUCT WITH INTERNET ACCESS THE USE OF PRODUCT SHALL BE WHOLLY AT YOUR OWN RISKS OUR COMPANY SHALL NOT TAKE ANY RESPONSIBILITES FOR ABNORMAL OPERATION PRIVACY LEAKAGE OR OTHER...

Страница 4: ...erence 2 This device must accept any interference received including interference that may cause undesired operation EU Conformity Statement This product and if applicable the supplied accessories too...

Страница 5: ...se make sure that the plug is firmly connected to the power socket If smoke odor or noise rise from the device turn off the power at once and unplug the power cable and then please contact the service...

Страница 6: ...symbols that may be found in this document are defined as follows Symbol Description Indicates a potentially hazardous situation which if not avoided could result in equipment damage data loss perform...

Страница 7: ...keys 1 MENU Enters numeral 1 Accesses the main menu interface 2 ABC F1 Enters numeral 2 Enters letters ABC Uses the F1 button to select all items in a list field Turns on off PTZ light in PTZ Control...

Страница 8: ...he Up and Down buttons to speed up and slow down the playing of video files in Playback mode The Left and Right button will select the next and previous record files Cycles through channels in Live Vi...

Страница 9: ...5 HDMI HDMI video output connector 6 USB Universal Serial Bus USB ports for additional devices 7 Network Interface Connector for network 8 RS 485 Half duplex connector for RS 485 devices 9 Power Supp...

Страница 10: ...e range of 10 C to 55 C 14 F to 131 F 8 Environmental humidity should be within the range of 10 to 90 2 2 Hard Disk Installation Before you start Before installing a hard disk drive HDD please make su...

Страница 11: ...he Data Cable 3 Connect the power cable to the HDD Figure 2 3 Connect the Power Cable 4 Place the HDD on the bottom of the device and then fasten the screws on the bottom to fix the HDD Figure 2 4 Ins...

Страница 12: ...k from the RS 485 terminal block 2 Press and hold the orange part of the pluggable block insert signal cables into slots and release the orange part Ensure signal cables are in tight 3 Connect A on PT...

Страница 13: ...Bit Rate Storage Used 96K 42M 128K 56M 160K 70M 192K 84M 224K 98M 256K 112M 320K 140M 384K 168M 448K 196M 512K 225M 640K 281M 768K 337M 896K 393M 1024K 450M 1280K 562M 1536K 675M 1792K 787M 2048K 900M...

Страница 14: ...ct Alarm VCA Normal Event Tag Smart Sub periods External File VCA Search Behavior Search Face Search People Counting Heat Map Alarm Manual Video Quality Diagnostics Video Quality Diagnostics Figure 3...

Страница 15: ...wed before activation You can also activate the device via Web Browser SADP or client software Steps 1 Input the same password in the text field of Create New Password and Confirm New Password Figure...

Страница 16: ...ord 3 4 Login and Logout User Login Purpose You have to log in to the device before operating the menu and other functions Steps 1 Select the User Name in the dropdown list Figure 3 5 Login 2 Input Pa...

Страница 17: ...3 7 User Account Protection for the Operator User Logout Purpose After logging out the monitor turns to the live view mode and if you want to perform any operations you need to enter user name and pa...

Страница 18: ...onfiguring the signal input Steps 1 Check the checkbox to select different signal input types TVI CVBS AHD and IP 2 Click Apply to save the settings Figure 3 9 Configure Signal Input Type You can also...

Страница 19: ...the auto detection of 3MP signal Each two types of the signals can be mixed randomly In the live view interface when there is no video signal of the analog channel the corresponding connectable video...

Страница 20: ...M 1000M network interface or 1 self adaptive 10M 100Mbps network interface provided for other models 2 Select the General tab 3 In the General Settings interface you can configure the following settin...

Страница 21: ...o the User Manual for activating the inactive IP camera You can select one of the following three options to add the IP camera OPTION 1 Steps 1 Select the Add IP Camera option from the right click men...

Страница 22: ...the screen for each channel showing the status of the record and alarm in the channel so that you can find problems as soon as possible Indicating that there is an alarm or are alarms Alarm includes...

Страница 23: ...n message box to confirm the settings All the channels will start to record in the selected mode 3 11 Playback The recorded video files on the hard disk can be played back in the following modes insta...

Страница 24: ...Digital Video Recorder Quick Start Guide 23 4 Select the channel s you want to play back by checking the checkbox s or execute simultaneous playback of multiple channels...

Страница 25: ...tions include 1024 768 and above Steps 1 Open web browser input the IP address of the device and then press Enter 2 Log in to the device If the device has not been activated you need to activate the d...

Страница 26: ...video and managing the camera Please follow the installation prompts to install the plug in You may have to close the web browser to finish the installation of the plug in After login you can perform...

Отзывы: