-153-
8.1.1
Data Cartridge
For the LTO Ultrium7 drive, Ultrium 5, 6, or 7 cartridges with uncompressed capacities of 1500,
2500, and 6000 GB can be used respectively.
The data cartridge is a crucial product data is recorded and preserved. Please use
the one that the quality is guaranteed.
Note that the cartridges that can be used with the LTO drives vary according to the
product generation. See the table below for details.
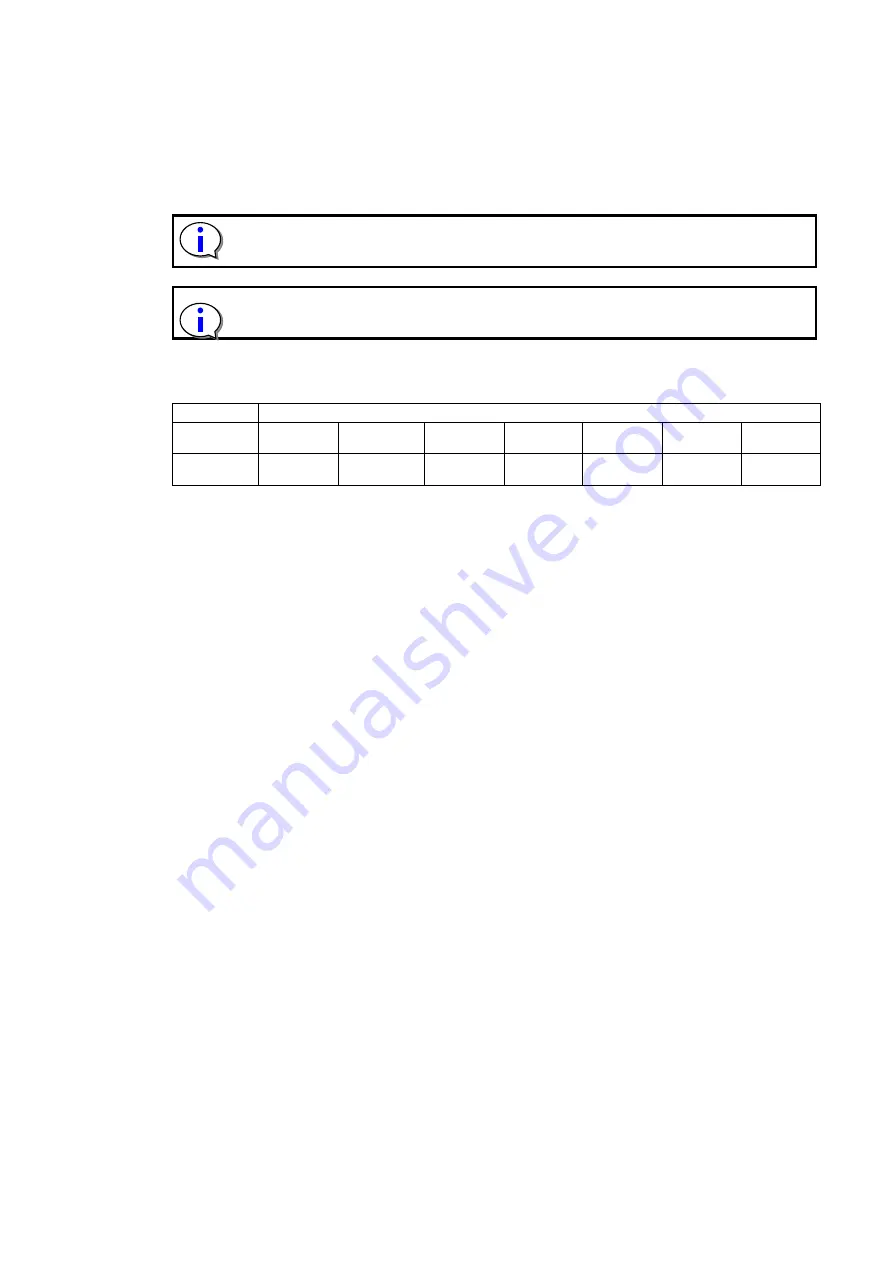
Table 8-1 Drive/Cartridge Compatibility
Cartridge
Drive
LTO
Ultrium1
LTO
Ultrium2
LTO
Ultrium3
LTO
Ultrium4
LTO
Ultrium5
LTO
Ultrium6
LTO
Ultrium7
LTO
Ultrium7
*
: Can be used
*: Not writeable (read only)
: Cannot be used
The cartridge door helps keep the cartridge clean when it is removed from the drive.
The write protection switch prevents data from being written onto a data cartridge.
The label attachment area is where the labels are attached. Attach the label within the recessed
attachment area. If the label protrudes beyond this area, problems may occur when loading the
cartridge into the internal drive.
8.1.2
WORM cartridge
WORM (Write Once Read Many) type data cartridges are recordable but non-rewritable. As
opposed to ordinary data cartridges that can be written to and read from multiple times
, it is not
possible to overwrite or erase data that has been recorded onto a WORM cartridge.
8.1.3
Cleaning cartridge
These are cartridges that are used to clean within a drive.
Cleaning cartridges can be used up to 50 times.
Keep track of how many times the cleaning cartridge is used, and replace it after 50 times.
For description of cleaning methods, see “4.8Cleaning or 5.6.4.3
8.1.4
Diagnosis cartridge
The diagnosis cartridge is a cartridge only for the maintenance used only when the diagnosis test in
the library is done by the one that the label of special VOLSER (DG is included) was stuck on a usual
data cartridge. Please do not use it as a data cartridge.
Содержание T30A
Страница 27: ... xxvi This page is intentionally blank ...
Страница 42: ... 15 4 Remove the cushioning material to take out the library 5 Open the plastic bag and remove the library ...
Страница 73: ... 46 4 4 Top Menu After Log in the following screen is displayed Figure 4 9 Root screen of Top Menu ...
Страница 206: ... 179 4 Remove the four screws anchoring the bezel and demount it Screws ...
Страница 235: ... 208 CONTROLLER BOARD 00CF Reserved ...
Страница 239: ... 212 Maintenance chassis 00FD Reserved 00FE Reserved 00FF Reserved ...


