128
5. Using On-Screen Menu
13.
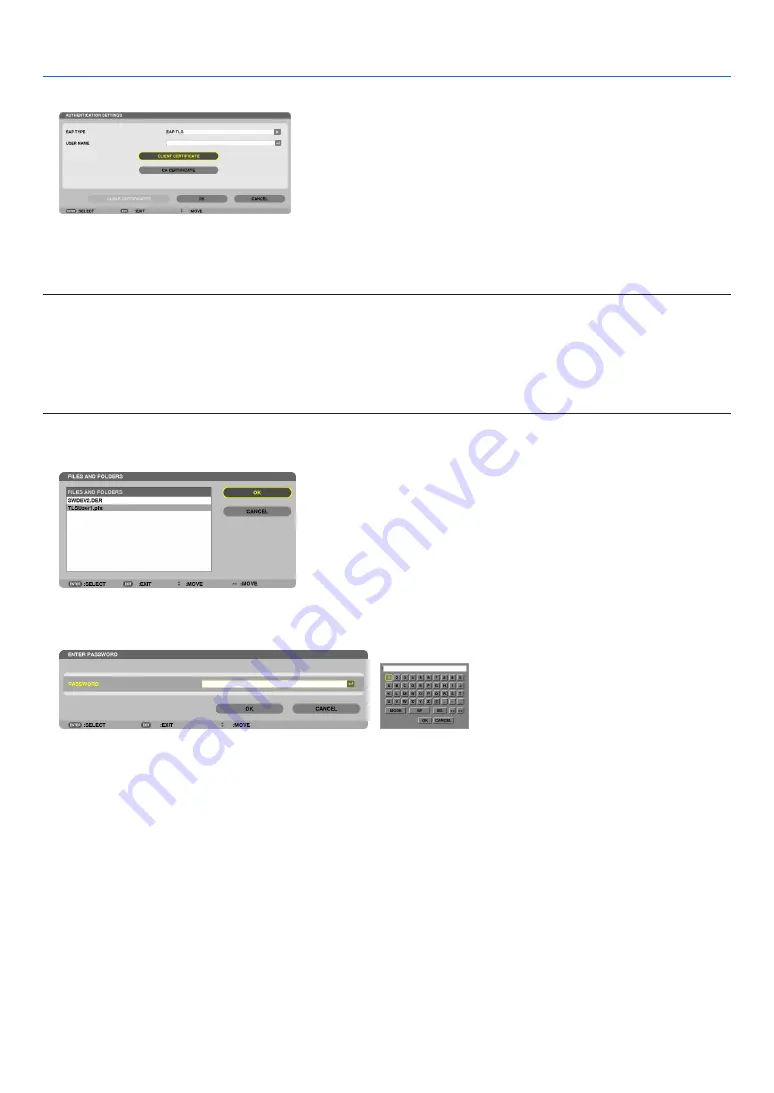
3ELECT;#,)%.4#%24)&)#!4%=ANDPRESSTHE%.4%2BUTTON
A list of files (thumbnail screen) will be displayed.
s &OROPERATINGTHETHUMBNAILSCREENSEEh5SINGTHE6IEWERvINTHEh5SERS-ANUALv0$&
s 4ORETURNTOTHE;!54(%.4)#!4)/.=PAGEPRESSTHE%8)4BUTTON
NOTE:
Installing a digital certificate
9OUCANINSTALLEACHDIGITALCERTIlCATECLIENTCERTIlCATEAND#!CERTIlCATE FOR;02/&),%OR =ONAlLEBYlLEBASIS
s )NSTALLAROOT#!CERTIlCATEFORA#!CERTIlCATE
s )FYOUINSTALLADIGITALCERTIlCATEOVERYOUREXISTINGDIGITALCERTIlCATETHEEXISTINGDIGITALCERTIlCATEWILLBEOVERWRITTENWITHTHENEW
DIGITALCERTIlCATE
s /NCEADIGITALCERTIlCATEHASBEENINSTALLEDITSINFORMATIONCANNOTBEDELETEDEVENIFYOUSTOPSETTING70!%!0OR70!%!0
14.
/NTHETHUMBNAILSCREENSELECTADIGITALCERT#3FORMATlLE SAVEDINYOUR53"MEMORYDEVICE
and press the ENTER button.
The password screen will be displayed.
15.
3ELECT;0!337/2$=lELDANDPRESSTHE%.4%2BUTTON
The character entry screen (software keyboard) will be displayed. Set the password of the private key. A password
must be 1 character or more and 32 characters or less.
The selected digital certificate file will be installed on the projector.
s 7HENTHEROOT#!CERTIlCATEISNOTINCLUDEDINTHElLETHATWASSELECTEDIN3TEPPROCEEDTO3TEP7HEN
the root certification authority certificate is included, proceed to Step 18.
3ELECT;#!#%24)&)#!4%=ANDPRESSTHE%.4%2BUTTON
The drive list screen will be displayed.


