126
35.
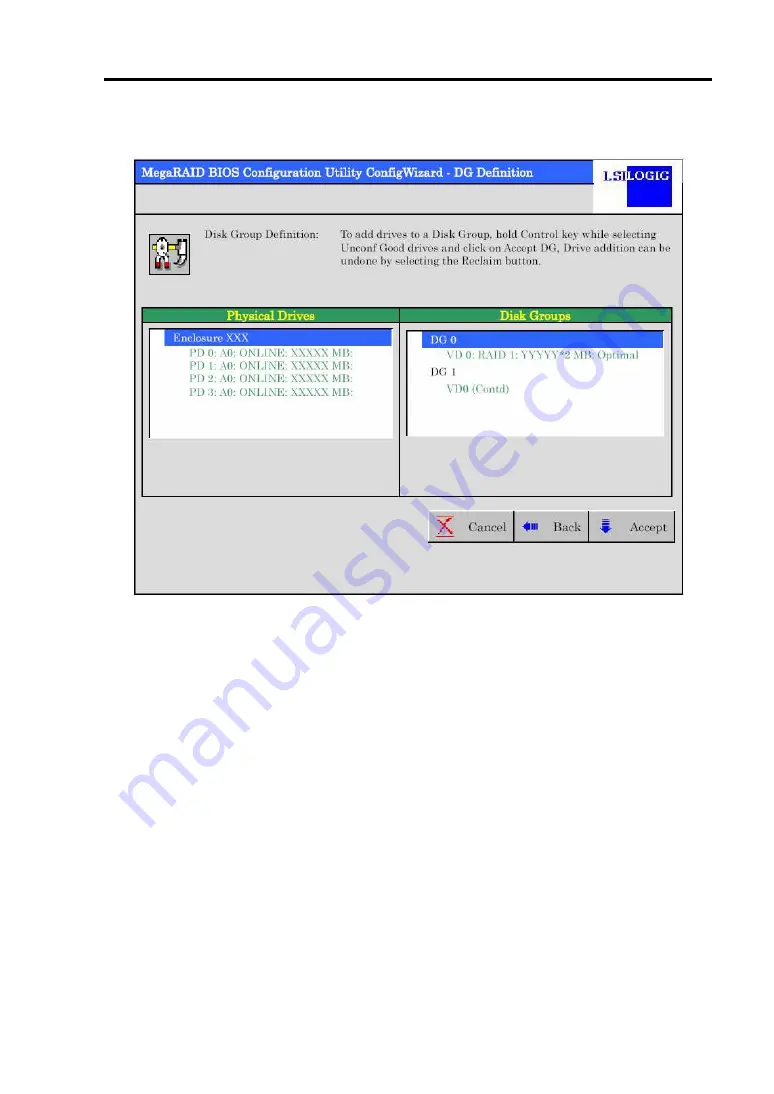
VD 0 is created in DG 0 as shown in the [Preview] screen below.
36.
After making sure that the VD is created correctly, click [Accept] at the lower right
of the screen.
37.
The confirmation message "Save this Configuration?" appears. Click "Yes" to
save the configuration.
38.
The confirmation message "Want to Initialize the New Virtual Disks?" appears.
Normally, select "Yes".
39.
"Virtual Disks" operation screen is displayed. If no other operation is required,
click [Home] at the lower left of the screen.
40.
The WebBIOS top menu is displayed. Virtual Disk you have created is displayed
in the lower right frame of the screen.
Содержание N8103-91
Страница 25: ...5 4 各部の名称と機能 本製品の各部の名称を以下に説明いたします 本製品表面 3 1 5 2 4 6 本製品裏面 ...
Страница 124: ...104 When the adapter is selected on Adapter Selection the WebBIOS Top Menu appears ...
Страница 126: ...106 Click Next to see the detailed settings of this controller ...
Страница 136: ...116 Use this menu to define several physical drives PD as a disk group DG ...
Страница 157: ...137 59 Setting menu for VD 0 is displayed ...
Страница 165: ...145 ...


