65
3. Convenient Features
10
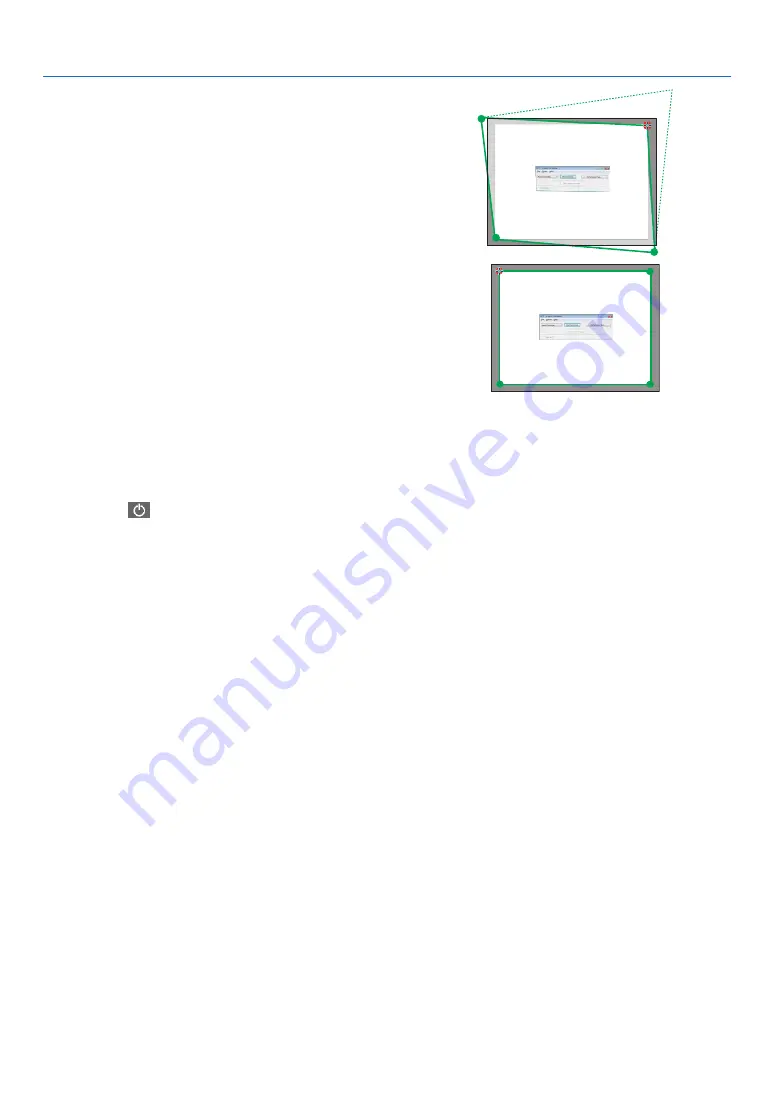
. Drag the selected [
•
] mark to the point you wish to cor
-
rect and drop it.
• When you click somewhere within the project image area,
the nearest [
•
] mark will go to the position where the
mouse cursor is.
11
. Repeat Step 9 and 10 to correct the distortion of the pro
-
jected image.
12
. After completing, right-click the mouse.
The green frame and the mouse pointer will disappear from the projected image area. This will complete the cor-
rection.
13
. Click the “X” (close) button on the “4-point Correction” window.
The “4-point Correction” window will disappear and the 4-point correction will take effect.
14
. Click the “
” button on the control window to exit the GCT.
TIP:
• After performing the 4-point correction, you can save the 4-point correction data to the projector by clicking “File”
→
“Export to
the projector…” on the “4-point Correction” window.
• See the Help of Image Express Utility Lite for operating “4-point Correction” window and other functions than GCT. (
→
page
Содержание M283X
Страница 166: ... NEC Display Solutions Ltd 2015 7N952231 ...


