29
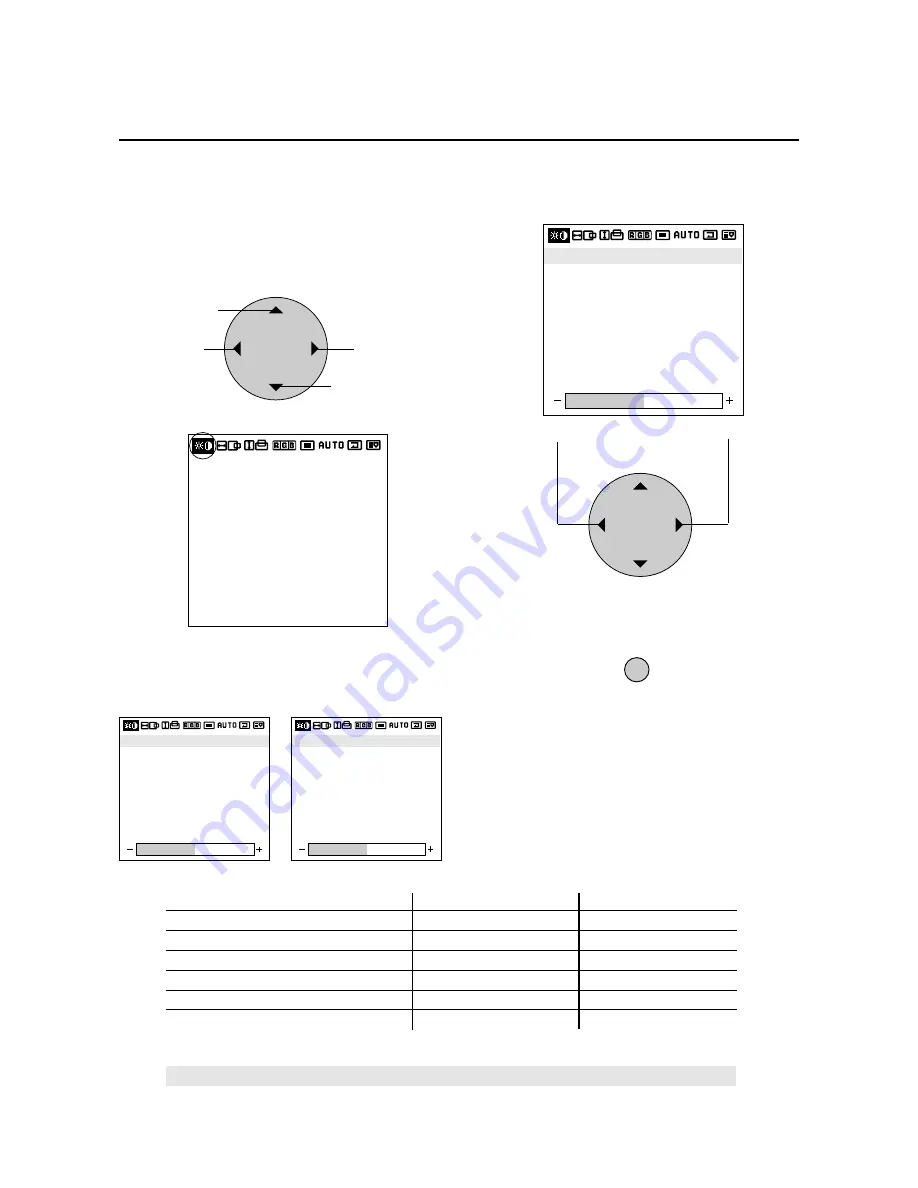
Adjustment of the Image (Visual Controls)
These controls adjust the brightness, contrast, color, tint,
and sharpness.
1. Align the cursor with icon (1).
Visual control screen
Icon (1)
The cursor is moved left and right with the POSITION
CONTROL
§
/
©
buttons.
2. Align the cursor with the desired item
At time of VIDEO selection
At time of RGB1/2/3 selection
3. While watching the screen, press the
§
/
©
buttons
and adjust
4. Return to the main menu
EXIT
* To reset the adjustment value, press the VISUAL
NORMAL button before pressing the EXIT button.
* To delete the main menu, press the EXIT button once
more.
POSITION / CONTROL
Becomes weaker
Becomes stronger
Please use the table below as reference.
POSITION / CONTROL
Move left
Move up
Move right
Move down
Display (Adjustment details)
Pressing the
§
button
Pressing the
©
button
Brightness (Brightness adjustment)
Screen becomes darker
Screen becomes brighter
Contrast (Contrast adjustment)
Image becomes fainter
Image becomes denser
Color (Color density adjustment)
Color becomes lighter
Color becomes deeper
Tint* (Tint)
Screen is tinted toward red
Screen is tinted toward green
Sharpness (Sharpness adjustment)
Softer quality
Sharper quality
Gamma (Adjusts the brightness of dark portions)
Normal
Darker
Note:
When dark portions appear rough, adjust Gamma to provide an easy-to-view image.
*Tint cannot be adjusted when the video system selection switch is set to PAL or SECAM.
BRIGHTNESS
CONTRAST
SHARPNESS
COLOR
TINT
GAMMA:2
BRIGHTNESS
CONTRAST
SHARPNESS
COLOR
TINT
GAMMA:2
BRIGHTNESS
CONTRAST
GAMMA : 2
The cursor is moved up and down with the POSITION
CONTROL
▲
/
▼
buttons.
BRIGHTNESS
CONTRAST
SHARPNESS
COLOR
TINT
GAMMA:2


