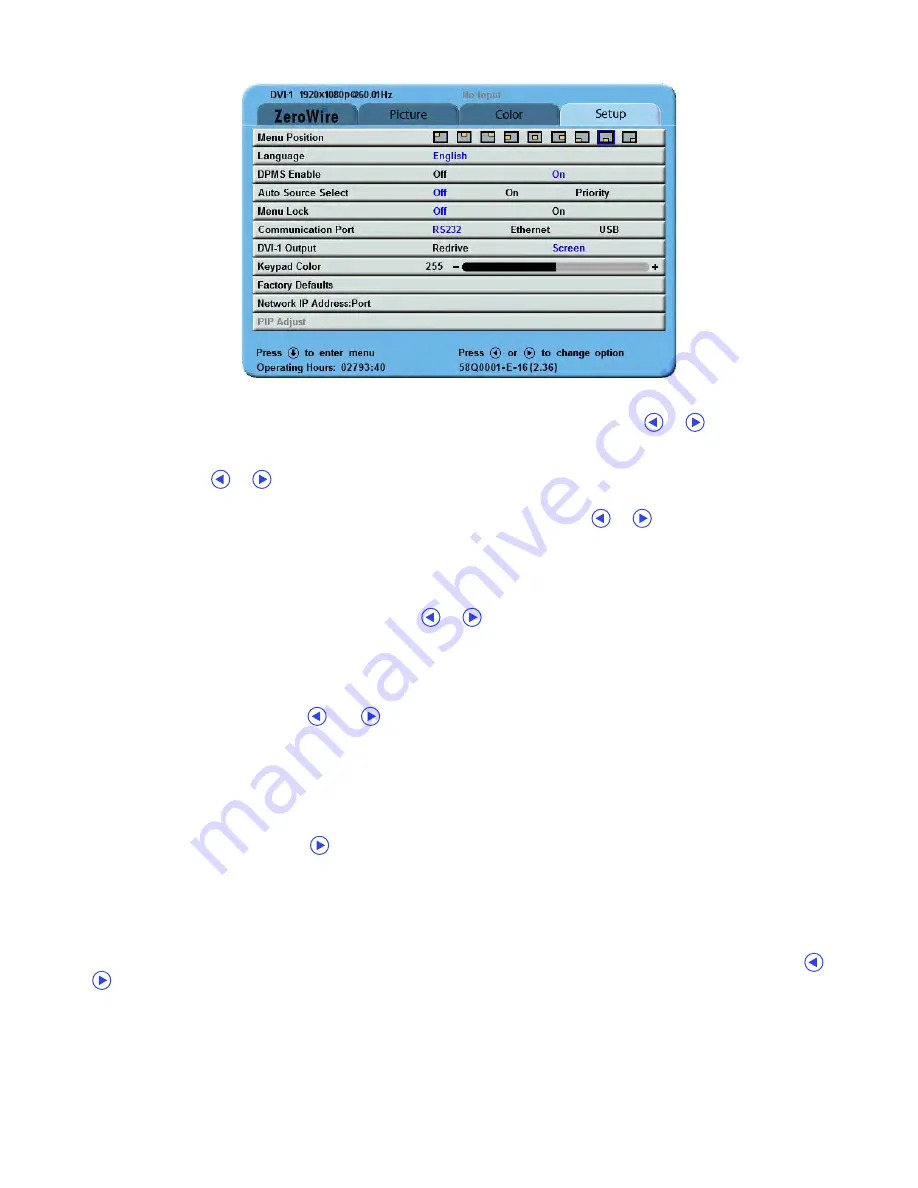
8 | Display User Interface
Setup Menu
Menu Position:
To select from nine preset screen locations for display of the OSD menus, tap the
or
buttons.
Language:
To select one of eight languages:
English
,
Deutsch
,
Français
,
Italiano
,
Svenska
,
Español
,
Nederlands
, or
Pycckий
, tap the
or
buttons.
DPMS Enable
To enable or disable Display Power Management System (DPMS), tap the
or
buttons.
Off
: Default setting.
On
: If there is no input signal, a “D.P.M.S” message displays for 10 - 15 seconds before the display goes into
Power Saving mode. The display turns on when the input signal is restored.
Auto Source Select
To disable or enable Auto Source Select, tap the
or
buttons.
Off
: Video input is manually selected.
On
: Searches through all possible input sources until an active video source is found.
Priority
: Priority Input Select is by default disabled. A Secondary input must be selected before Priority Input
Select can be enabled. When the Priority Input Select function is enabled, the PIP image is placed behind the
Primary image, the PIP
+
and
-
(
and
) buttons are disabled, and the
SWAP
button remains enabled. If the
Primary signal is lost, the Secondary input is displayed. If the Primary signal is restored, its image is displayed
again, and the Secondary image is placed behind the Primary image. If both the Primary and Secondary
signals are lost, the monitor alternately scans the Primary and Secondary inputs until a signal is detected on
one of them. When a signal is detected on the Primary or Secondary input, its image is displayed on the
monitor.
Menu Lock
To enable Menu Lock, press the
button.
Off
: Default setting.
On
: Disables access to OSD menus to prevent inadvertent changes to display settings. The OSD closes, and a
MENU LOCKED message displays briefly. To unlock OSD access, simultaneously press and hold the
MENU
and
SCROLL
buttons until a MENU UNLOCKED message displays.
Communication Port
To select a Communication Port for control of the display using NDS Unified Serial Commands, tap the
or
buttons. For connector details, see “Data Connectors and Pinouts” on page 18.
RS-232
: Connect an RJ-25 cable to the RS-232 port.
Ethernet
: When the Ethernet port is selected, the display can be controlled through the TCP/IP port.
Note:
When using the Ethernet Communication Port selection, verify the Network IP Address: Port, Subnet
Mask and Gateway settings described in “Network IP Address: Port” on page 10 are correctly configured for
your network.
USB
: A mini-USB cable used with the USB (ND-OS) port will appear to the connecting device as an RS-232 port.
Содержание Radiance Ultra SERIES
Страница 1: ...Radiance Ultra with optional ZeroWire Embedded Wireless Technology USER MANUAL ENGLISH ...
Страница 2: ......
Страница 4: ......
Страница 24: ...14 Display User Interface ...
Страница 26: ...16 Enclosure Assembly and Cleaning ...
Страница 32: ...22 Connector Panels Overview ...
Страница 49: ......


