10-4 Chapter 10: 2x20 Customer Display Interface
Cursor Position (10h, POSITION)
This
command
sets
the
cursor
position.
The
POSITION
byte
moves
the
cursor
position
according
to
the
table
below.
The
next
character
byte
writes
to
the
new
position
and
the
cursor
auto
‐
increments
to
the
next
position.
This
command
is
ignored
if
the
POSITION
byte
value
is
greater
than
27h
.
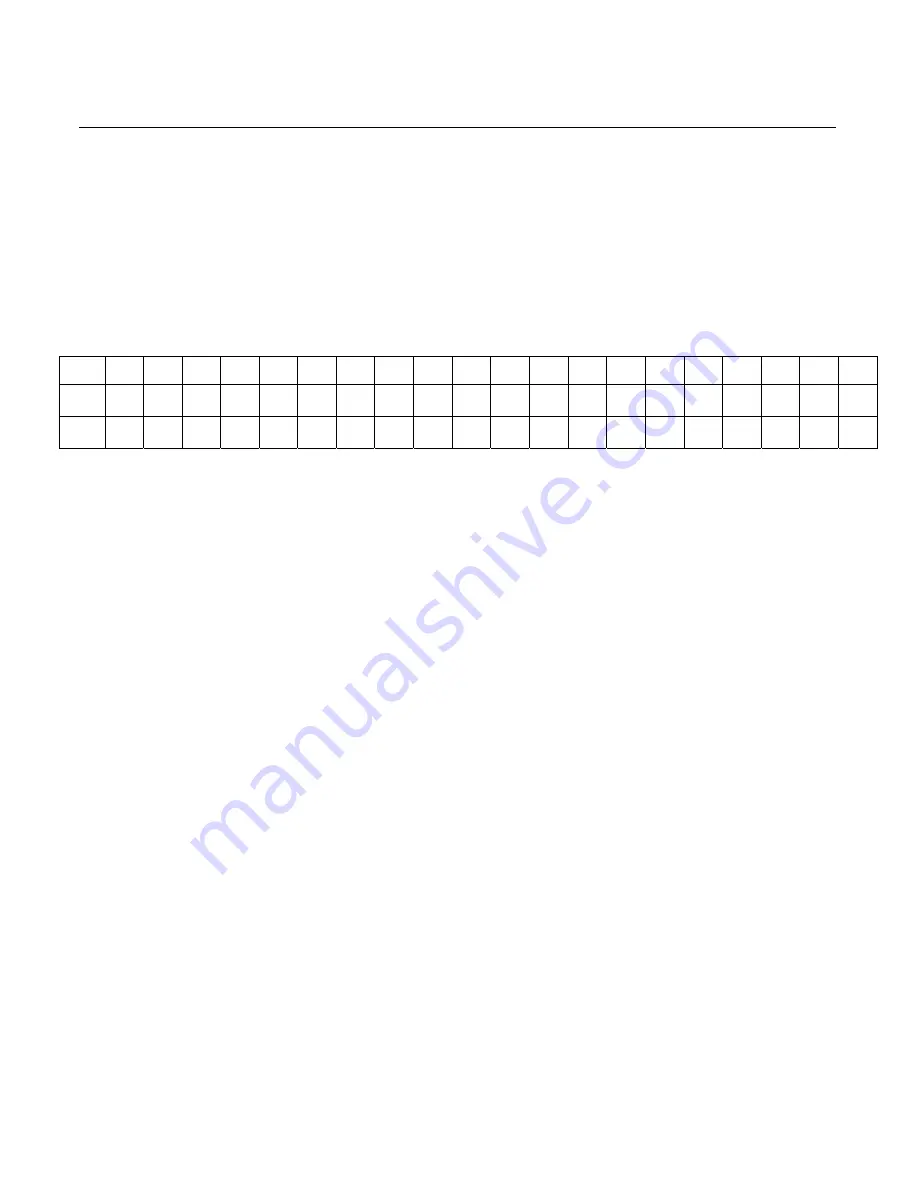
1 2 3 4 5 6 7 8 9 10 11 12 13 14 15 16 17 18 19 20
1
00h
01h
02h
03h 04h 05h 06h 07h 08h 09h 0Ah 0Bh 0Ch 0Dh 0Eh
0Fh
10h
11h
12h
13h
2
14h
15h
16h
17h 18h 19h 1Ah 1Bh 1Ch 1Dh 1Eh 1Fh 20h 21h 22h
23h
24h
25h
26h
27h
Reset (13h)
This
command
resets
the
module
to
the
following
conditions:
•
100%
luminance
•
All
5x8
dot
matrix
characters
set
to
20h (space)
•
Cursor
position
set
to
00h
•
Character
table
set
to
Table
1
•
All
user
defined
characters
cleared
Character Tables and Codes
Data
is
written
to
the
display
one
byte
at
a
time.
If
the
byte
received
is
greater
than
1Fh
it
is
considered
as
5x8
dot
matrix
character
data.
This
character
is
written
to
the
current
cursor
position
and
the
cursor
position
is
then
incremented
by
one.
When
data
is
written
to
the
last
character
position
of
the
top
line
the
cursor
position
moves
to
the
first
position
of
the
bottom
line.
When
data
is
written
to
the
last
character
position
of
the
bottom
line
the
cursor
position
moves
to
the
first
position
of
the
top
line.
Содержание RealPOS 70
Страница 1: ...NCR RealPOS 70 7402 Release 1 4 User Guide B005 0000 1463 Issue N ...
Страница 18: ...xvi ...
Страница 96: ...3 34 Chapter 3 Touch Screen Calibration Windows MT 7 12 ...
Страница 103: ...Chapter 4 Touch Screen Calibration Windows MT 5 64 SR4 4 7 8 Select Finish 9 Select Calibrate ...
Страница 119: ...Chapter 4 Touch Screen Calibration Windows MT 5 64 SR4 4 23 2 Select the Advanced button ...
Страница 122: ...4 26 Chapter 4 Touch Screen Calibration Windows MT 5 64 SR4 3 Select the Touchdown option 4 Select Close ...
Страница 124: ......
Страница 127: ...Chapter 5 Touch Screen Calibration Windows MT 5 64 SR6 5 3 6 Select Next at the Welcome screen ...
Страница 130: ...5 6 Chapter 5 Touch Screen Calibration Windows MT 5 64 SR6 10 Select Finish 11 Select Calibrate ...
Страница 146: ...5 22 Chapter 5 Touch Screen Calibration Windows MT 5 64 SR6 11 Select the Touchdown option 12 Select Close ...
Страница 148: ...5 24 Chapter 5 Touch Screen Calibration Windows MT 5 64 SR6 ...
Страница 152: ...6 4 Chapter 6 Touch Screen Calibration DOS ...
Страница 218: ...9 18 Chapter 9 Installing the Terminal in an Integrated Configuration ...
Страница 223: ...Chapter 10 2x20 Customer Display Interface 10 5 CP437 ...
Страница 224: ...10 6 Chapter 10 2x20 Customer Display Interface CP858 ...
Страница 225: ...Chapter 10 2x20 Customer Display Interface 10 7 CP866 ...
Страница 226: ...10 8 Chapter 10 2x20 Customer Display Interface CP932 ...
Страница 238: ...11 12 Chapter 11 APA Customer Display Interface 5X7 Character Table ...
Страница 239: ...Chapter 11 APA Customer Display Interface 11 13 10x14 Character Table ...
Страница 265: ...Chapter 12 Cash Drawer Interface 12 25 ReleaseMutex g_hHWPortMutex return result 7402 Modifications End Here end ...
Страница 268: ......
Страница 280: ...14 6 Chapter 14 Maintenance ...
Страница 288: ...16 4 Chapter 16 BIOS Updating Procedures ...
Страница 302: ...B 4 Appendix B Feature Kits ...


