Optotune 6X System
Setup Guide
Created By: John Dong
Rev A
Reviewed By:
Date: 9/6/2019
Page 2 of 7
This document contains information proprietary and confidential to Navitar, Inc. Any disclosure, use or duplication of this document or any of the information contained
therein for other than the specific purpose for which it was disclosed is expressly prohibited except as Navitar, Inc. may otherwise agree to in writing.
2.
The application should start shortly after installation.
3.0
NAVITAR DEVICE CONTROL APPLICATION
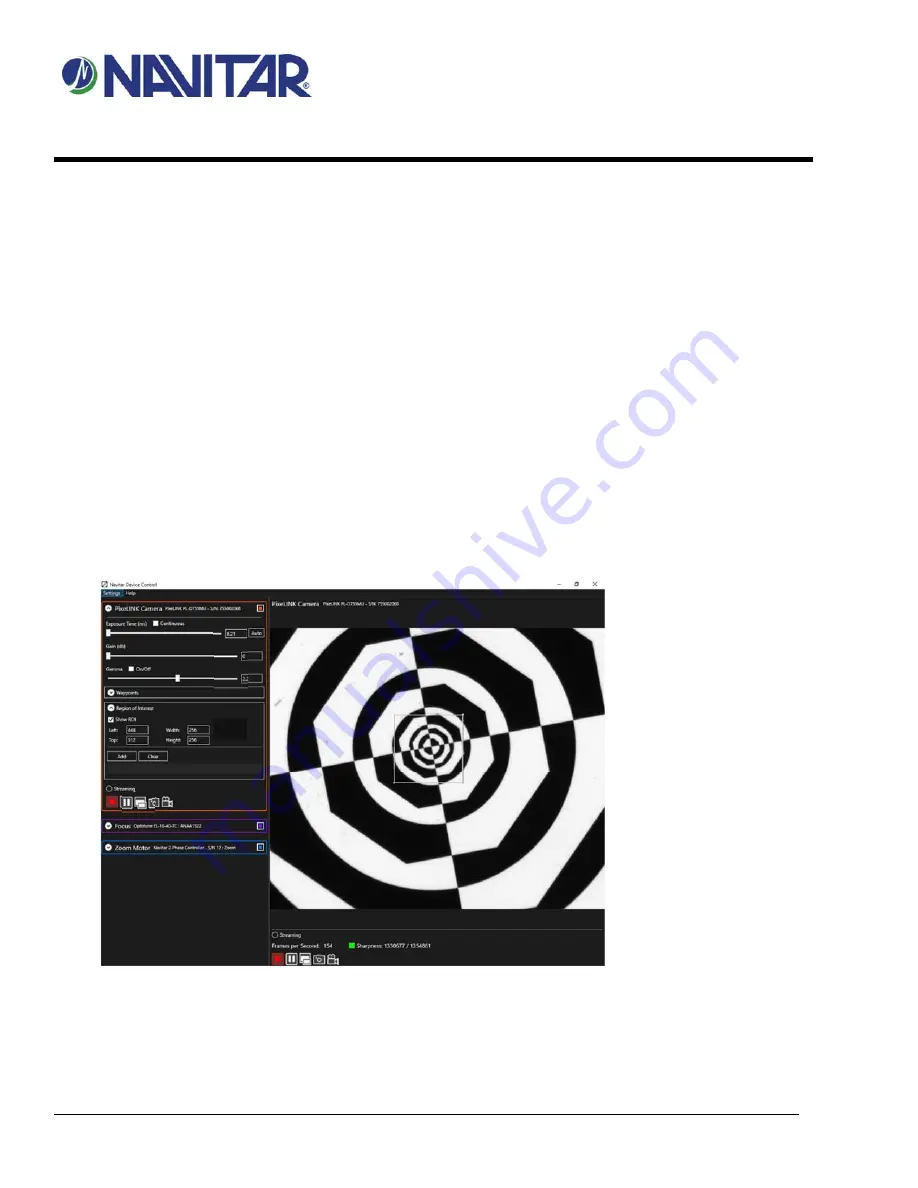
A high‐level description of some of the Optotune Control application’s functionality and controls.
3.1
P
RE
-S
TARTUP
1.
Make sure PixeLINK Camera is connected to PC via USB3 (USB2 will lead to significantly lower frame rates).
2.
Make sure Optotune Lens is connected to the Optotune Lens Driver, and the Optotune Lens Driver is connected
to the PC
3.
Make sure any Navitar Motor Controllers are initialized and connected to the PC
3.2
S
TART
-
UP
1.
Launch the application from your start menu.
2.
Application will check for updates before starting and may ask for permission to install required files.
3.3
C
AMERA
C
ONTROL
3.
1.
Exposure
: Increasing Exposure Time will increase the brightness of the image at the cost of framerate.
a.
Drag the slider or use the numeric control box to manually adjust the Exposure Time.
b.
Click the Auto button to run Auto‐Exposure. The Auto exposure routine will automatically adjust the
Exposure Time until the image’s contrast is well balanced.
6
7
1
2
3
4
5
4


