16
First Steps
17
14. The Navigation Menu
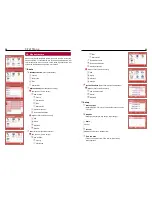
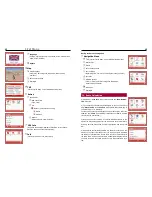
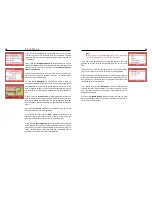
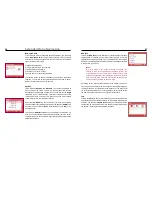
If you press OK key during active route navigation, another menu will
be displayed – the
Navigation menu
. You can choose from the follo-
wing options:
The first menu item
TMC
complies with the menu item of the main
menu. The received traffic messages are listed there in tabular form.
Please note:
This function is only available to you if you have connec-
ted the USB plug to the monitor.
In the menu item
Nearest POI
, you can choose from a variety of en-
tered addresses, which are divided into categories, for your current
position. The POIs in your proximity, beginning with the closest, are
listed in a table.
If, during the journey, you arrive at a place, where you are temporarily
unable to pass in your vehicle (e.g. open pontoon bridge or closed rail-
way crossings), you can manually select a reroute in the menu item
Detour
. Using the scroll keys, you can change the maximum distance
you would like to accept to detour around this place. The radius starts
at 500 meters and stops at 15km.
The menu item
Save current position
is a very useful function. For
example, if you drive past somewhere, which due to time limitations,
you cannot look at properly, yet would still like to see, then, using this
menu item, you can save your current position. A later navigation to this
position is therefore possible. You can find the saved item in the address
book in the menu item Route.
The display can be switched from day and night values and vice versa
via the menu item
Day/Night
.
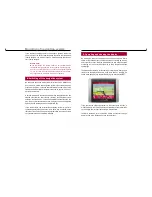
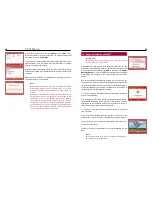
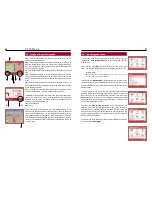
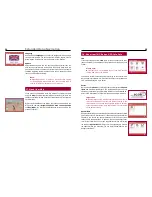
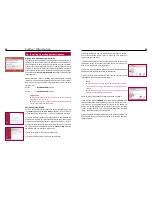
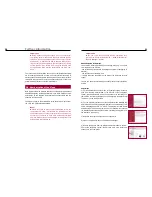
13. Display of Route Navigation
(A)
– The Map View displays the street you are currently in and the
streets you will travel on next.
(B)
– Indicates intersections and change of direction with the help of
an arrow. Before curves, the arrow will incline in the respective direc-
tion. The further to the right or left the arrow inclines, the sharper the
curve you are about to enter.
(C)
– Indicates the remaining distance and time to destination / arrival
time.
(D)
– Indicates the distance to the next change of direction. A distance
closer than 450 m is indicated by bars at the left. One bar denotes 30
meters. The bars at the right automatically switch to indicating the next
event.
(E)
– Next to the
Y
symbol you will see a figure between 0-12. This fi-
gure indicates how many satellites are currently received and processed
by the navigation system.
(F)
– The volume icon indicates the volume of the voice prompts. If you
set the volume to mute, no bars will appear next to the icon.
In addition to the map view mode there is also the arrow display mode
and the full screen view of the 2D or 3D presentation. The information
displayed is similar to the information described under
(A)
to
(F)
. In
addition, you’ll find information on:
(G)
– Current Speed
(H)
– Time
If you press down on the triangle (I) on the information bars on the
bottom in the full screen mode or the two other modes, an additional
function menu appears. Here, you can change the volume level, retrie-
ve information about your destination, select view types or cancel the
route guidance. If the map display appears in black and white, the con-
tact with the satellites has been interrupted. A satellite icon flashes at
the same time.
A
E
B
C
D
F
H
G
I


