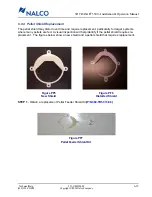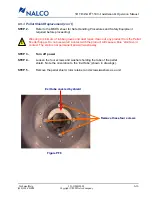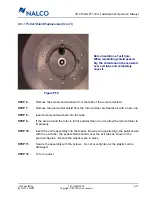
521-OM0108.88
Copyright
2009 Nalco Company
6-14
Technical Help
(630) 305-CHEM
3D TRASAR
5500 - Installation & Operation Manual
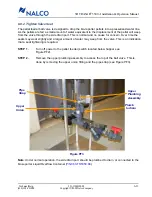
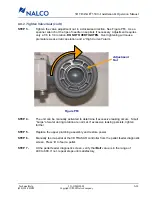
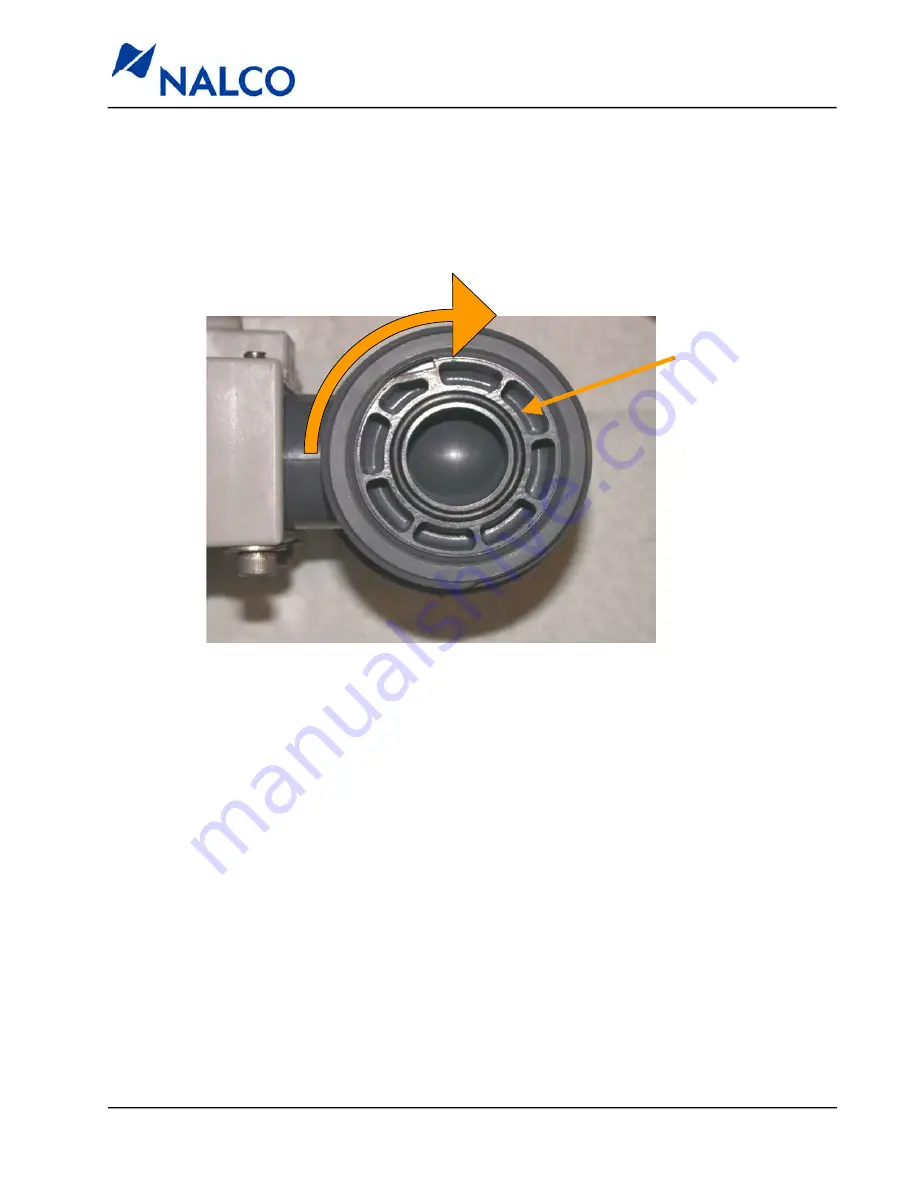
Figure PF4
Adjustment
Nut
6.9.2 Tighten Valve Seat (con’t)
STEP 3
-
Tighten the valve adjustment nut in a clockwise direction. See Figure PF4. Use a
spanner wrench or the tips of needle nose pliers if necessary. Adjustment requires
only a 1/8 to 1/4 rotation.
DO NOT OVERTIGHTEN
. Over tightening will cause
premature wear, erratic operation and a “High Current” alarm.
STEP 4
-
The unit can be manually activated to determine if excessive leaking occurs. Small
“burps” of water during rotation are normal. If excessive leaking persists, tighten
further.
STEP 5
-
Replace the upper plumbing assembly and restore power.
STEP 6
-
Manually feed a pellet at the 3D TRASAR controller from the pellet feeder diagnostic
screen. Press ‘
0
’ to feed a pellet.
STEP 7 -
At the pellet feeder diagnostic screen, verify that ‘
Ball
’ value is in the range of
400 to 600. If not, repeat steps until satisfactory.
Содержание 3D TRASAR Series
Страница 51: ......
Страница 202: ...Model 060 TR5120 88 Pellet Feeder Plumbing Assembly B 10...
Страница 203: ...Model 060 TR5540 88 High Pressure Water Reinjection System B 11...

