background image

E2

Naim

Uniti

  Installation  and  Connection

2.2  Mains  Power  Connection

Connect NaimUniti to a mains power socket using either 
the mains cable supplied or a Naim Power-Line.

2.3  FM/DAB  Aerial  Connection

In order to enable high quality FM and DAB radio, 
NaimUniti requires a, strong, interference-free radio signal. 
Its rear panel FM/DAB Aerial socket must be connected, 
via 75ohm low-loss coaxial cable, to a suitable aerial. The 
aerial should be mounted clear of large obstructions and 
as high as possible; ideally on a roof.

Note:

 Your local retailer should be able to offer advice on 

a suitable aerial and aerial installer.

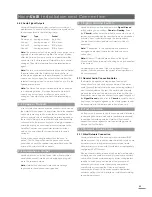
2.4  Audio  Signal  Connections

2.4.1 Audio Signal Inputs

NaimUniti provides five stereo analogue inputs and five 
S/PDIF digital inputs including one combined analogue/
digital input socket. Connection to the inputs is made via 
a variety of socket types. The following table lists the inputs 
and their socket type:

Input 

Type


Socket


an. 1 

Analogue  

RCA phonos 


an. 2 

Analogue  

RCA phonos 

an. 3 

Analogue  

RCA phonos 

phono 

Analogue  

240° 5 pin DIN 

front panel 

Analogue  

3.5mm jack 


Digital 

3.5mm mini-TOSLINK jack 

dig. 1 

Digital  

Coaxial (RCA phono) 

dig. 2 

Digital  

Optical (TOSLINK) 

dig. 3 

Digital 

Coaxial (RCA phono) 

dig. 4 

Digital  

Optical (TOSLINK)

Note:

 The Phono DIN socket carries a power supply output 

suitable to power a Naim phono preamplifier. A turntable 
cannot be used with NaimUniti without an external phono 
preamplifier. 

Note:

 The front panel analogue/digital jack socket can 

accept both conventional analogue 3.5mm plugs and 
mini-TOSLINK optical digital plugs. It will automatically 
identify the type of plug inserted and handle the signal 
appropriately.

Always use high quality interconnect cables to connect 
sources to NaimUniti inputs.

2  NaimUniti  Installation  and  Connection

NaimUniti should be installed on an equipment stand intended for the purpose. Do not 
stand it directly on top of another item of equipment and ensure it is well ventilated. Care 
should be taken to ensure that it is level. It should be installed in its final location before 
connecting cables or switching on.

A transit screw on the underside of the NaimUniti case should be removed before use and 
replaced if the unit is to be moved. This transit screw must not be used in any other Naim 
product. Handle NaimUniti with extra care once the transit screw is removed.

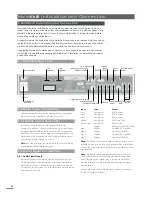
Connecting NaimUniti to mains power and to a variety of audio peripherals and sources 
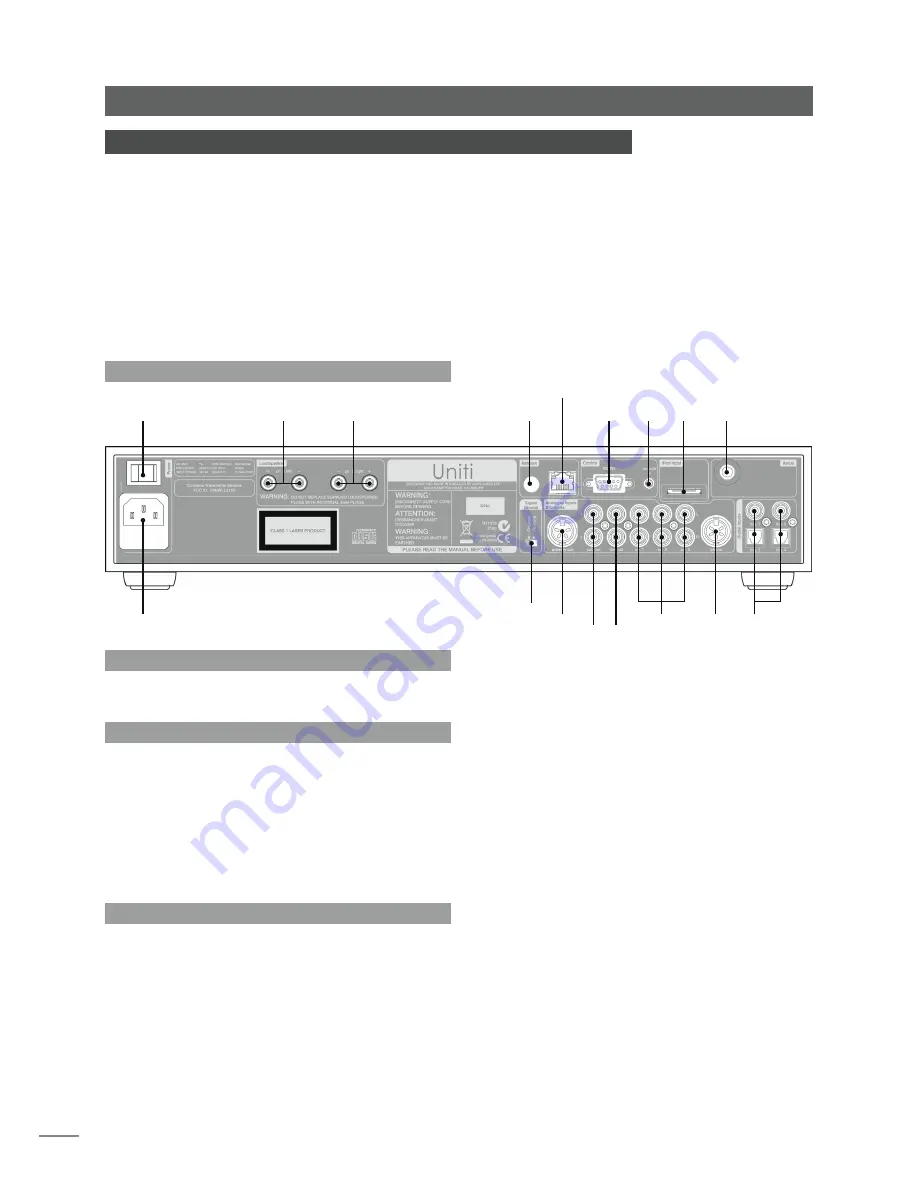
is described in the following paragraphs. Diagram 2.1 illustrates the NaimUniti rear panel 
connection sockets.

2.1  NaimUniti  Rear  Panel

mains input 

and fuse

power switch 

network socket 

FM/DAB aerial 

socket 

RS232 

remote

input 

(RC5)

iPod

input 

left 

speaker 

right 

speaker 

 signal ground switch

preamp output

 subwoofer outputs 

line out

analogue 

inputs

phono 

input

digital 

inputs

wireless network (WiFi) 

antenna socket

Содержание UNITI - REFERENCE ISSUE 1.1

Страница 1: ...R E F E R E N C e M A N U A L N A I M U N I T I A L L I N O N E A U D I O P L A Y E R E N G L I S H...

Страница 2: ...imUniti Specifications Contents iPod and iTunes are trademarks of Apple Inc registered in the U S and other countries Windows Media is a trademark of Microsoft Corporation The Made for iPod logo indic...

Страница 3: ...post volume control 1 1 3 Controls The NaimUniti preamplifier provides volume balance input selection and mute control from either the front panel or the supplied remote handset 1 1 4 Speaker Outputs...

Страница 4: ...Naim phono preamplifier A turntable cannot be used with NaimUniti without an external phono preamplifier Note The front panel analogue digital jack socket can accept both conventional analogue 3 5mm...

Страница 5: ...separately for headphones and speakers 2 7 Signal Ground Switch NaimUniti is fitted on its rear panel with a Signal Ground switch offering two positions Chassis or Floating Select the Chassis positio...

Страница 6: ...tically If this appears to be the case ensure that DHCP is selected in the Network Settings menu and re start NaimUniti If problems still persist contact your retailer installer or Naim Audio directly...

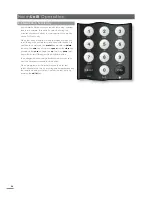
Страница 7: ...2 1 Normal Play Mode In normal play mode the NaimUniti front panel buttons perform the operations described by their legends mute silences NaimUniti vol decreases volume vol increases volume input se...

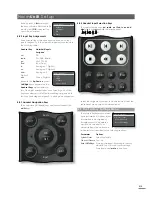
Страница 8: ...el Display list mode Setup mode is entered by pressing the handset setup key or pressing and holding the front panel list button It provides access to all user configurable NaimUniti parameters The sc...

Страница 9: ...ntially selects the FM DAB and iRadio inputs pc Sequentially selects the UPnP and USB inputs iPod Sequentially selects the iPod and front panel inputs tv Sequentially selects the an 1 and dig 1 inputs...

Страница 10: ...provides a delete function the zero key provides a space and the store key provides letter case change The up 5 and down 6 keys will also scroll through all the available letters The enlarged handset...

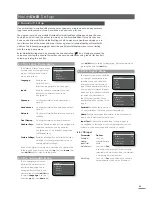
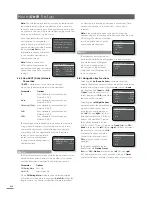
Страница 11: ...ain a full understanding of NaimUniti s abilities The following paragraphs describe each NaimUniti setup menu in turn starting with the setup home menu Enter NaimUniti setup mode by pressing the hands...

Страница 12: ...an iPod is offered because there may be a small reduction in iPod sound quality when simultaneously charging and playing 4 3 7 USB Input Parameter Options Enabled Yes No Name User definable Input Trim...

Страница 13: ...ion of addresses as items are connected or switched on while connected to the network NaimUniti is set up by default to use DHCP Note If NaimUniti is connected to the network both wirelessly and via e...

Страница 14: ...the last interface operation is carried out Time periods of between 10 seconds and 1 hour can be selected Note If the display has been switched off using the handset disp key this setting will take p...

Страница 15: ...3 iRadio 4 Unassigned Factory Settings 1 3 4System Status Clear All Presets Reset All Settings preset store mute exit vol vol ok list abc def ghi jkl mno pqrs del input input tuv wxyz disp exit cd rad...

Страница 16: ...an input is not operational for example no USB memory stick is attached when selected NaimUniti will display a descriptive alert message 5 2 Volume Control NaimUniti volume control is achieved by usi...

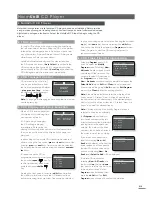
Страница 17: ...ue digital and analogue electronics Select the NaimUniti CD input to begin using the CD player CD Play List Program 41 6 42 2 4 20 3 3 56 to play by scrolling up and down the list using the handset up...

Страница 18: ...or insertion Note CD playlists cannot contain duplicate tracks 6 5 CD Player Maintenance It is important for reliable operation of the NaimUniti CD player to ensure that the surfaces of the transport...

Страница 19: ...anel aerial input Internet radio requires NaimUniti to be connected to a broadband internet service via a network router that incorporates an appropriate firewall NaimUniti is able to store a total of...

Страница 20: ...t key Note Preset operations store rename or delete are not possible directly from list mode The store key must be pressed when in normal play mode to access these options 7 5 Using Radio Presets To s...

Страница 21: ...work router If the router provides an internet connection it should incorporate a firewall If NaimUniti is already connected to a network begin by selecting the UPnP input 8 1 UPnP Servers UPnP server...

Страница 22: ...y charge nor be controllable via the NaimUniti interface An incompatible iPod can always be connected via its headphone socket to the NaimUniti front panel input or with an appropriate cable to one of...

Страница 23: ...l enter list mode and show the structure of USB stored audio files Use the handset up 5 down 6 left 3 and ok list key to browse and select items Note The memory stick can be safely connected or discon...

Страница 24: ...ono preamplifier Digital Inputs 5 x S PDIF 2 x optical TOSLINK 2 x coaxial 1 x 3 5mm miniTOSLINK Analogue Input Overload 27 dB RCA connections Phono and Front panel 33 8 dB USB Front panel socket Othe...

Страница 25: ...Naim Audio Limited Southampton Road Salisbury England SP1 2LN Tel 44 0 1722 426600 Fax 44 0 870 2244702 W www naimaudio com Part No 12 001 0081 Iss 1 1...

Отзывы: