


DTS NEO: 6™ SURROUND
This mode applies the conventional 2-channel signals such as digital PCM
or analog stereo signals to the high precision digital matrix decoder used
for DTS-ES Matrix 6.1 to achieve 6.1-channel surround playback. DTS Neo: 6
surround includes two modes for selecting the optimum decoding of the
signal sources:
DTS NEO: 6 CINEMA:
This method is ideal for the reproduction of
movies. The decoding takes place by emphasizing the separation
in order to achieve the same atmosphere with 2-channel, as with
6.1-channel sources.
DTS NEO: 6 MUSIC:
Mainly recommended for music reproduction. The
right and left front channels do not pass through the decoder and are
reproduced directly so there is no loss in sound quality, and the effects
of the right surround, left surround, central and back surround channels
add a natural sensation of expansion of the sound field.
ENHANCED STEREO
Please refer to the same description of “ENHANCED STEREO” under the
“LISTENING MODES” segment of the “OPERATION - USING THE M17 - MAIN
MENU”.
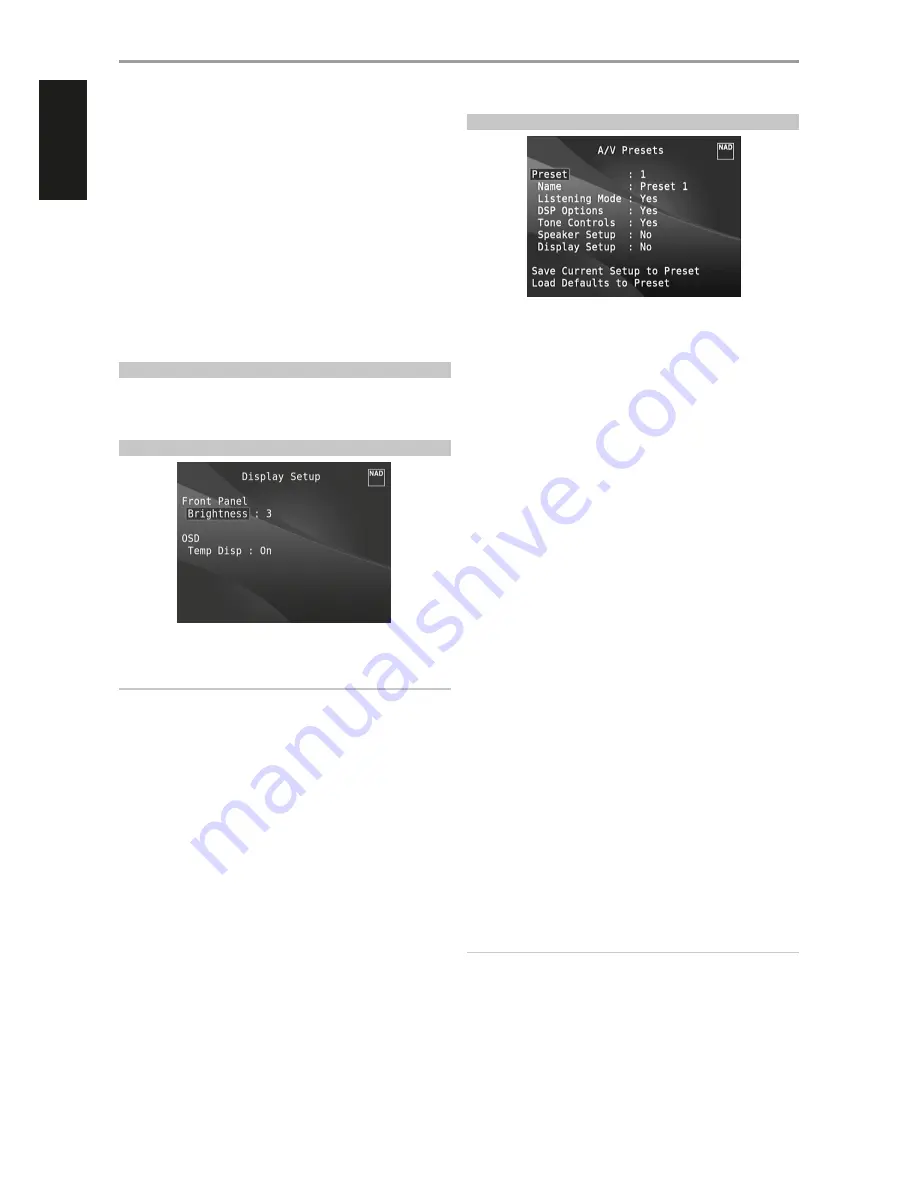
DISPLAY SETUP
The “Display Setup” menu allows adjusting the brightness of the Vacuum
Fluorescent Display (VFD) and availability of On-Screen Display (OSD).
NOTE
The configurations set forth at “Display Setup” are carried over whenever
it is enabled during A/V Preset setting. Please see also the section below
about “AV Presets”.
Brightness:
Reduce or increase brightness level of the VFD. “1” is the
lowest brightness level and “3” the highest brightness setting.
Temp Disp:
This applies to the OSD that is temporarily shown at video out
whenever any of the front panel controls or their corresponding keys in the
remote control is activated. Set to “On” if it is desired to show the applicable
OSD at the monitor/TV; otherwise, select “Off”.
A/V PRESETS
The M17’s simple but powerfully flexible system of “A/V Presets” allows
you to customize virtually every aspect of your audio-video playback, and
recall them with a single key-press. The parameters “Listening Mode”, “DSP
Options” and “Tone Controls” accessible via the “Main Menu” together with
“Speaker Setup” and “Display Setup” configurable through “Setup Menu” are
stored together as a single A/V Preset.
You might create one A/V Preset optimized for pop music and another for
classical. One more A/V Preset can be set up to recall each family member’s
favorite setting or one for fully cinematic home-theater playback and yet
another one for late-night movies, with each A/V Preset fine-tuned to a
particular scenario or preference.
CREATING PRESETS
Creating an A/V Preset consists simply of storing a complete set of the
parameters set forth in “Listening Mode”, “DSP Options” and “Tone Controls”
accessible via the “Main Menu” together with “Speaker Setup” and “Display
Setup” configurable through “Setup Menu”.
Scroll to “A/V Presets” using the [
R/T
] keys to save a collection of said
parameter settings to a Preset. Select a Preset number and by pressing the
[
R/T
] keys, you can selectively include in the particular A/V Preset any of
the above-mentioned parameter settings by choosing “Yes”. If you decide
not to include in the particular A/V Preset a certain parameter setting, select
“No”.
Now in order to save the settings chosen for the particular A/V Preset
number, scroll down to “Save Current Setup to Preset” and press the [
E
]
key. If you chose to load instead the default settings, scroll down to “Load
Defaults to Preset” and press the [
E
] key to restore the default settings.
In addition to the parameter settings, the A/V Preset label itself can be
assigned a new name. This new Name will be shown in the VFD as well as
on the OSD.
To rename the A/V Preset label, scroll to “Name” and press [
E
] to go the first
character. Then, press [
R/T
] to pick and select through the alphanumeric
selections. Press [
W/E
] to move to the next character or back to the
previous character and at the same time save the changes done on the
current character.
NOTE
The selected A/V Preset remains in force until you select a different A/V
Preset.
OPERATION
USING THE M17 – SETUP MENU
26
ENGLISH
FR
ANÇ
AIS
ESP
AÑOL
IT
ALIANO
DEUT
SCH
NEDERL
ANDS
SVENSK
A
РУ
ССКИЙ


