25
given in pixels. The same function is also available from the
‘Tools’ Tab Page
Calibrate
Scene
Calibrate the Scene. After depressing this button you will be
required to click on two points in the image for which you
know the distance apart. You will then have to enter this
distance into a dialog as shown below. This information will
be used for measuring tools.
Save to
reticle file
Saves data to a reticle file. You will be prompted for a
filename for a reticle file. Now wherever you click the
image the position of the click will be saved in a comma
separated format to the file specified and displayed on the
image with a cross-hair. This will continue until you depress
the reticle button again. See below under ‘Tool’ For more
in-depth instructions.
Calibrate and Reticle functions are repeated on the Measure Tools Tab.
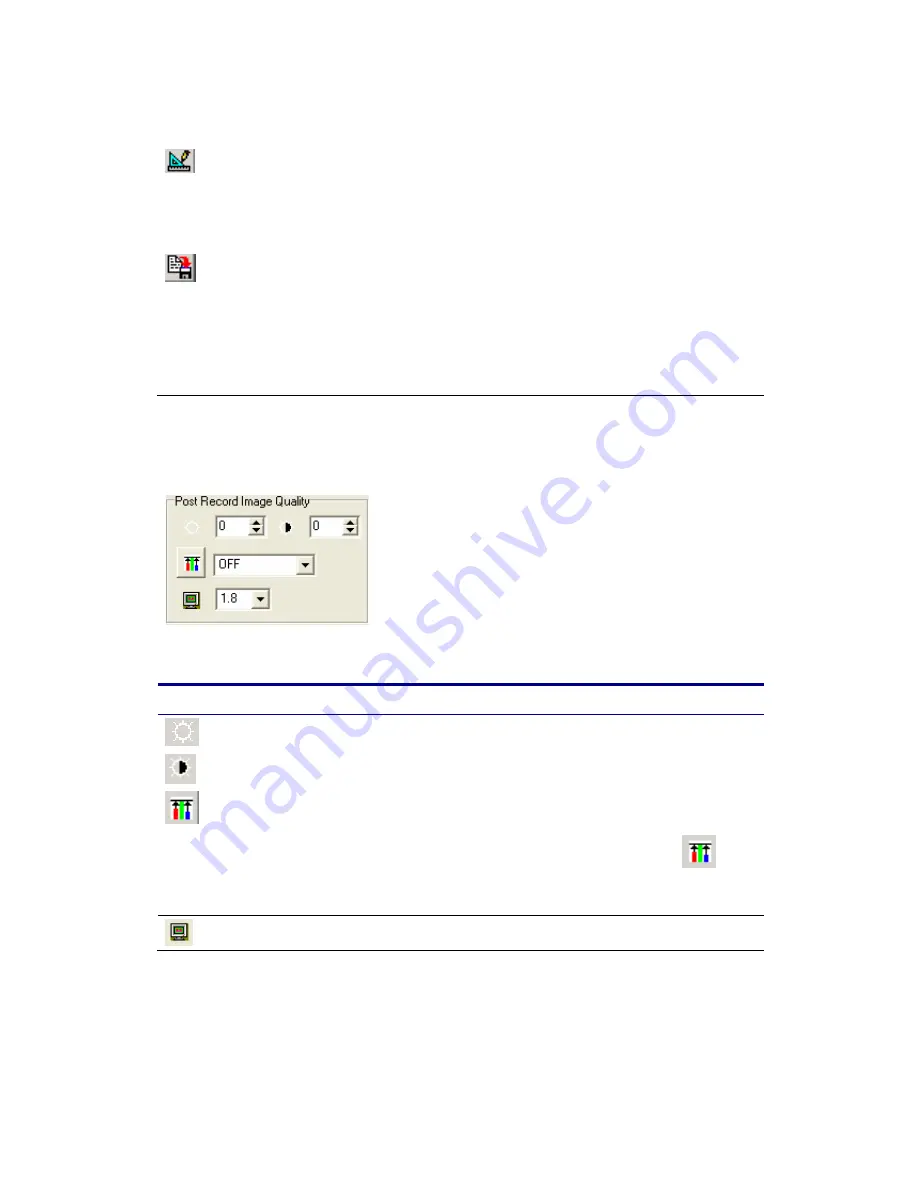
Image Quality Settings
Image quality settings are only available AFTER a recording has been made.
Use this …
To do this…
Brightness
Adjust the brightness of the image
Contrast
Adjust the contrast of the image
White Balance
Adjust the White Balance of the image.
Select from the Drop down list. If you select
CUSTOM then you should push the button (
) and
then click the image to set the white balance at the
clicked pixel
Gamma
Sets the gamma from with either 1, 1.8 or 2.2
Recorded Information
Содержание HotShot
Страница 1: ...HOTSHOT Version 1 0 User Manual NAC Image Technology Inc Pixoft Diagnostic Imaging Ltd Feb 2005 ...
Страница 5: ...5 6 Please wait while the DirectX components and drivers are extracted and installed ...
Страница 16: ...16 8 In the Digital Signature Not Found window click the Yes button ...
Страница 40: ...40 Miscellaneous Preferences The Default Settings button will show the preferences screen ...


