MyTek USB2 CLASS2 Скачать руководство пользователя страница 12

12

Mytek USB2 Class2

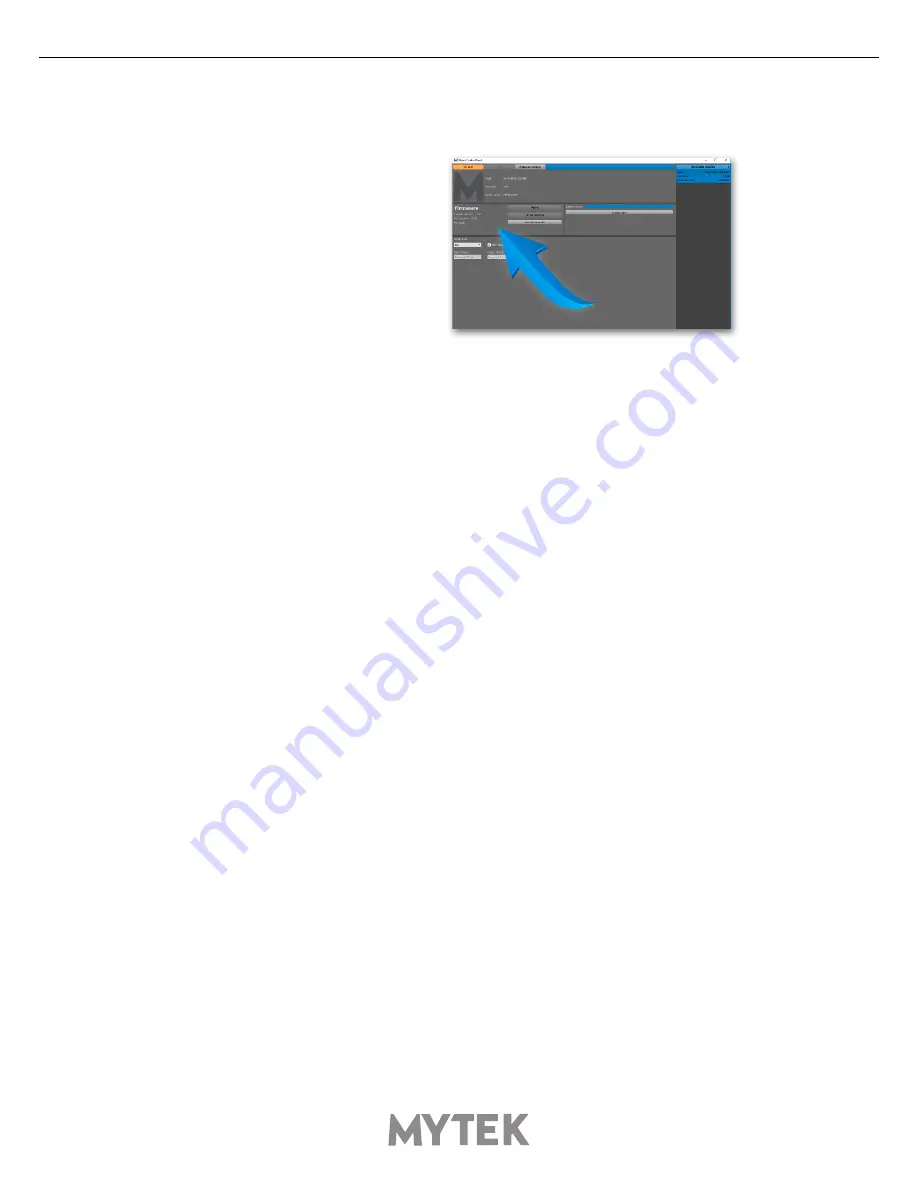
13. Firmware update Windows and OS X

The current revision of the USB2 

CARD2 DIO CARD firmware is shown 

in the MytekControl „General” tab.

• 

The firmware can be updated by using USB2 port and Mytek Control Panel application. It requires 

already installed USB2 driver (PC only) and Mytek Control Panel application. To download the 

current firmware as well as drivers please visit mytekdigital.com

• 

It  is  recommended  to  turn  off  any  powered  speakers  /  power  amps  connected  to  the  USB2 

CLASS2 DIO CARD before proceeding with the firmware update.

Follow the steps below to update the firmware:

1. 

Download the latest firmware (*.mfb) file from mytekdigital.com

2. 

Click „Load firmware file” button and browse to the new firmware file then click „Open”.

3. 

Press the „Update” button to confirm uploading the firmware file to device's memory.

4. Confirm your choice by clicking „Yes” when warning dialog appears. A progress bar will  indicate 

when the flash process is finished.

5. 

When the update is finished the the CARD will reset and start in sleep mode. To switch it on press 

the knob once. Once the CARD has been restarted the firmware update is complete. A reboot of 

the computer is not necessary.

When the update fails:

1. Disconnect power cord.
2. Press and hold the BOOT MODE button and connect the power cord again.
3. The CARD runs in Bootloader mode. The 8x192 will not detect USB DIO Card
4. The update process should then be tried again.
5. 

To restore to standard mode turn the device off and on again.

Содержание USB2 CLASS2

Страница 1: ......

Страница 2: ...tips and further product information please visit our website mytekdigital com Technical support issues are handled via our online support ticketing system Please enter details of the ticket in the su...

Страница 3: ...front panel 8 9 Input Connection 8 10 Signal Routing 8 11 Windows installation and configuration 9 11 1 Windows USB 2 0 driver installation 9 11 2 Windows Mytek Control Panel installation process 10 1...

Страница 4: ...connecting 8x192 ADDA via the USB interface and using this converter as the audio interface for Windows Linux and Mac OS 4 Before You Begin Before connecting the USB2 CLASS2 card please check if the m...

Страница 5: ...r Most current drivers are available in the download library at www mytekdigital com 3 Connecting the card to the computer Turn off the ADDA 8x192 converter before plugging in the USB cable The comput...

Страница 6: ...s before unpacking and handling the DIO card Turn off power and detach power and signal cables while working with the top cover removed To install the USB card 1 Check if the power cord and all signal...

Страница 7: ...ide and secure it with four screws 8 Attach converter top cover 9 Connect power and signal lines 10 Turn the converter on After boot up which takes approx 20 sec the converter will switch to regular m...

Страница 8: ...ing frequency in Control Panel Correct clock configuration is necessary for the proper operation of the converters and for the best sound quality Make the 1st Mytek in the chain the clock master for t...

Страница 9: ...rchive by right clicking on the zip archive icon and selecting Extract Here 2 Installation works automatically by a double click on MytekUSB2Drv v4 xx x exe file 3 Once the Setup exe opens click Next...

Страница 10: ...s click Next then accept license and click Next again 3 All options should be choosen in Custom Setup menu To confirm the installation of each option select Will be installed on local hard drive then...

Страница 11: ...iverless operation basically means plug and play The USB2 CLASS2 DIO CARD will automatically show up in your computer s list of supported audio devices as USB2 CLASS2 DIO CARD Simply choose that as yo...

Страница 12: ...mytekdigital com 2 Click Load firmware file button and browse to the new firmware file then click Open 3 Press the Update button to confirm uploading the firmware file to device s memory 4 Confirm you...

Страница 13: ...isconnect power and signal cables while working with the top cover removed To perform firmware update of 8X192 ADDA converter 1 Check if the power cord and signal and clock lines are disconnected 2 Re...

Страница 14: ...hen all LEDs should turn on momentarily for about 10 20sec and subsequently the unit should begin normal operation Check Mytek webpage for information on the latest firmware versions www mytekdigital...

Страница 15: ...with one wider than the other A grounding type plug has two blades and a third grounding prong The wide blade or the third prong are provided for your safety If the provided plug does not fit into you...

Страница 16: ...1 this device may not cause harmful interference and 2 this device must accept any interference received including interference that may cause undesired operation This product with the CE marking comp...

Отзывы: