14
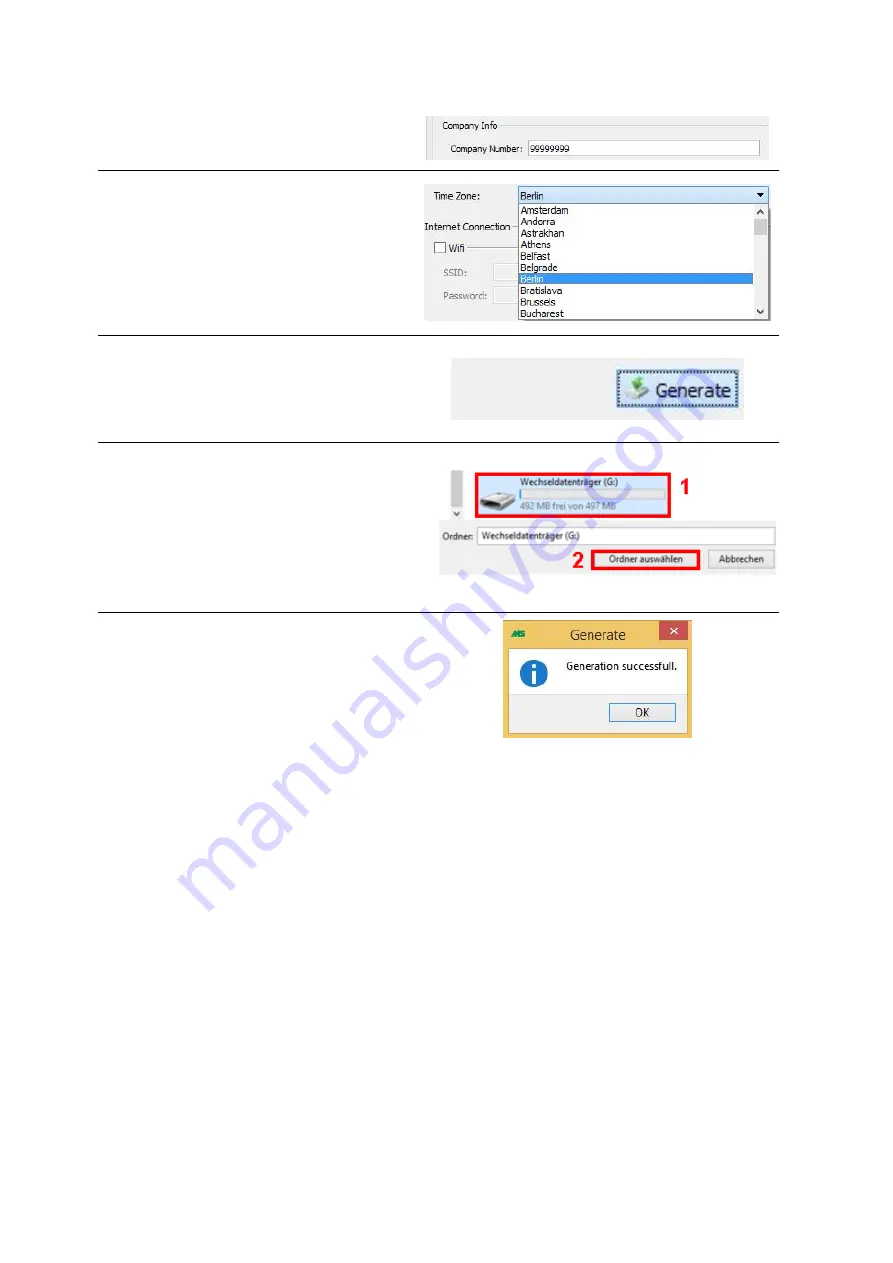
First enter your company number in the box
provided.
Make sure that the correct time zone is
selected.
You can select or change the time zone at
any time with the drop-down menu.
If you are satisfied with your settings, you
can save the settings on your USB flash
drive. Click on the button “Generate”
located at the bottom right of the window.
Afterwards Windows Explorer will open.
Please note that your USB flash drive may
have a different name and a different drive
letter.
(1) Now select your USB flash drive and (2)
confirm your selection with “Select Folder”.
After successful verification, a small pop-up
window is displayed.
Wait until the message shown in the picture
is displayed and confirm with “OK”.
Once your configuration is completed successfully, remove the USB flash drive from your computer.
Make sure that your charging station is turned on and connect the configured USB flash drive to your
charging station.
Pay attention to the LED of the charging station. Once the settings from the USB flash drive have
been applied successfully, you can recognize this by observing the LED on the charging area. The area
will flash red first and then change to a constant red and blue light after the settings have been
applied.
Your settings have now been applied successfully.


