13
6.1.
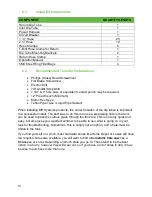
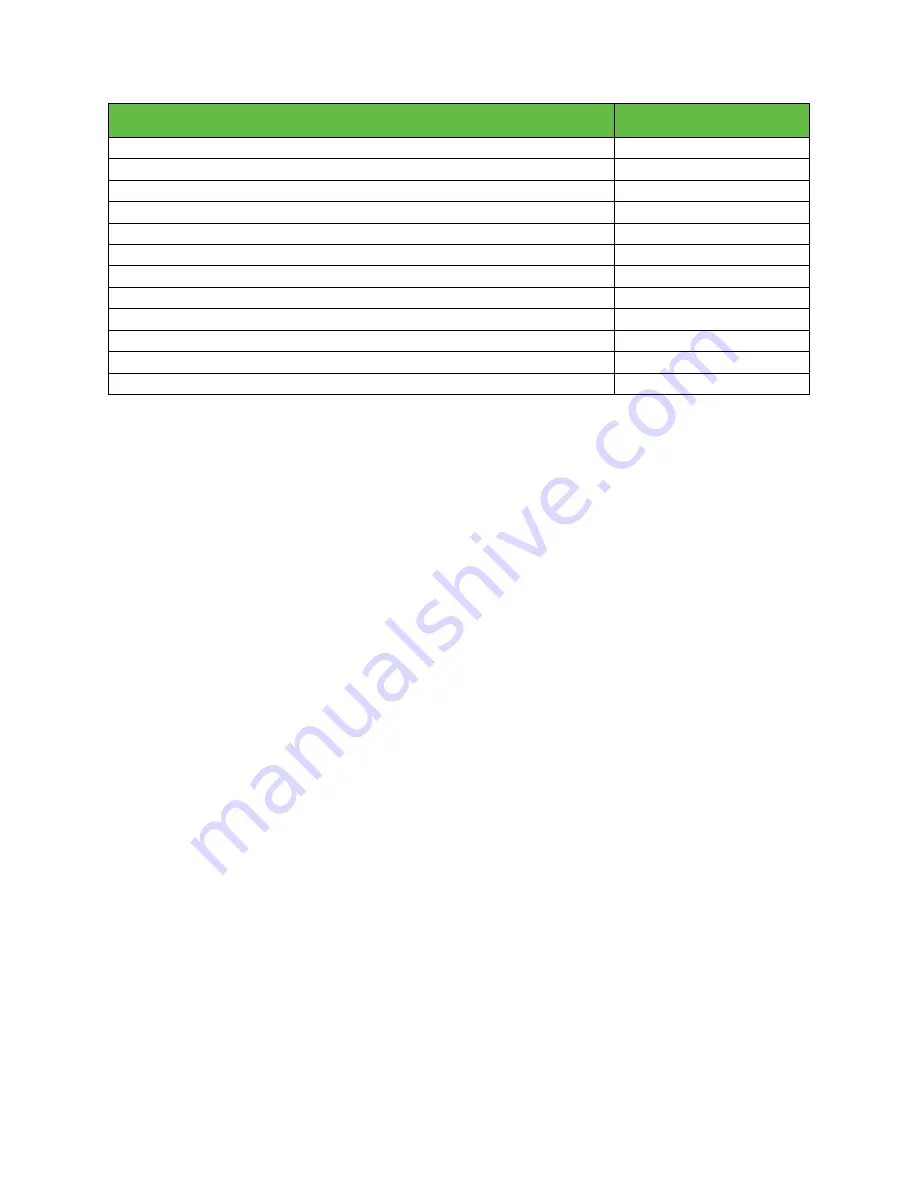
Install Kit Components
COMPONENT
QUANTITY/LENGTH
Return Dip Tube
1
Inlet Dip Tube
1
Power Harness
1
Circuit Breaker
1
1 ¼”” Hose
25’
2 ½” Hose
10’
Hose Clamps
5
T-Bolt Hose Clamp for Return
1
Dip Tube Mounting Brackets
2
Return Hose Clamp
1
Operation Manual
1
5MC Steel Ring Filter Bags
4
6.2.
Recommended Tools for Installations
•
Phillips (Cross) Head Screwdriver
•
Flat Blade Screwdriver
•
Electric Drill
•
7/8” UniBit (Step Drill)
•
1 3/4
” & 3” hole saw, or equivalent conduit punch may be required.
•
12” Pipe Wrench (Minimum)
•
Metric Hex Keys
•
Teflon Pipe Tape / Liquid Pipe Sealant
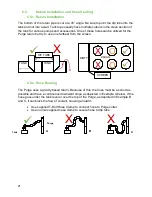
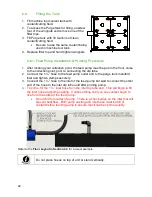
When installing MP Systems products, the correct location of the dip tubes is important
to a successful install. The best way to do this is to use a preexisting hole in the tank
can be used to pass the various pipes through the tank top. This is not only quick and
easy, but also gives you a perfect window to be able to see what is going on in your
tank for troubleshooting. Sometimes, this is simply not an option, and a hole must be
drilled in the tank.
If you find yourself in a pinch, most hardware stores like Home Depot or Lowes will have
the required hole saws available, you will want to find a
bi-metallic hole saw
like a
Milwaukee or Lenox depending on which store you go to. These tend to be the best
option in a hurry, however they will wear out, so if you have a lot of holes to drill, it may
be wise to purchase more than one.
Содержание PURGE Series
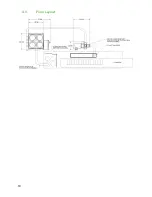
Страница 15: ...10 4 3 Floor Layout ...
Страница 44: ...39 10 Schematics and Diagrams 10 1 1 POWER SCHEMATIC 208 230V ...
Страница 45: ...40 10 1 2 POWER SCHEMATIC 480V ...
Страница 46: ...41 10 2 CONTROL SCHEMATIC ...
Страница 47: ...42 10 3 FLOW DIAGRAM ...

