Page 8
M-880 (Gen2) Series Digital Game Camera
Page 9
M-880 (Gen2) Series Digital Game Camera
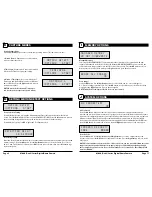
TIMELAPSE
INTERVAL 10 SEC
Interval Time Setting
Press the
OK
button. Use the
Up/Down
buttons to choose between 10, 30 seconds / 1, 5, 10, 15, or
30 minutes / 1, 2, 3, 6, 12 hours or 1 day. When your selection has been made, press the
Left
button
to go to the next option.
T.L. PROGRAM
#1
START 6AM
Setting Program Wake up
Press the
OK
button. Use the
Up/Down
buttons to choose between 24 different settings: any hour
from MlDNlGHT to 11 PM. This will determine what time the camera will wake up during the program
and begin its time lapse program. Setting to ALWAYS ON will make the camera operate in timelapse
24 hours/day. Press
Left
button to go to the next option.
T.L. PROGRAM
#1
STOP 10AM
Setting Program Sleep
When wakeup time is set, the camera will automatically move to the Sleep option. Set the sleep time
after the wakeup time you already set. This will set the wake up and sleep during the time lapse
photography. Press the
OK
button. Press
Left
button to go to the next option.
NOTE: Repeat the above steps for each Program #2 to be set.
Press
Left
button to go to the Main Screen.
WARNING: If Program #1 is set to Always On, settings for Program #2 will
be disabled.
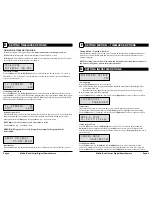
SETTING TIMELAPSE OPTIONS
E
Reset Options
Press the OK button. Use the Up/Down buttons to choose between to reset your Timelapse options.
RESET OPTIONS?
DO NOT RESET
TIMELAPSE SOFTWARE INSTALLATION
Download your free Time Lapse software at
www.moultriefeeders.com/timelapsesoftware
For PC users:
Installation and operation instructions are available here, as well.
For Mac users:
This software is not Mac-compatible. You can import your image files into a program
such as iMovie and create timelapse movies this way.
SETTING TIMELAPSE OPTIONS
F
Setting Timelapse Features
When in this operating mode, the camera will operate on the Timelapse settings until it detects
motion. The camera will then wake and capture the photo or video and then return to the set
Timelapse program.
NOTE: The settings entered for both Timelapse and Motion Detect modes will be used when in
this mode. Settings can be made in their respective menus.
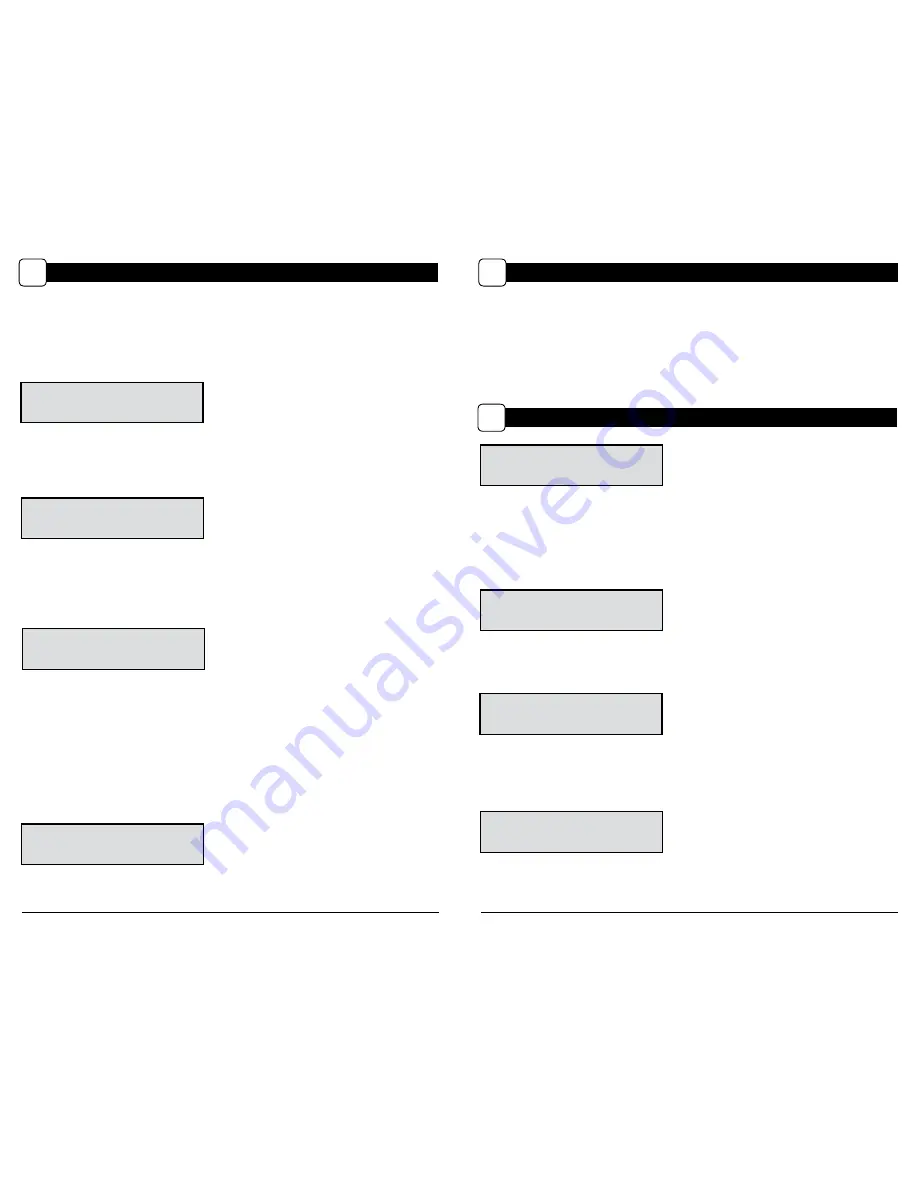
SETTING INFOSTRIP OPTIONS
G
TEMPERATURE
FAHRENHEIT
Temperature
The temperature is imprinted on each photo and can be in degrees Fahrenheit or Celsius.
To change the temperature units, press the
Up/Down
buttons to highlight the desired setting.
Press the
OK
button to confirm the selection. Press the
Right
button to move to the next option.
Infostrip Active
Use the
Up/Down
buttons to choose between:
YES
- Camera Name, Time, etc, information will be imprinted at the bottom of the image/video
as an infromation bar
Note:
Remember to input the camera name in the setup and set the clock accordingly.
NO
- No information bar will be imprinted.
Press the
OK
button to confirm the selection. Press the
Right
button to move to the next option.
INFOSTRIP ACTIVE
YES
Setting Date and Time
Press the
OK
button. Use the
Left/Right
buttons to move from one value to the next and the
Up/Down
buttons to adjust each value. Press the
OK
button to lock in selections. When all your
selections have been made, and the date and time has been set, press the
Right
button to move to
the next option.
DATE & TIME
11/11/14 11:11pm
CAMERA NAME
MOULTRIECAM
Setting Camera Name
Press the
OK
button. Use the
Up/Down
and
Left/Right
buttons to select an identity for your
camera. For example, you can use a name or a location; the identity you wish to use is up to you.
Press the
OK
button to confirm the selection. Press the
Right
button to move to the next option.

