background image

Page 5

M-880 (Gen2) Series Digital Game Camera

Page 12

M-880 (Gen2) Series Digital Game Camera

QUICK START INSTRUCTIONS

B

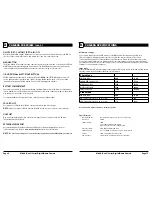
UPGRADE FIRMWARE
4M880-130903  NO

Upgrade Firmware 

The firmware version is displayed. Press 

Up/Down

 to choose setting.

YES - To upgrade firmware.  
NO - Keep current firmware.

NOTE: This operation should only be performed when prompted by a technician to do so.

SYSTEM OPTIONS (cont.)

J

CONFIRM SECURITY
CODE 00000

Confirm Security Code  

Once a Security Code has been entered, the camera will prompt you to verify the code. This will keep 
you from mis-entering a code or seting a code inadvertantly.

Reset to Default settings

You can reset your camera to the factory default settings. Press UP or DOWN to choose YES - all
setups restored to factory default or NO - keep custom settings. Press the 

OK

 button again to

make selection. Press the 

Right

 button to go to the Main Screen.

FACTORY RESET? 

NO

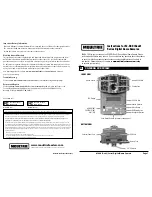
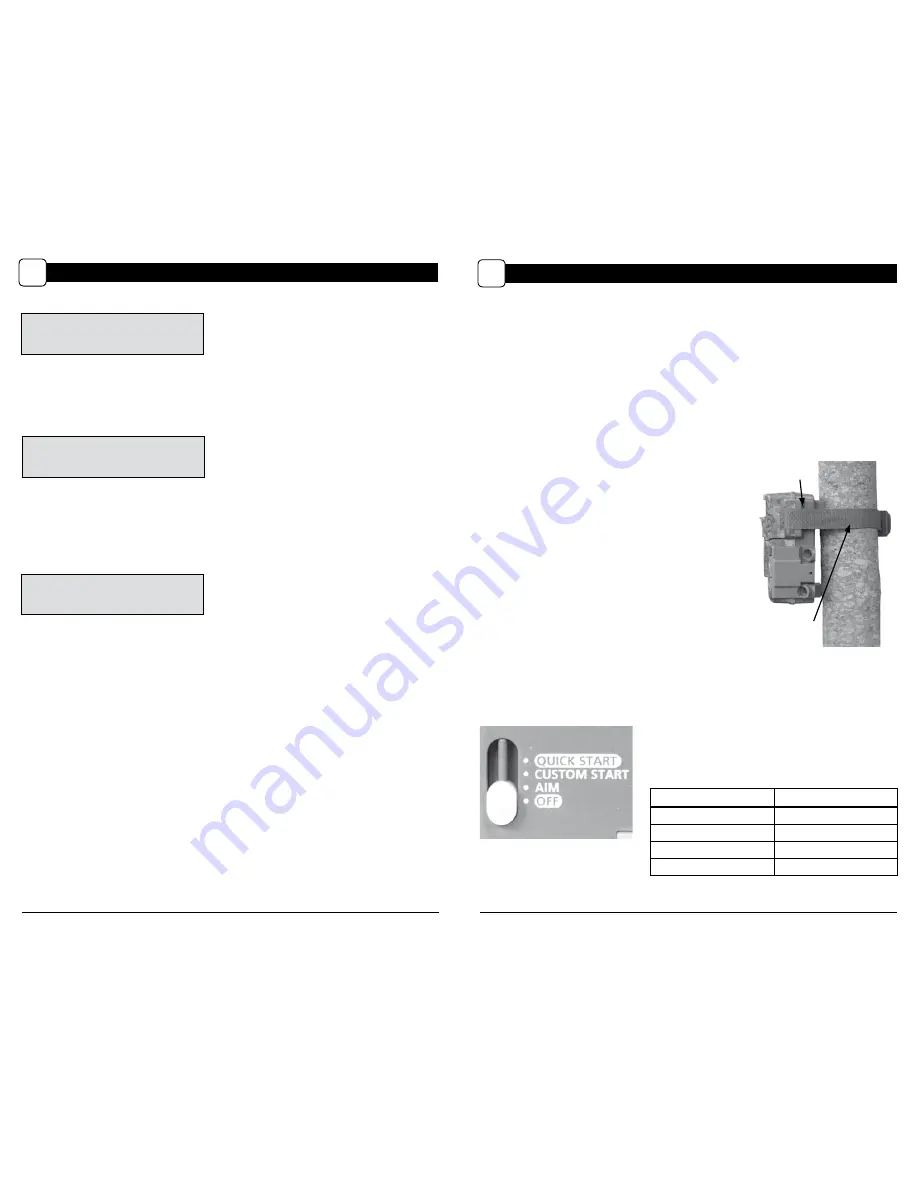
Use the steps below as a guide to quickly set up your camera so it will function using the factory 

default settings.

STEP 1

Open camera cover. Press the battery chamber release button.  Install eight (8) AA size alkaline or 
lithium batteries with polarities as indicated in the Battery Tray. Re-install the Battery Tray and insert 
your SD card. We recommend that you erase the SD card (ERASE IMAGES) inside the camera before 
taking pictures: this will not only erase all images, but will also format your SD card for use in the camera.

STEP 2

Insert SD Memory Card until you hear an audible click. Camera will not operate without SD Card. 

Slide the power switch to 

Quick Start.

 Press the Left button to set the time and date. 

STEP 3

Mount camera in desired location using a mounting 

strap. 

NOTE: Camera must be attached to a stable 

object for motion detection to function properly. 

Mounting camera on an unstable structure may 

result in excess image captures with no subject 

(false triggers).

STEP 5


Close cover. The camera will operate using Default settings. You may also customize the settings if 

desired in Custom Start.

STEP 4


Switch camera to Aim. Aim camera using motion 

detection to determine target area. Walk in front of the 

camera at the desired distance and the camera LED will flash 

showing the covered area. Switch camera to 

Quick Start

.

Setting Run Mode

When you choose Quick Start, the only settings that 
you will be able to change will be 

Date and Time

, allowing 

for rapid setup. Other settings are:

Eyelet

Mounting 

Strap

OPTION

SETTING

Mode

Motion Detect

Detection Delay

30 seconds

Multi-Shot

3-Triggered

Photo or Video

Photo

Содержание M-880

Страница 1: ... visit http www moultriefeeders com return policy and complete the form or our Service Department will gladly answer any questions you have Call 800 653 3334 Monday Friday 8 00 AM to 5 00 PM CST www moultriefeeders com FCC Statements Moultrie Products MCG 12691 Note changes and modifications not expressly approved by the party responsible could void the user s authority to operate this device This ...

Страница 2: ...Plug into a standard 110 240VAC 50 60Hz electrical outlet and then connect to the External Power Port on your Moultrie camera Note Leave internal batteries in the camera during use In the event of power loss to the outlet into which the AC adapter is plugged the internal batteries will keep your camera running General DATE TIME 11 11 14 11 11pm PHOTO QUALITY HIGH 4 MP VIDEO QUALITY HD 1280 x 720 V...

Страница 3: ...e images and videos from the camera onto your PC for further editing or printing When the USB cable is disconnected the camera will go back to SETUP mode VIEWING YOUR IMAGES L See the full line of Moultrie camera accessories at www moultriefeeders com RESET OPTIONS INFOSTRIP OPTIONS MOTION T L MAIN SCREEN TIME LAPSE MAIN SCREEN MOTION DETECT MAIN SCREEN DATE TIME START MOTION T L CAPTURE START TIM...

Страница 4: ...Battery Box accessories sold separately only Refer to www moultriefeeders com for more information NOTE The use of any other power source will void your warranty and possibly harm your camera CAMERA OVERVIEW cont A Page 4 M 880 Gen2 Series Digital Game Camera Page 13 M 880 Gen2 Series Digital Game Camera Memory Storage Your camera supports external SD memory cards ONLY and will accept up to a 32GB...

Страница 5: ...ted in the Battery Tray Re install the Battery Tray and insert your SD card We recommend that you erase the SD card ERASE IMAGES inside the camera before taking pictures this will not only erase all images but will also format your SD card for use in the camera STEP 2 Insert SD Memory Card until you hear an audible click Camera will not operate without SD Card Slide the power switch to Quick Start...

Страница 6: ...cted the camera will remain on instead of going to a sleep state between detection and capture sequences This will greatly improve camera speed and performance and can be used in conjunction with most external supplies but is only recommended when connected to an AC power supply In the event this option is selected but no external supply is detected it will default to the NO state Press the OK but...

Страница 7: ...wn buttons to choose between Photo Video or Both Press the OK button Press Left button to go to the Main Screen Reset Options Press the OK button Use the Up Down buttons to choose between a set of predefined configurations for the motion detect capture mode to quickly configure your camera for certain levels of performance Press OK to lock in your selection then press Left button to go to the next...

Страница 8: ...ram such as iMovie and create timelapse movies this way SETTING MOTION TIMELAPSE OPTIONS F Setting Motion Timelapse Features When in this operating mode the camera will operate on the Timelapse settings until it detects motion The camera will then wake and capture the photo or video and then return to the set Timelapse program NOTE The settings entered for both Timelapse and Motion Detect modes wi...

Отзывы: