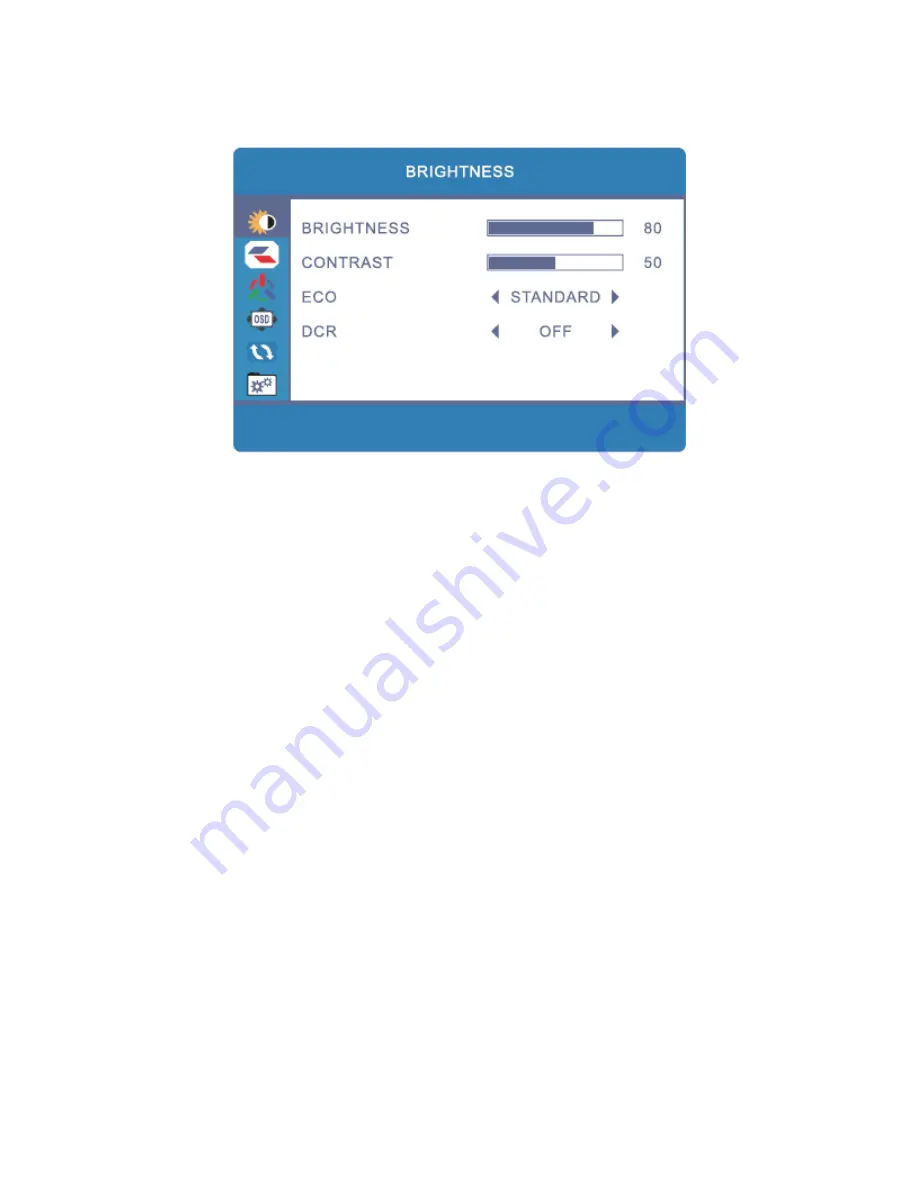
background image

11 

Brightness Menu 


BRIGHTNESS: 

Adjusts the image brightness. The adjustment range is 0 to 100. 

CONTRAST:

 Adjusts the image contrast. The adjustment range is 0 to 100. 

ECO:

 ECO is a preset display mode option, which automatically adjusts the Brightness and 

Contrast settings for ideal display characteristics. The four display mode options are: 

Standard: 

Uses the user defined Brightness and Contrast settings. 

Text: 

Adjusts the screen for use with text. 

Movie: 

Adjusts the screen for an ideal movie watching experience. 

Game:

 Adjusts the screen for an ideal gaming experience. 

DCR: 

DCR stands for Dynamic Contrast Ratio, which is a circuit that increases the effective 

picture contrast by changing the light intensity of the LED backlighting. DCR tends to cause 
too much contrast fluctuation when dealing with swiftly moving images and is usually better 
suited to applications use than for use with games. DCR can be turned ON or OFF. 


Содержание 12178

Страница 1: ......

Страница 2: ...LE ADJUSTMENT 9 MAIN INPUT SELECTION 9 QUICK FUNCTION BUTTONS 10 ON SCREEN DISPLAY OSD MENU 10 Basic Menu Operation 10 Brightness Menu 11 Image Menu 12 Color Temp Menu 13 OSD Setting Menu 14 Reset Men...

Страница 3: ...5 15 three prong grounded plug Do not use a cheater plug or otherwise bypass the grounding pin The power supply for this monitor accepts a wide range of input voltages from 100 to 240 VAC 50 or 60 Hz...

Страница 4: ...n changes Built in stereo speakers with 2 watts channel amplifier 100 x 100 VESA mounting pattern PACKAGE CONTENTS Please take an inventory of the package contents to ensure you have all the items lis...

Страница 5: ...nk DVI D video input 4 HDMI HDMI video input 5 LINE IN 3 5mm TRS stereo audio input 6 DC IN DC power input DVI Note This monitor features a Dual Link DVI D input port Your DVI source must support Dual...

Страница 6: ...ton enters the OSD highlighted entry If the OSD menu is not displayed the button displays the MAIN INPUT SELECTION menu see page 9 4 MENU If the OSD menu is not displayed pressing the MENU button open...

Страница 7: ...o the audio input on the monitor 4 Plug the DC power connector on the AC power adapter into the DC IN port on the back of the monitor 5 Plug the included AC power cord into the AC power adapter Plug t...

Страница 8: ...that the monitor can be attached to a desk or wall mount To remove the stand perform the following steps 1 Place a blanket or towel on a flat surface such as a table or the floor 2 Place the monitor...

Страница 9: ...p the monitor without touching the screen MAIN INPUT SELECTION To change the main input perform the following steps 1 Press the SELECT button to display the Input Selection menu 2 Use the UP or DOWN b...

Страница 10: ...enu is displayed and an item has been opened for editing pressing the DOWN button decreases the selected value UP When the OSD menu is displayed pressing the UP button moves the selection highlight up...

Страница 11: ...defined Brightness and Contrast settings Text Adjusts the screen for use with text Movie Adjusts the screen for an ideal movie watching experience Game Adjusts the screen for an ideal gaming experien...

Страница 12: ...OCK setting will manifest itself as large vertical lines and the display may have an incorrect width The CLOCK should be corrected before attempting to correct the PHASE The adjustment range is from 0...

Страница 13: ...ustment range is from 0 to 100 This option is only available when the Color Temp option is set to User GREEN Adjusts the amount of green in the display The adjustment range is from 0 to 100 This optio...

Страница 14: ...usts the vertical position of the OSD menu on the screen The adjustment range is 0 to 100 OSD Timer Sets the amount of time in seconds that the OSD menu will display on screen without any input before...

Страница 15: ...ues In most cases this will produce ideal display settings This option is only available when using the analog VGA input COLOR AUTO ADJUST Automatically adjusts the red green and blue color values In...

Страница 16: ...UP button and the setting on the right is controlled by the UP button to the right of the DOWN button See page 10 for a list of the ECO function on screen icons SIGNAL SOURCE Selects the input source...

Страница 17: ...m TRS Line Input Horizontal Frequency HFR 30 158 kHz Vertical Frequency VFR 60 75Hz Pixel Clock Frequency 300 MHz PNP Standard VESA DDC2BTM Power Consumption Operation 50W Standby 1W Monitor Input Pow...

Страница 18: ...monoprice com during regular business hours 7 days a week You can also get assistance through email by sending a message to tech monoprice com WARRANTY MONOPRICE will replace defective monitors with...

Страница 19: ...display is blank A Press a key on the keyboard to ensure the computer is not asleep or that a screen saver is not active Verify that the proper input is selected Verify that the display cable is secur...

Страница 20: ...e party responsible for compliance could void the user s authority to operate this equipment This device complies with part 15 of the FCC Rules Operation is subject to the following two conditions 1 T...

Отзывы: