31-2000730 Rev. 0
3
Installation Instructions
CONTENTS
Safety Information ......................................................... 2
...................................................... 3
Additional Parts Provided
.............................................. 3
Tools and Materials Required ....................................... 3
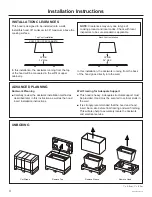
Installation Clearances .................................................. 4
......................................................... 4
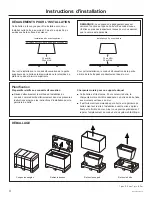
Unboxing ....................................................................... 4
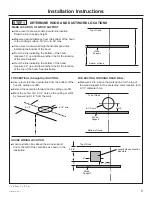
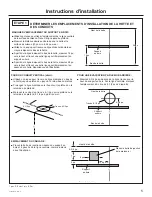
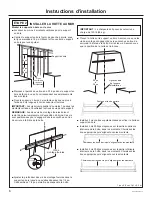
Step 1, Determine Ductwork and Wiring Locations ...... 5
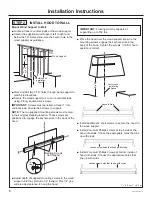
Step 2, Install Hood onto Wall ....................................... 6
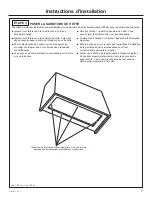
Step 3, Install Hood Insert into Hood ............................ 7
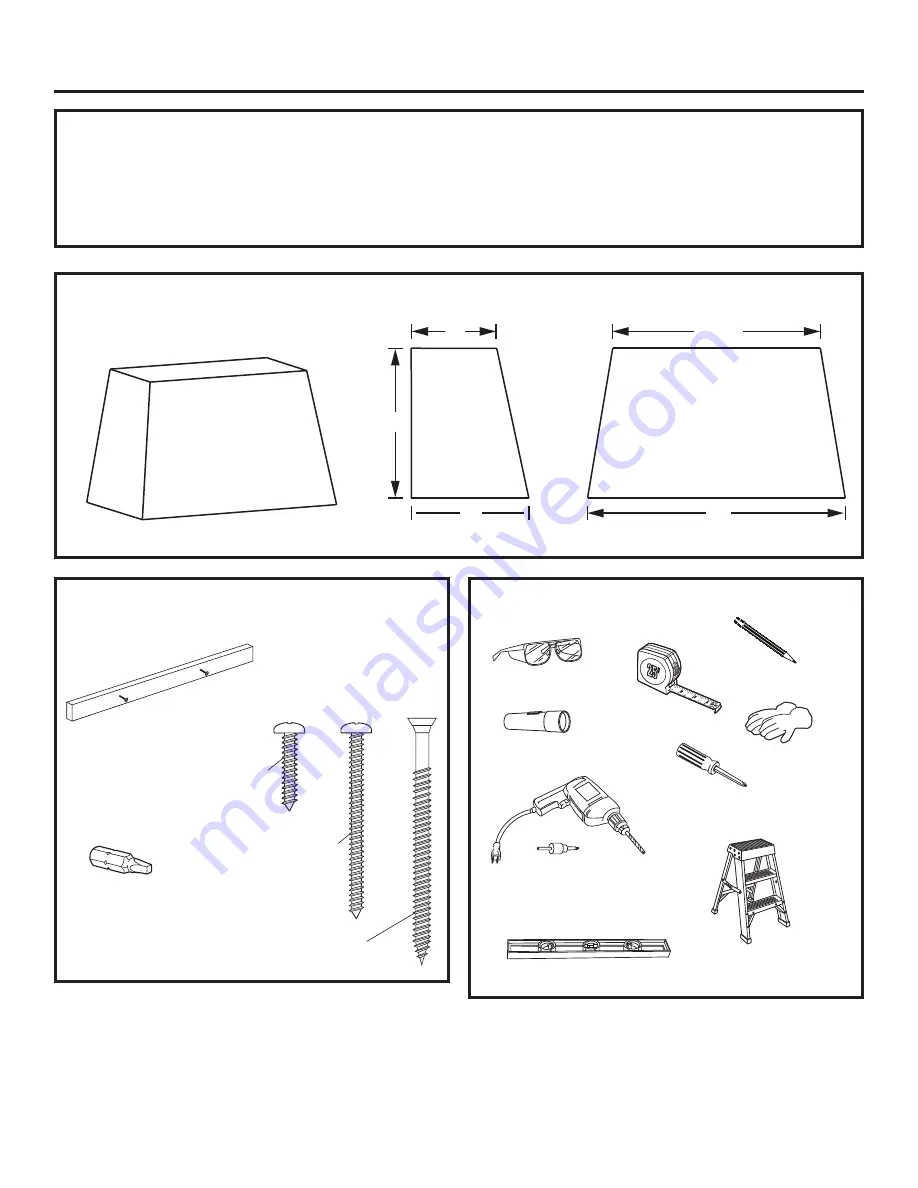
PRODUCT DIMENSIONS
ADDITIONAL PARTS PROVIDED
These parts are packed with the hood.
TOOLS AND MATERIALS REQUIRED
(Not supplied.)
28”
16”
22”
SIDE VIEW
FRONT VIEW
38-5/8”
48”
Phillips screwdriver
Flashlight
Safety glasses
Electric or battery operated drill.
1/8” drill bit. 3/16” drill bit.
Phillips driver.
Pencil
Level
Step ladder
Tape measure
Safety Gloves
Wood Support with
short Phillips head screws
2 long Square Drive flat head
screws to secure the wood
support to the wall
Square drive bit
2 short pan head Phillips screws to
secure the hood to the wood support.
There are 2 additional screws already
installed in the wood support.
4 medium pan head Phillips screws to
secure the hood to the wall.
1” = 2.5 cm; 1’ = 0.3 m


