GE Appliances
General Electric Company
Louisville, Kentucky 40225
31-9142
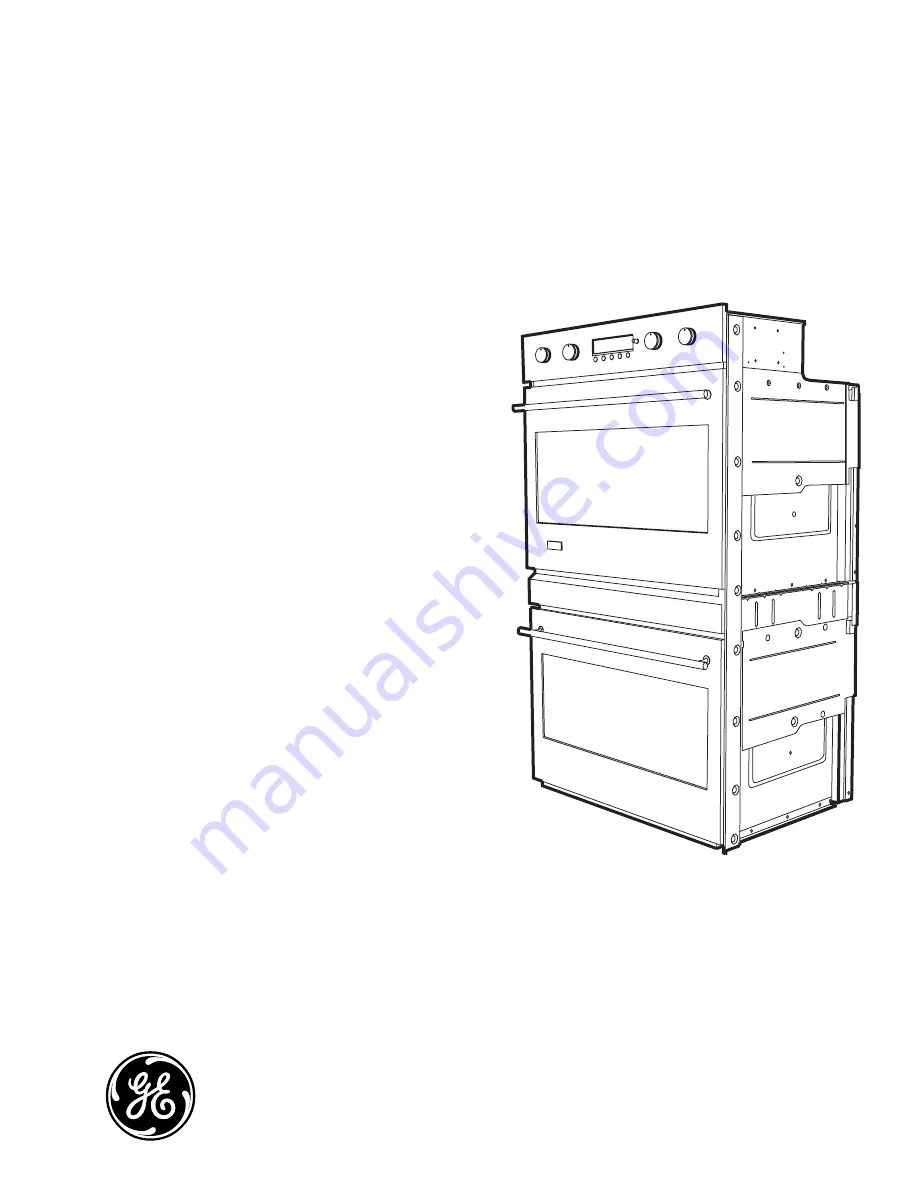
Monogram 30-in.
Single and Double
Convection Wall
Ovens
ZET1PL1SS
ZET1SL1SS
ZET2PL1SS
ZET2SL1SS
Technical Service Guide
April 2006
GE Consumer & Industrial
Страница 1: ...General Electric Company Louisville Kentucky 40225 31 9142 Monogram 30 in Single and Double Convection Wall Ovens ZET1PL1SS ZET1SL1SS ZET2PL1SS ZET2SL1SS Technical Service Guide April 2006 GE Consume...
Страница 2: ...avoid personal injury disconnect power before servicing this product If electrical power is required for diagnosis or test purposes disconnect the power immediately after performing the necessary chec...
Страница 3: ...ck Assembly 33 Logic Board 31 Lower Oven Control Compartment Access Double Wall Oven 30 Meat Probe and Outlet 38 Mode and Temperature Encoders 31 Nomenclature 5 Operational Notes 13 Oven Components 21...
Страница 4: ...ion technology utilizes a bidirectional fan that works with a dedicated third heating element to promote even heat circulation Performance compensation for 208 volt installation boosts power as needed...
Страница 5: ...r for Engineering and Product Service Only Model Year Designator Z E T 1 P L 1 S S Nomenclature Nomenclature The letter designating the year repeats every 12 years Example T 1974 T 1986 T 1998 Serial...
Страница 6: ...o enter PROBE TIMER CLOCK COOK TIME and DELAY START settings 4 PROBE Push to select the probe to cook food to a set internal temperature Turn and push the Mini Knob to set 5 TIMER Push to select the t...
Страница 7: ...ARM to 550 F CONVECTION BROIL HIGH or LOW BROIL DUAL BROIL HIGH or LOW BROIL STD BROIL HIGH or LOW BROIL CLEAN CLEAN Oven Mode knob Temperature knob Push the PROBE TIMER CLOCK COOK TIME or DELAY START...
Страница 8: ...this activates this feature for both ovens To lock unlock the controls 1 Push and hold the COOK TIME and DELAY START buttons at the same time for 3 seconds until the control beeps and the display show...
Страница 9: ...inutes counting down 1 minute at a time from 24 hours to 1 hour It will then change to show minutes and seconds counting down until the last minute is reached The control will beep and the display wil...
Страница 10: ...You may find that your new oven cooks differently than the one it replaced Use your new oven for a few weeks to become more familiar with it If you still think your new oven is too hot or too cold yo...
Страница 11: ...to use a 12 hour clock If you would prefer to have a 24 hour military time clock or black out the clock display follow the steps below 1 Push and hold the PROBE and DELAY START buttons at the same tim...
Страница 12: ...SAbbAth Designed for use on the Jewish Sabbath and Holidays The Sabbath feature can be used for baking roasting only It cannot be used for convection broiling self cleaning or Delay Start cooking When...
Страница 13: ...be is plugged in When using the probe you can use the timer but you cannot use timed oven operations On the double wall oven the oven control will automatically set the oven that has the probe plugged...
Страница 14: ...ainless shown Oven Door Broil Element Oven Door Gasket Lights Lights Broil Element Lights Lights Oven Door Gasket Oven Door Meat Probe Outlet Meat Probe Outlet Control Panel Convection Fan Hidden Bake...
Страница 15: ...n Cooling Fan Relay Board Relay Board Door Lock Capacitor Capacitor Left Side Oven Lights Wire Harness Right Side Oven Lights Wire Harness Probe Wire Harness Left Side Oven Lights Wire Harness Right S...
Страница 16: ...or Gasket Lights Lights Control Panel Power Board Relay Board Power Vent Assembly Cooling Fan FAD Capacitor Right Side Oven Lights Wire Harness Left Side Oven Lights Wire Harness Meat Probe Outlet Con...
Страница 17: ...o n e n t s C o m p o n e n t s R e q u i r i n g O v e n R e m o v a l Bake Element Broil Element Cooling Fan Convection Bake Element Convection Fan Assembly Door Hinge Receiver FAD Lock Assembly C o...
Страница 18: ...some components See Oven Component Access Chart or if removing it completely utilize a table or platform in front of the oven and pull the oven completely out Note When reinserting ovens into cabinet...
Страница 19: ...that hold the heat shield to the side of the oven Side Access Panel Oven Separation Double Wall Oven To separate the double wall oven remove the access cover attached to the back of the ovens It is h...
Страница 20: ...f the control panel 4 Carefully push the side trim down then pull out at the top 5 Remove the four in hex head screws 2 on each side that hold the top oven to the bottom oven 7 Carefully lift the top...
Страница 21: ...river to start the hinge locks moving 1 To replace the door With the door at the same angle as the removal position seat the indentation of the hinge arm into the bottom edge of the hinge slot The not...
Страница 22: ...amage handle Hand tighten screws and make sure handle fits snugly to door panel Do not use electric driver To replace the inner door assembly Remove the outer door assembly See Door Assembly 1 Outer D...
Страница 23: ...usting through slots in the top of the door DO NOT INSULATE THIS AIR CHANNEL Arrows on the side of the inner glass assembly indicate the direction in which the inner oven door glass is installed The a...
Страница 24: ...Place the rear rack locks over and onto the rack supports Five rack positions are available including the top position Upper front rail Lower front rail 2 Slide the rack all the way in until the rear...
Страница 25: ...nd 6 Close the rack Turn rack right side up and install in the oven Repeat above steps for each rack Note Do not spray racks with Pam or other lubricant sprays Rack Support Stud Plates Each oven utili...
Страница 26: ...oven liner Sensor Disconnect Broil Element The broil element is composed of an inner and an outer element It is replaced as one unit The broil elements will not work if the temperature probe is plugge...
Страница 27: ...left front corner of the oven cavity above the broiler element shield Air vented from the oven cavity will pass through the catalyst then enter the vent tube of the power vent assembly To remove the...
Страница 28: ...hold the convection bake element to the back wall of the oven cavity 4 Carefully pull the convection bake element towards the front of the oven until the element terminals are accessible IMPORTANT Th...
Страница 29: ...ews and the two 3 8 in hex nuts that attach the fan assembly to the back wall of the oven cavity 1 2 3 Convection Airflow 4 Carefully pull the fan assembly into the oven cavity and disconnect the fan...
Страница 30: ...tion Wire harnesses connecting the mode and temperature encoders can be incorrectly reconnected Make sure wire harnesses are connected properly 3 4 Lower Oven Control Compartment Access Double Wall Ov...
Страница 31: ...cess Pull the encoder knob straight out from the control panel Using a small flat blade screwdriver press in the 2 tabs located on the inside of the grommet and slide the grommet off the encoder shaft...
Страница 32: ...en the two ovens To access the oven power supply or relay board Access the control compartment See Control Compartment Access or Lower Oven Control Compartment Access Disconnect the right side lights...
Страница 33: ...ltage to the lock motor C LOCK RELAY LOCK MOTOR MDL N L The lock motor has approximate resistance value of 1 9K Note To enable proper operation of the door lock ensure that the door jamb switch is in...
Страница 34: ...lock assembly When reconnecting the wiring make sure it is properly connected to the lock assembly before turning the power back on Lock Assembly Unlock Lock Lock Assembly Wire Harness Yellow Blue Or...
Страница 35: ...the oven from the installation then remove the left side access panel for the appropriate bake element See Oven Removal Carefully lift the insulation from the outside of the oven to access the screws...
Страница 36: ...lement 6 Carefully move the insulation to access and remove the two in hex head screws that attach the bake element to the oven as shown 8 Grasp and pull the element out from the left side of the oven...
Страница 37: ...hat hold the cooling fan to the rear wall of the control compartment Disconnect the cooling fan wire harness 1 2 3 Cooling Fan Carefully remove the cooling fan from the control compartment To remove t...
Страница 38: ...on Meat Probe Outlet Power Vent Assembly and FAD Fan Apparency Device Each oven is equipped with a power vent assembly located above the left side of the door The power vent fan comes on approximately...
Страница 39: ...vent trim Disconnect the power vent wire harness Note Two holes are provided in the broiler shield to gain access to the 2 screws that attach the power vent assembly to the oven frame Remove the two...
Страница 40: ...ts come on when the door is opened or when the oven is in a cooking cycle The oven lights do not come on during self cleaning or if the Sabbath Feature is set Each light assembly consists of a removab...
Страница 41: ...ousing until seated Continued Next Page To replace a light bulb Use a new 120 volt Halogen bulb with G8 pins not to exceed 25 watts Replacement bulbs may be purchased by calling 800 626 2002 Order Par...
Страница 42: ...glass cover frequently using a wet cloth This should be done when the oven is off disconnected from the power supply and completely cool Replace the rack support with the slotted holes over the rear b...
Страница 43: ...ation of up to 4270 Watts There can be several minutes of off time between bake and broil unit operation after preheat In the clean cycle the broil unit is only on during first 30 minutes or until ove...
Страница 44: ...to oven Control Panel for Double Wall Oven Control Panel for Single Wall Oven CN7 Logic Board Temperature Encoder Board Temperature Encoder Board Temperature Encoder Board Logic Board Mode Encoder Bo...
Страница 45: ...o Broil Outer Element Bake Outer Element Convection Inner Element Convection Fan Power Vent Fan Cooling Fan Lights and Lock Motor J12 Logic Board J13 DC ground blue 12 Volt red to blue and 14 Volt pur...
Страница 46: ...ling fan will operate in test steps 1 3 5 7 and 9 To exit the service test mode push and hold the Push to ENTER knob for 6 seconds or until the clock displays the time on the control STEP TEMP KNOB MO...
Страница 47: ...nents can be tested individually Enter the Service Test Mode and select the step for the operation of the desired component Check for proper voltage on the relay board as described in the table and sh...
Страница 48: ...9 to 10 1091 Rm Temp 1654 350 F 2634 865 F Door Latched 5 to 6 4 to 6 0 Open Door Unlatched 4 to 6 5 to 6 0 Open 1 2 3 4 5 6 7 8 9 10 MEAT PROBE 30K 50K ROOM TEMP OVEN SENSOR DOOR LOCKED DOOR CLOSED...
Страница 49: ...s Disconnect power Disconnect sensor harness from control Measure sensor resistance white leads to be 1080 ohms at room temperature with 2 ohms per degree change Separate sensor from harness to determ...
Страница 50: ...Logic board acts as the LIN master while the Mode encoder Temp encoder and Relay board are the LIN slaves The Logic board sends messages to the other components based on a predefi ned list of commands...
Страница 51: ...elay board are the LIN slaves The Logic board sends messages to the other components based on a predefi ned list of commands All the components receive a signal to perform a specifi c task but only th...
Страница 52: ...52 120 240 VAC HIGH VOLTAGE AND RELAY BOARD 2 2 Hipot Resistor...
Страница 53: ...y gives you specific legal rights and you may also have other rights which vary from state to state province to province To know what your legal rights are in your state province consult your local or...