3.5 Starting the Camera With an Automatic IP Address (DHCP)
If your network has a DHCP server, you can start the camera with DHCP support. In
this case, the DHCP server automatically assigns an IP address.
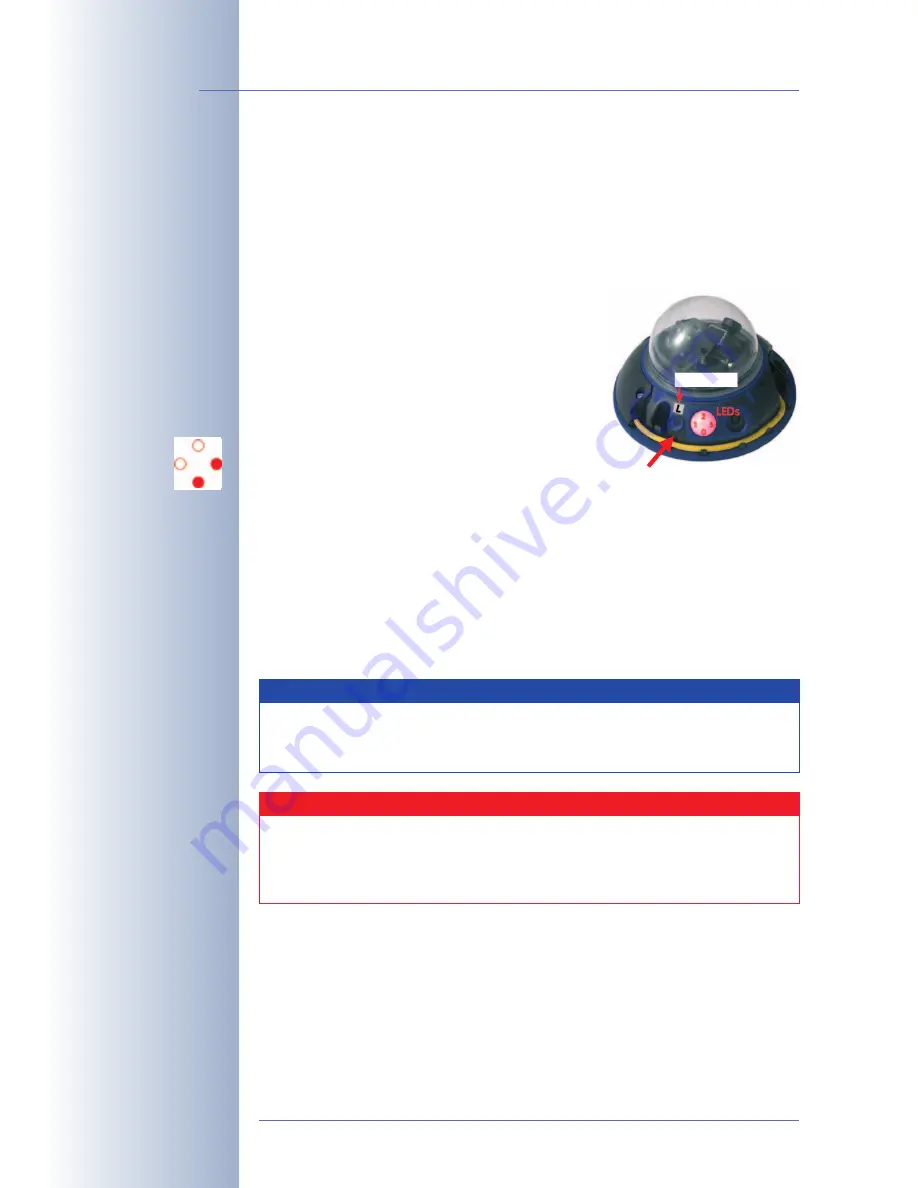
In order to start the camera using DHCP, hold the
magnetic side
of the supplied
custom tool
onto the spot on the camera housing containing the
L button
(the
magnetic switch is mounted inside the camera housing):
•
Remove the outer shell using the supplied
custom tool (see section 2.14,
Dismantling the
Camera).
•
If the camera is powered on, disconnect the
power supply of the camera by unplugging
the corresponding cable.
•
Reconnect power to the camera and observe
the LEDs.
•
Wait until the
LEDs 0 and 5 are lighting up si-
multaneously
.
•
Now hold the
magnetic side of the custom tool
onto the spot above the mi-
crophone labeled
L
in the figure.
•
Only remove the custom tool when the camera plays a
double sound ("Bo-
ing, Boing")
.
As soon as startup has been completed, the camera automatically announces its
IP address, its network mask and its MAC address. Please note that this feature
needs to be activated for this to work.
You can now access the camera using the IP address it just announced.
© MOBOTIX AG • Security-Vision-Systems • Made in Germany
www.mobotix.com • [email protected]
110
/124
D12 Camera Manual Part 1
Activate the camera
speaker!
Announcement of network
data: Press
"L" button
In case of an error, the
camera uses its last IP
address
Note
If you would like to have a running camera repeat its network settings,
simply activate the
"L" button
once using the magnetic side of the cus-
tom tool.
Caution
When starting the camera with DHCP support, make sure that the net-
work has a properly functioning DHCP server. If this is not the case, the
camera cannot obtain a valid IP address and will fall back to its last IP
address.
Microphone
"L" button


