


AccessIT
34
Tip!
Instead of assigning an individual Target to a PDU outlet, you can assign all
the PDU outlets to all relevant Targets as explained in section
9.1.1 on page 49.
4. Double-click the port number row to which the Target is connected. The name
of the target appears in that row.
Note!
You can assign the target to as many PDU ports or different PDUs as
needed.
5. Click
Save
. The changes are saved and the
New
Target
page reappears
showing the assigned port number.
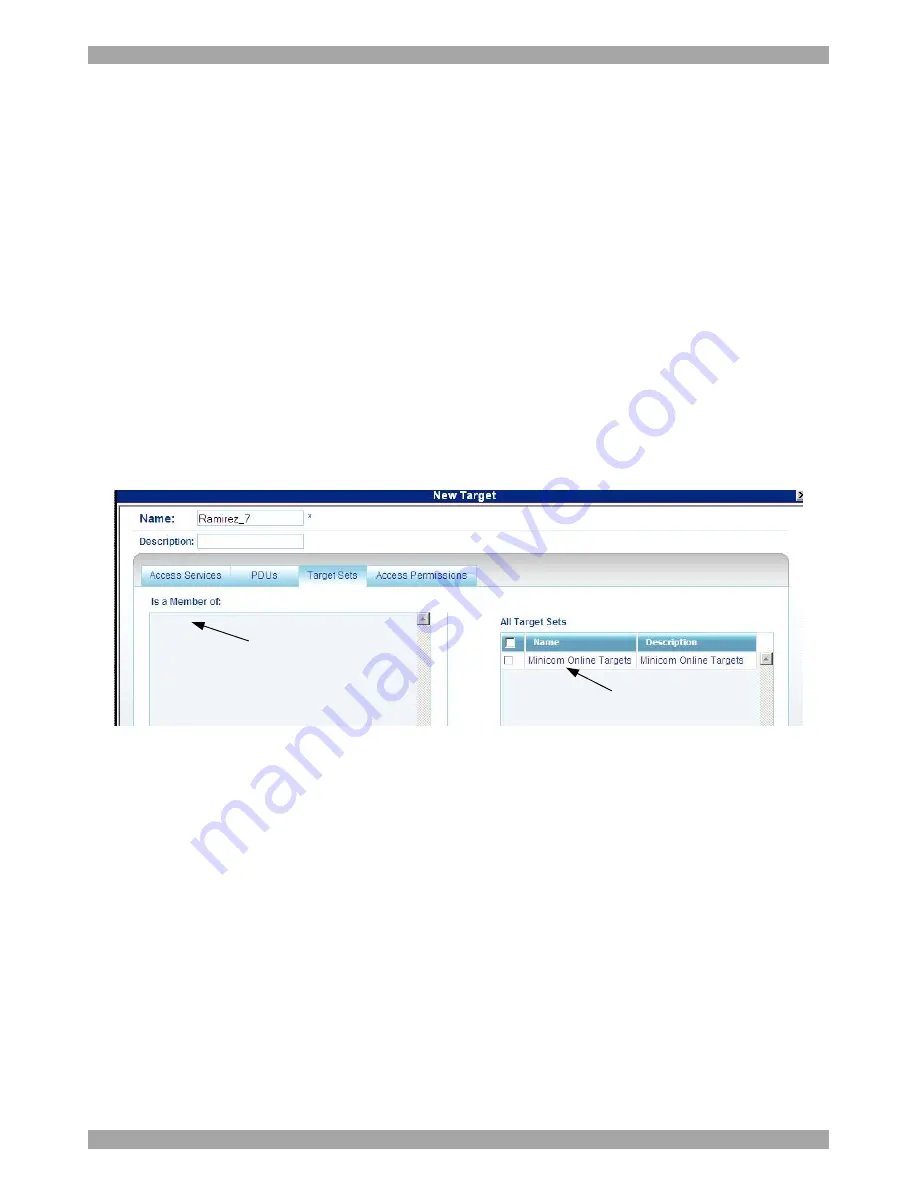
7.3 Target Sets tab
Creating Target Sets is explained in section
7.7 on page 36. Once you have created
Target Sets you can put Targets into Target Sets, giving access rights to all Targets
in a Set to all members.
1. Press the
Target Sets
tab. The following appears.
Target sets that this
Target is a member of
appear here
All Target sets created
in the system appear
here
Figure 29 Target Sets
2. From the
All Target Sets
list, select the checkboxes of the Target Sets you want
the Target to be associated with. The Target Set appears in the
Is a Member of
list.
7.4 Access Permissions tab
You can choose which Users and Groups can have access permission to the Target.
Press the
Access Permissions
tab. The following appears.
Содержание 0SU00018
Страница 137: ...AccessIT 136...


