65
3-29 G1-G6 & FN1 substitution string setting
Format of barcode data transmission
Prefix Code name Preamble
Code ID
Code length
Code data Code ID
Postamble
Suffix
Suffix string setting: The <enter > key is represented in different ASCII when it is applied by different OS.
For a Windows/DOS OS, <enter> is represented as < CR ><LF> (0x0D 0x0A); for an Apple MAC OS,
<enter> is represented as <CR> (0x0D); for a Linux/Unix OS, <enter> is represented as <LF> (0x0A).
Prefix/Suffix string setting & Preamble/Postamble string setting:
They are appended to the data automatically when a barcode is decoded.
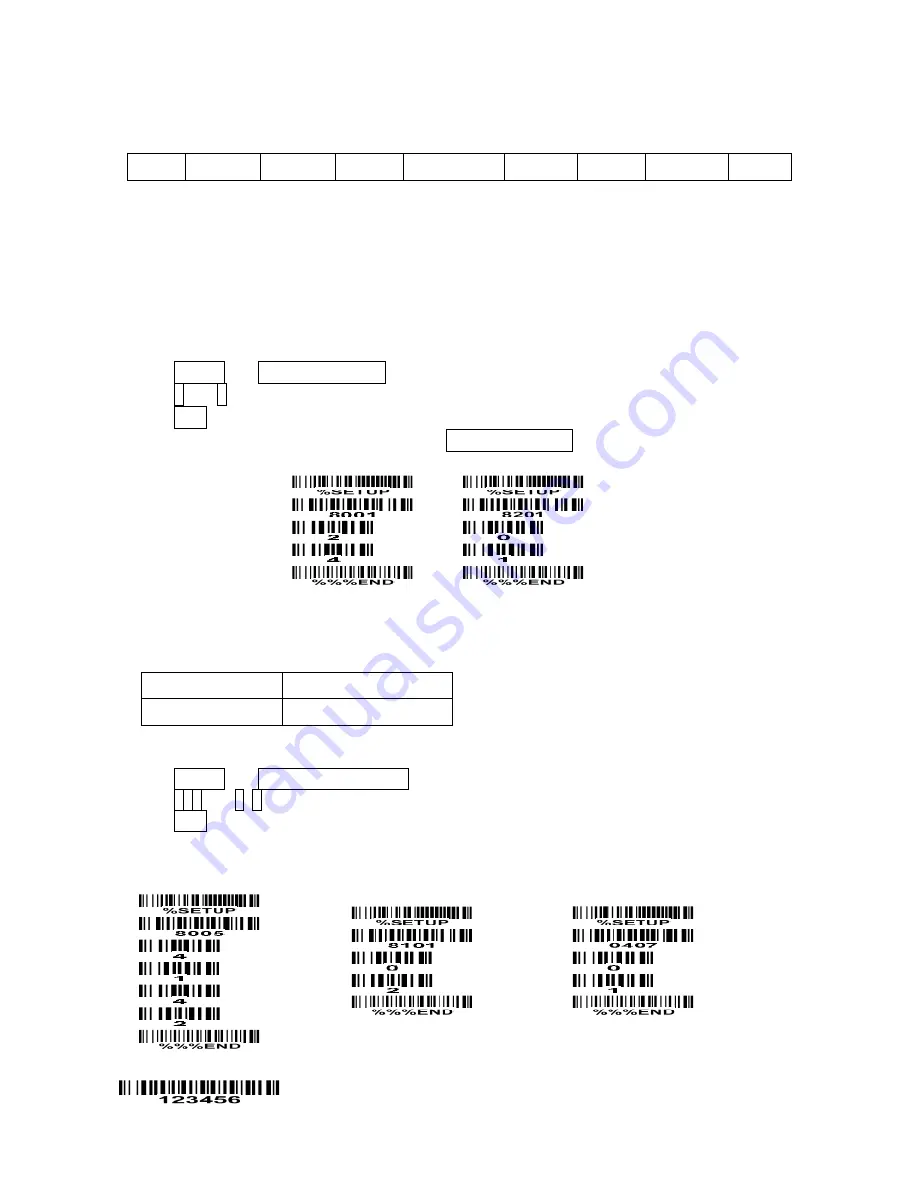
Example: Add a symbol of “$” as a prefix for all symbols.
Steps:
1) Use the ASCII table to find the value of $→24.
2) Scan SETUP and Prefix string setting barcode.
3) Scan 2 and 4 from the barcode on the foldout back page.
4) Scan END barcode.
5) Refer to section “
3-31 String transmission
”, set Prefix transmission to be Enable.
Scanning steps: Scan the following barcodes in order.
Insert G1/G2/G3/G4 string setting: The scanner offers 4 positions and 4 character strings to insert
among the symbol.
Example: Set G1 string to be “AB”.
Original code data “1 2 3 4 5 6”
Output code data
“1 2 A B 3 4 5 6”
Steps:
1) Use the ASCII table to find the value of A→41, B→42.
2) Scan SETUP and Insert G1 string setting barcode “8005”.
3) Scan 4, 1 and 4, 2 from the barcode on the foldout back page.
4) Scan END barcode.
5) Refer to the chapter of “
3-30 G1-G4 string position & Code ID position
”.
6) Refer to the chapter of “
3-4 Scan mode & some global settings
”.
Testing barcode:
Содержание ES4200
Страница 1: ...ES4200 Embedded Laser Barcode Scanner User Manual Version ES4200_UM_EN_V1 1 7...
Страница 2: ......
Страница 10: ...4 1 4 Decode zone Figure 1 2 High density series...
Страница 11: ...5 Figure 1 3 Long range series...
Страница 108: ...102 11 Configuration alphanumeric entry barcode To finish parameter setting please scan the bar code below...


