Manual
The New Generation - ©Mikado Modellhubschrauber - Page 17
2x
3x4x5
2x
M3x8
2x
3x4x5
2x
M3x8
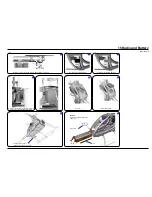
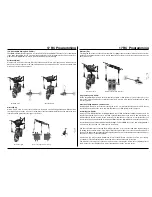
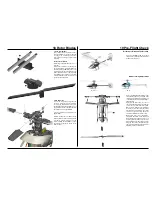
Mounting the Decal onto the Canopy
Use a scissors to cut out the individual elements
of the decal pattern. Make sure that you leave a
small edge (1 to 2 mm) at the rim. Corners should
be cut out with a small radius to avoid unwanted
peeling off.
Attach the individual elements of the pattern in the
following way: Prepare a bowl of water with a small
amount of dish washing detergent. Apply some of
this water to a cloth or fill up a squirt bottle with it.
Using the cloth or squirt bottle, wet the surface of
the canopy and the sticking surface of the decal
element. Place the decal onto the canopy. You
can still move the decal at this point. When you
have found the correct position, use a hair dryer
to secure the pattern. Be careful not to hold the
dryer to close to the decal, as it will shrink if too
much heat is applied.
16 Decal and Canopy Mounting
Bag 1
Bag 7
Bag 7
shorten cap
shorten cap
Содержание LOGO 500 3D
Страница 25: ...Manual The New Generation Mikado Modellhubschrauber Page 25 23 Overview Tail Rotor LOGO 500 600 DX ...
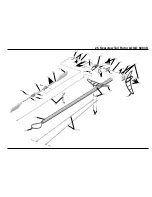
Страница 26: ...Manual The New Generation Mikado Modellhubschrauber Page 26 24 Overview Tail Rotor LOGO 500 3D ...
Страница 27: ...Manual The New Generation Mikado Modellhubschrauber Page 27 25 Overview Tail Rotor LOGO 600 3D ...
Страница 28: ...Manual The New Generation Mikado Modellhubschrauber Page 28 26 Overview Rotor Head LOGO 500 ...
Страница 29: ...Manual The New Generation Mikado Modellhubschrauber Page 29 27 Overview Rotor Head LOGO 600 ...
Страница 30: ...Manual The New Generation Mikado Modellhubschrauber Page 30 28 Overview V Bar Head LOGO 500 ...
Страница 31: ...Manual The New Generation Mikado Modellhubschrauber Page 31 29 Overview V Bar Head LOGO 600 ...
Страница 32: ...Construction Rendering Mehran Mahinpour Tirooni Layout Realisation CDT Berlin www mikado heli de ...


