^
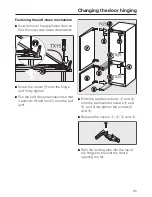
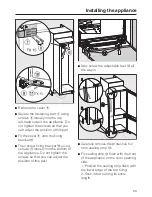
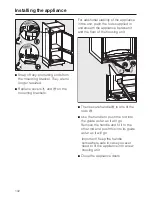
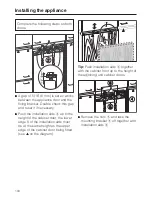
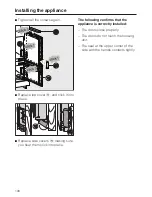
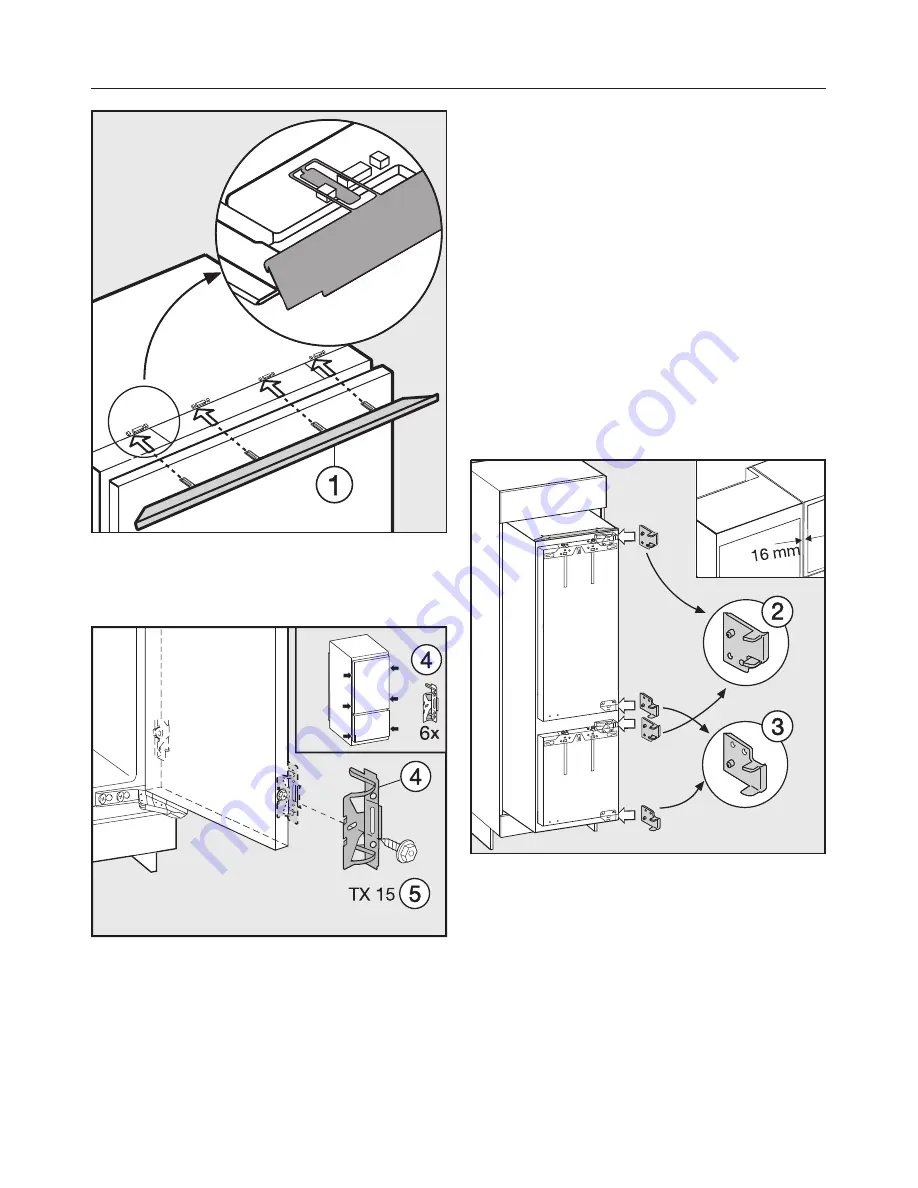
Fit the straps of the compensation
strip
a
into the strut seats from the
front.
^
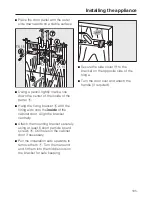
Screw fixing bracket
d
using hex
screw
e
to the pre-drilled holes in
the appliance door. Using the
pre-drilled holes in the appliance
door, secure a second pair of fixing
brackets
d
in the handle area of the
door.
^
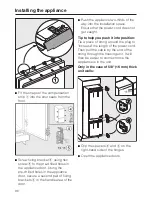
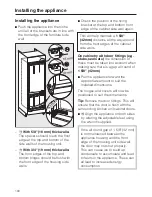
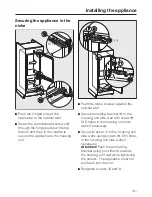
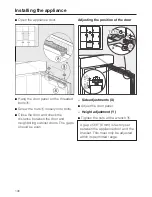
Push the appliance two-thirds of the
way into the installation space.
Ensure that the power cord does not
get caught.
Tip to help you push it into position:
Tie a piece of string around the plug to
"increase" the length of the power cord.
Then pull the cable by the end of the
string through the housing unit. It will
then be easier to connect once the
appliance is in the unit.
Only in the case of 5/8" (16 mm) thick
unit walls:
^
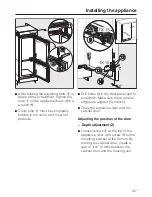
Clip the spacers
b
and
c
on the
right-hand side of the hinges.
^
Open the appliance doors.
Installing the appliance
98
Содержание KFNS 37692 iDE
Страница 78: ...78 ...
Страница 109: ...109 ...
Страница 110: ...110 ...
Страница 111: ...111 ...
Страница 112: ...M Nr 10 160 250 00 en US CA KFNS 37692 iDE ...

