background image

12

Size

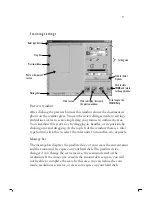
You can adjust scan size in preview window, enter a width and length in the size entry boxes or select a fixed size
from the list box. You can move the area by dragging. The orientation option swaps the width and height values.

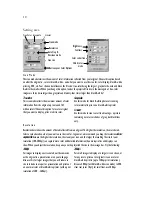
Brightness, contrast & color correction

Also known as tone correction commands, these settings adjust images as they are scanned. For example, you may
have a photo that is over-exposed (too light) and so you decrease the brightness or color correction to darken the
photo. The contrast makes the difference between dark and light areas more or less obvious. Increasing it increases
the difference, while decreasing it reduces the difference. Try small changes at first and view the effect.
Experimentation is the best route to good results. However, for most photos and documents, you will not need to
adjust these values.
The color correction control allows you to adjust gamma. If you have an “off-color” original, for example one in
which skin tones are a little green, try reducing green gamma and/or increasing red gamma. The color you want to
reduce may be reduced or the other colors increased. Vice versa, to increase a color’s apparent intensity, increase
that color’s gamma or reduce the other colors.
After previewing your scan, changes made to these settings are reflected in the preview window. Making changes in
this way allows you to experiment without needing to scan to check the result every time.

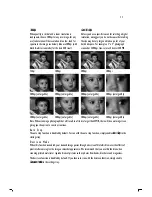
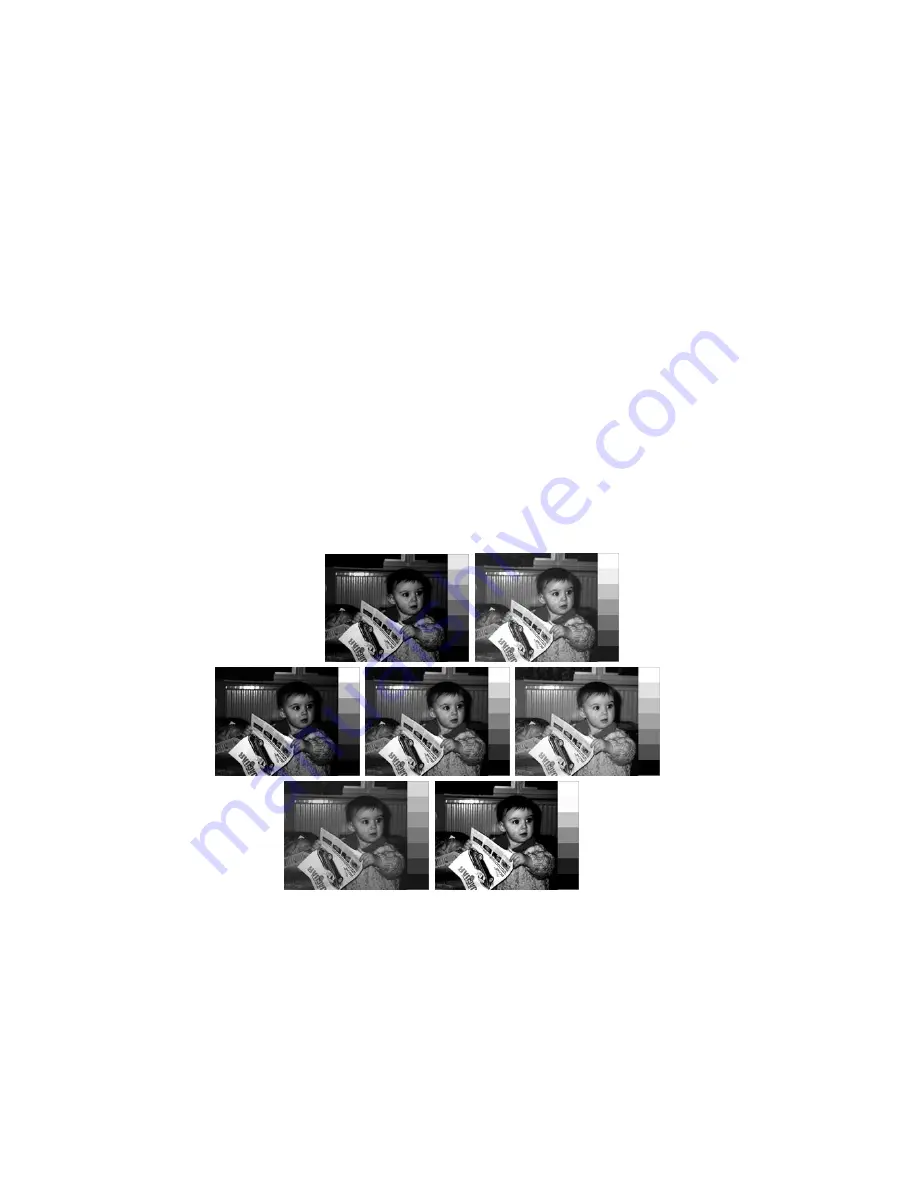
   Bright -25 


 25

Gamma 0.7 


 Gamma 1.5

Contrast -25 


 Co25

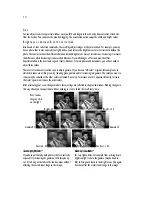
Scanning night shots*

If you have particularly dark photos (that are correctly
exposed) try increasing the gamma a little (maybe up
to 1.4) to bring out details in the shadow areas without
affecting the overall tonal range in the image.

Scanning snow shots*

For very light photos, for example from a skiing trip in
bright sunlight, reduce the gamma (maybe down to
0.8) to bring out details in the bright areas. This again
does not affect the overall tonal range in the image.

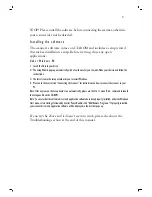
Hint: look at

the gray strip

on the right

Содержание Vantas 3000

Страница 1: ...3 Installation 4 Installing the software 5 Connecting the scanner 6 Uninstalling the scanner 6 Start scanning 7 Where to find the scanner commands 7 Scanning 8 Scanning settings 9 Appendices 14 Troubl...

Страница 2: ...s equipment generates uses and can radiate radio frequency energy and if not installed and used in accordance with the instructions may cause harmful interference to radio communications However there...

Страница 3: ...nner to your PC and install the software The next chapters Start scanning provide step by step instructions for scanning photos and documents The Appendices provide a Troubleshooting section and a sum...

Страница 4: ...e system requirements and that your PC is suitable for this scanner Just to make sure please check that your computer is a 486 Pentium or higher IBM compatible has 16MB RAM 32MB or more recommended ha...

Страница 5: ...o restart Windows 4 Move on to the next section Connecting the Scanner for instructions on how to connect the scanner to your PC Note If for any reason the Setup doesn t run automatically please use t...

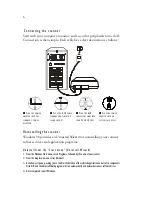
Страница 6: ...AL OUTLET Uninstalling the scanner Windows 98 provides an Uninstall Wizard for uninstalling your scanner software driver and application programs Uninstall from the Start menu Uninstall Wizard 1 From...

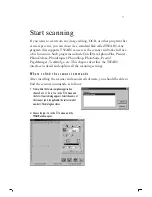
Страница 7: ...PageManager TextBridge etc This chapter describes the TWAIN interface in detail and explains all the scanning settings Where to find the scanner commands After installing the scanner and associated so...

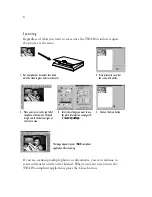
Страница 8: ...ft of the photo or document Click and drag down to the bottom right of the area to scan 4 Select the settings you want to use For more information see pages 14 17 Scanning settings 5 Click on the Scan...

Страница 9: ...bar The message bar displays the predicted size of your scan the current units and the amount of free space on your hard disk The predicted size changes if you change the scan area size the scan mode...

Страница 10: ...il collected from an original The higher the resolution the more detail Select a value based on what you want to use the scan for In general we recommend you keep the resolutionas low as possible beca...

Страница 11: ...300dpi enlarged 2x 300dpi enlarged 3x 300dpi enlarged 4x 300dpi enlarged 8x Note When scanning a photograph that will result in a file size larger than 25MB there will be a warning screen giving you t...

Страница 12: ...If you have an off color original for example one in which skin tones are a little green try reducing green gamma and or increasing red gamma The color you want to reduce may be reduced or the other...

Страница 13: ...ines fade out after scanning you can reduce the brightness and or decrease the contrast in much the same way as for scanning text Similarly if you find that scanned lines appear bolder fatter reduce t...

Страница 14: ...etting can be found under the System option in your Control Panel in the properties of your particular CD ROM model if in doubt check out Windows Help B After restarting the computer can t find progra...

Страница 15: ...ndows restart your computer and try again 5 Problems with the scan A The scanned image is too light or too dark Check if the Scan Window is clean Adjust the brightness or color gamma settings and try...

Страница 16: ...ning mode Color Gray scale B W 36 bit True color 12 bit 256 Grayscale 1 bit Light source Cold Cathode Fluorescent Tube Power consumption 12 V DC 1 25 AMP Physical dimension w cover 482 x 299 x 93mm Un...

Страница 17: ...Gamma 12 I Installation Software 5 M Message bar 9 P Preview window 9 R Resolution 10 S Scan Mode 10 Grayscale 10 Line art 10 True color 10 Scanner not found 14 Scanning 7 8 Select Source 7 Size 12 S...

Отзывы: