7
Problems?
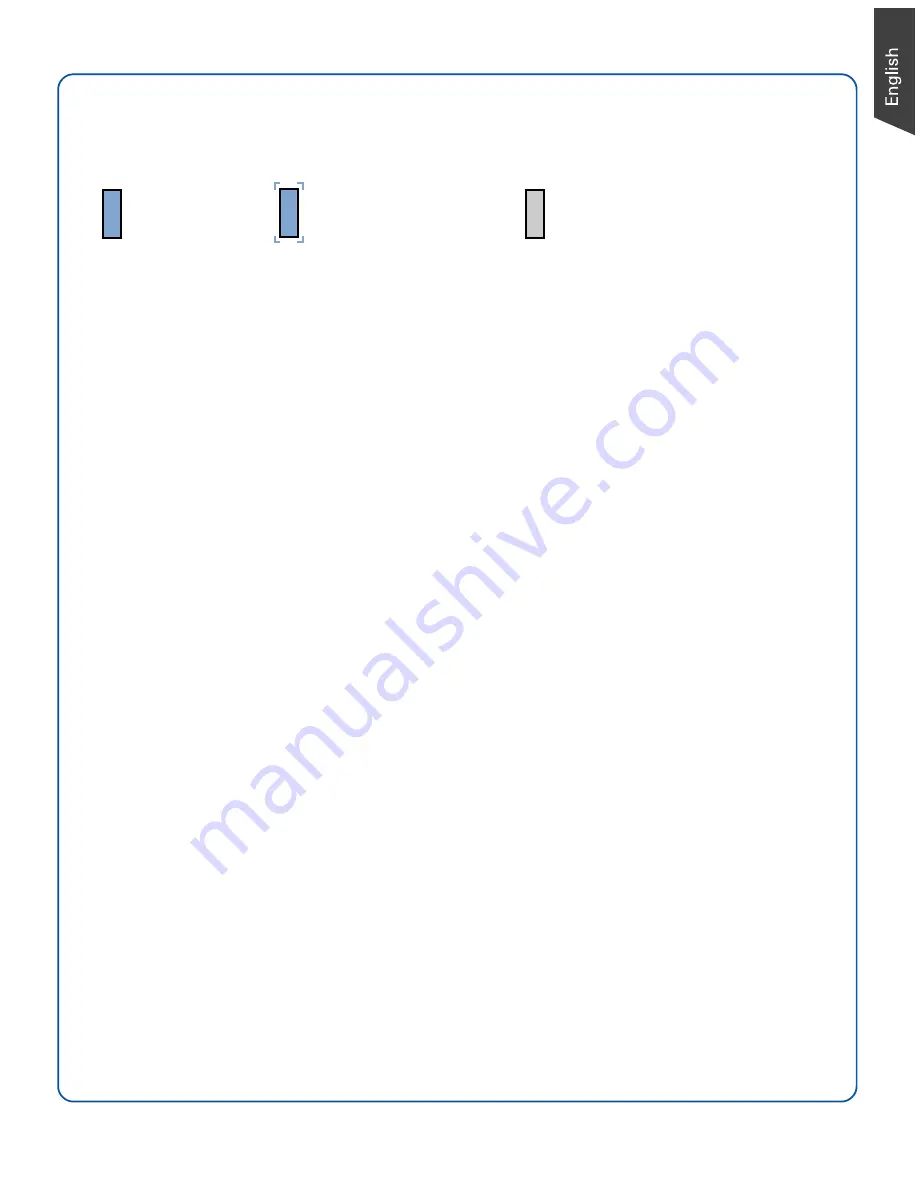
The LED on the button panel indicates the status of the scanner.
On
Ready to scan.
If you encounter any problems, check the section below and follow the suggested
solution if your problem is listed. You may also want to go over installation steps 1 to 4
of this "Start Here" document to make sure that you have followed all procedures
properly.
1. No light comes on when the scanner is turned on.
Make sure your scanner is connected to your computer and plugged into a power source.
Make sure your scanner is detected by your computer.
2. Add/Remove Hardware Wizard appears on your screen.
Click the “Cancel” button and close the Control Panel. Disconnect the USB cable from
the back of your computer, and refer to the installation instructions in this guide.
3. When trying to scan, an error message appears on your screen that reads, “Can’t Find
Scanners”.
Make sure your scanner is unlocked (see Step 3).
Make sure your scanner is connected to your computer and plugged in to a power source
(see Step 4).
Uninstall and reinstall the ScanWizard 5 software.
4. After clicking scan, a blank screen appears.
Make sure your scanner is unlocked (see Step 3).
Uninstall and reinstall the ScanWizard 5 software.
5. Having trouble scanning negatives or slides?
Make sure the LightLid 35 Plus II is properly installed, with its connector securely
connected to the scanner’s 9-pin accessory port.
Make sure you place the LightLid 35 Plus II with the film loaded properly on the scan bed.
Do not block the calibration area (as indicated in the “Using the LightLid 35 Plus II”
section).
From the
ScanWizard 5 Standard Control Panel
, go to the
Original
button category, then
proceed to the
Film
subcategory and make sure you select either the
Positive
or
Negative
option.
Flashing
Warming up or
scanning.
Off
Scanner is off.


