3
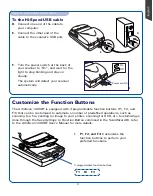
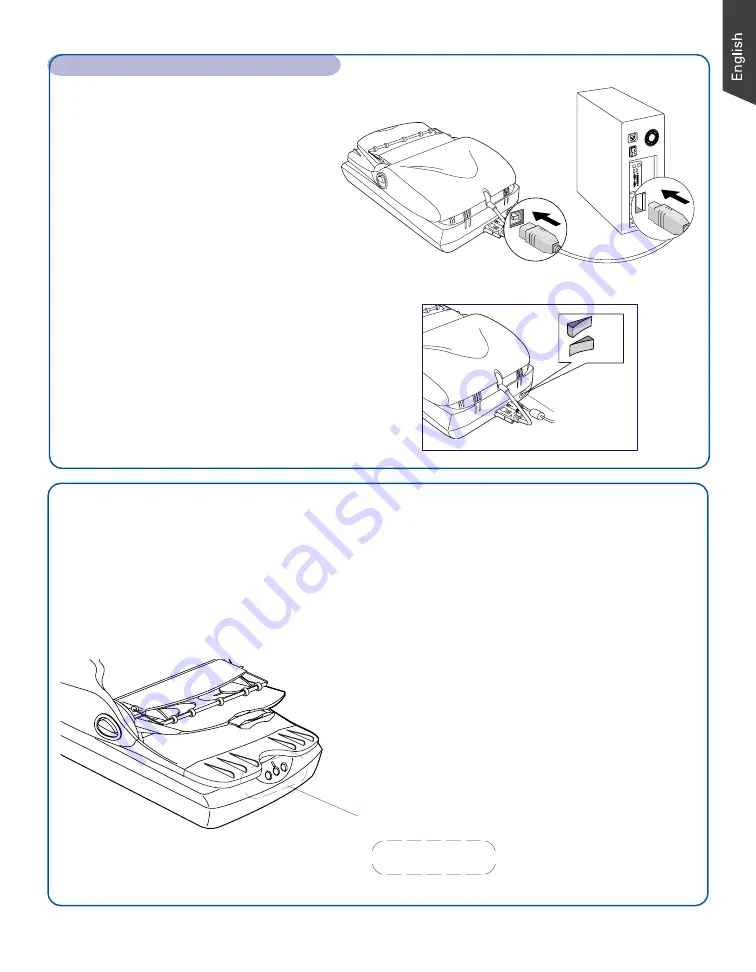
To the Hi-Speed USB cable
D.
Connect one end of the cable to
your computer.
E.
Connect the other end of the
cable to the scanner’s USB port.
Step 4: Connect Scanner (cont.)
F.
Turn the power switch at the back of
your scanner to “On”, and wait for the
light to stop blinking and stay on
steady.
The system will detect your scanner
automatically.
Power switch
Customize the Function Buttons
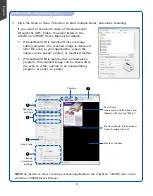
The ArtixScan 1200DF is equipped with 3 programmable function buttons (F1, F2, and
F3) that can be customized to automate a number of predefined operations, such as
scanning to a file, sending an image to your printer, scanning for OCR, etc. Customizing is
done through the
Save Settings to Function Button
command in the ScanWizard DI, refer
to the ArtixScan 1200DF User’s Manual for more details.
3 programmable function buttons
D
E
F
•
F1, F2, and F3:
Customizes the
function buttons to perform your
preferred functions.
On
Off
F1 F2 F3
Содержание ArtixScan 1200DF
Страница 10: ...10...


