Chapter
2
System Components
2-24
Vision HAWK Smart Camera Guide
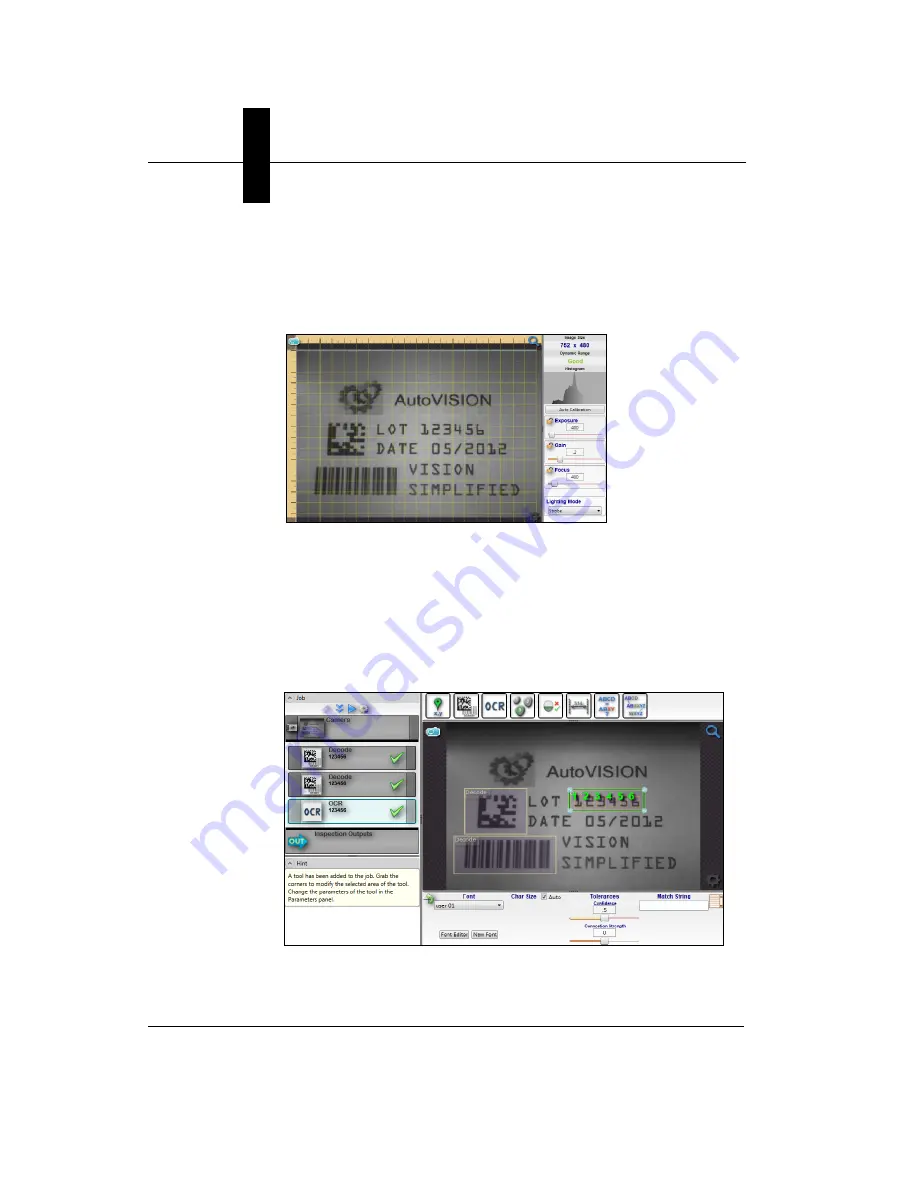
Once you have selected your camera, adjusted its settings, and
created a new job, you will move to the
Image
view. This view allows
you to
Auto Calibrate
the camera, and to manually adjust the
camera's Exposure, Gain, and Focus, and also to set the Lighting
Mode (On, Off, or Strobe).
3.
Edit the Job in AutoVISION.
After you have created a new job, loaded a job from your PC, or
uploaded a job from the camera, you will proceed to the Edit view to
refine your machine vision job. The Camera parameters below the
captured image allow you to set Gain, Exposure, Focus, Trigger, and
Lighting. Inspection Outputs options allow you to connect your job to
the outside world. This is also the view where you can add multiple
tools to the job. The tool icons are located above the main view area.
Содержание Vision HAWK
Страница 1: ...Vision HAWK Smart Camera Guide 83 016800 02 Rev C ...
Страница 6: ...Preface vi Vision HAWK Smart Camera Guide ...
Страница 22: ...Chapter 2 System Components 2 12 Vision HAWK Smart Camera Guide NPN Output for External Load ...
Страница 24: ...Chapter 2 System Components 2 14 Vision HAWK Smart Camera Guide PNP Output for External Load ...
Страница 26: ...Chapter 2 System Components 2 16 Vision HAWK Smart Camera Guide PNP ...
Страница 27: ...Input Output Wiring System Components 2 Vision HAWK Smart Camera Guide 2 17 Input Output Wiring ...
Страница 36: ...Chapter 2 System Components 2 26 Vision HAWK Smart Camera Guide ...
Страница 42: ...Chapter 3 Optics and Lighting 3 6 Vision HAWK Smart Camera Guide ...
Страница 46: ...Appendix A Connector Pinouts A 4 Vision HAWK Smart Camera Guide ...
Страница 52: ...Appendix B Cable Specifications B 6 Vision HAWK Smart Camera Guide ...
Страница 60: ...Appendix C General Specifications C 8 Vision HAWK Smart Camera Guide ...


