


Setting Up a Job in AutoVISION
System Co
mpo
nent
s
2
Vision HAWK Smart Camera Guide
2-23
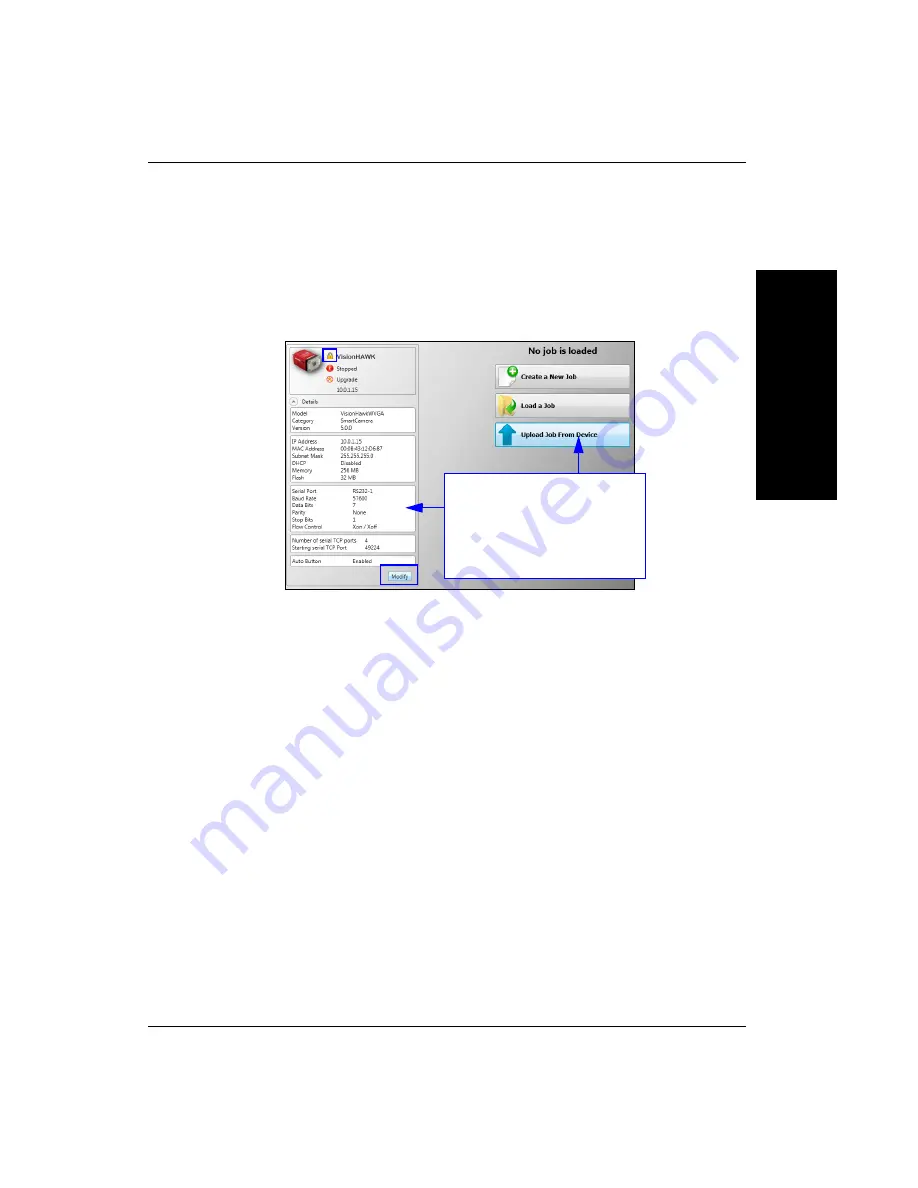
Click the lock icon to take control of the camera. When you have
control of the camera, the
Modify
button will appear beneath the
camera settings. Click the Modify button to adjust camera settings.
Note:
The default IP address of the camera is:
192.168.0.10
. Be sure
your PC is on the same subnet (
192.168.0.100
, for example).
Important:
When modifying camera settings, you will need to enter a
username and password for the camera. The default username and
password are:
–
Username:
Microscan
–
Password:
vision
Modify camera settings in the
Details
area at the left of the
Connect
view.
Create
,
Load
, or
Upload
a job
using the buttons in the center
of the
Connect
view.
Содержание Vision HAWK
Страница 1: ...Vision HAWK Smart Camera Guide 83 016800 02 Rev C ...
Страница 6: ...Preface vi Vision HAWK Smart Camera Guide ...
Страница 22: ...Chapter 2 System Components 2 12 Vision HAWK Smart Camera Guide NPN Output for External Load ...
Страница 24: ...Chapter 2 System Components 2 14 Vision HAWK Smart Camera Guide PNP Output for External Load ...
Страница 26: ...Chapter 2 System Components 2 16 Vision HAWK Smart Camera Guide PNP ...
Страница 27: ...Input Output Wiring System Components 2 Vision HAWK Smart Camera Guide 2 17 Input Output Wiring ...
Страница 36: ...Chapter 2 System Components 2 26 Vision HAWK Smart Camera Guide ...
Страница 42: ...Chapter 3 Optics and Lighting 3 6 Vision HAWK Smart Camera Guide ...
Страница 46: ...Appendix A Connector Pinouts A 4 Vision HAWK Smart Camera Guide ...
Страница 52: ...Appendix B Cable Specifications B 6 Vision HAWK Smart Camera Guide ...
Страница 60: ...Appendix C General Specifications C 8 Vision HAWK Smart Camera Guide ...