32
3.1 Share Print
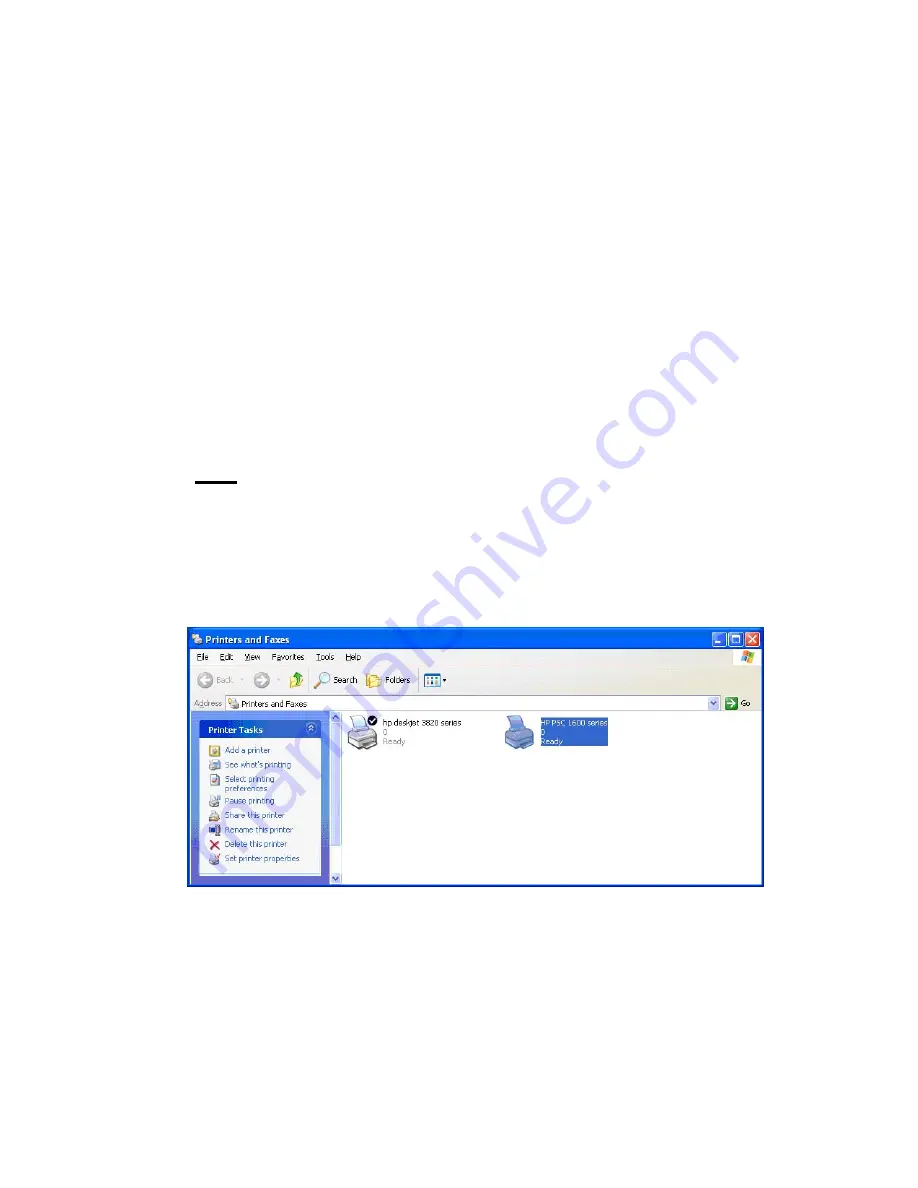
The MFP will be added to “
Printers and Faxes
” in the Windows
after the MFP is installed. When you have connected to the
MFP by clicking “
Connect
” in the “
MFP Manager
”, the MFP
Server will auto create the connection between the MFP and
your computer and then you can print a document just follows
the same steps as usual.
Tip: If you have sent a printing job to the MFP while the MFP is
connecting by a user, you may be prompted that the device is
not found or the document is failed to print. Please resend the
printing job after the MFP is idle or not being connected.
Содержание SP781
Страница 30: ...30...
Страница 74: ...74 9 Click Finish...
Страница 81: ...81 9 Select RAW and enter lpt1 in the Queue Name click OK By default the queue name of the MFP Server is lpt1...
Страница 82: ...82 10 Click Finish...
Страница 89: ...89 7 Choose to set the print whether as a default printer or not Click Next...
Страница 96: ...96 9 Set the Alias Name and the MFP Server here Click on Next...
Страница 98: ...98 12 Click Finish to complete the installation...
Страница 114: ...114 3 From the Print Fax screen click Set Up Printers 4 Click Add to add the new MFP Server through TCP IP...


