


31
3.6 Windows Add Printer Procedure
After adding a “
Network Port
” of the print server to your PC by
Administrator or Client Installation Program, you can follow the procedure
described below to add printer to the Windows. Note that following “
Add
Printer
” steps are running in Windows XP, the steps in other Operating
Systems are similar.
1. Click
“
Start
”, choose “
Settings
” and select “
Printers and Faxes
”.
2. Click
“
Add a Printer
”.
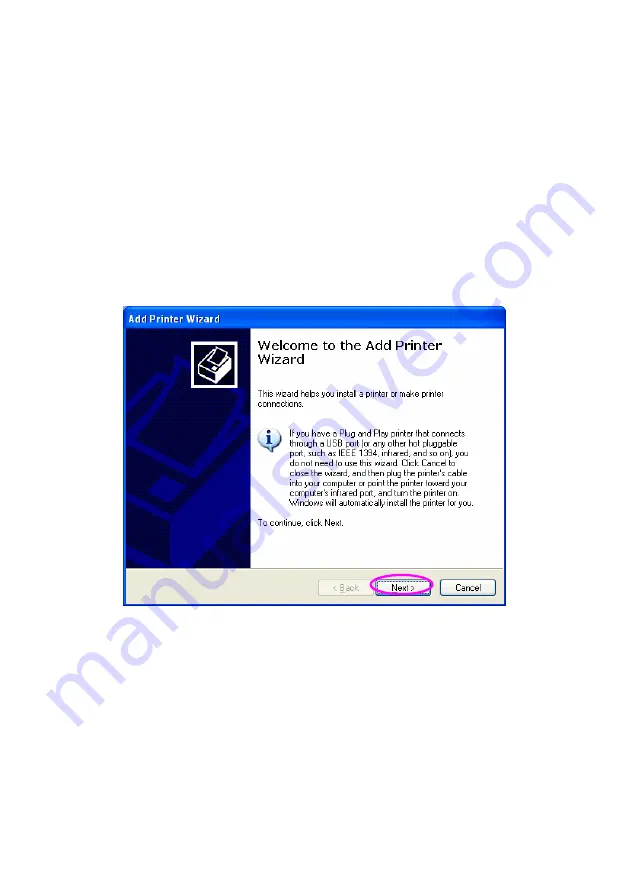
3. The
“
Add Printer Wizard
” is displayed. Click “
Next
”.
4. Select
“
Local printer attached to this computer
” and make sure
that “
Automatically detect and install my Plug and Play printer
” is
not selected. Click “
Next
”.
Содержание SP766W
Страница 16: ...8 NetWare Network see below...
Страница 61: ...53 7 6 TCP IP Configuration Double Click TCP IP icon and the TCP IP configuration window will pop up...
Страница 120: ...112 7 Choose to set the print whether as a default printer or not Click Next...
Страница 123: ...115 3 From the Print Fax screen click Set Up Printers 4 Click Add to add the new Print Server through TCP IP...
Страница 128: ...120 3 In the Local Area Connection Properties select Advanced option menu and click Settings...
Страница 129: ...121 4 The Windows Firewall screen will be popped up select Exceptions option menu...
Страница 130: ...122 5 Enable UPnP Framework from the Programs and Services list and click OK...
Страница 132: ...124 3 Select Advanced tab and click Settings...
Страница 133: ...125 4 Select Exceptions tab and click Add Program...
Страница 134: ...126 5 Click Browse to add a new program...
Страница 135: ...127 6 Open the NPUtil file from C Program Files PrintServer Utilities where C is the system drive...
Страница 136: ...128 7 A new program Network Ports Quick Setup is displayed in the list click OK...


