


103
9.4 Modify Setting Values – “set” Command
“
set
” command is used to modify the setting values of this print server.
The format of “
set
” command is as following:
set argument_name value
Then the value will be written into the system configuration. For example,
if you want to set IP address of the print server to 192.168.2.2, type “
set
ip ‘192.168.2.2’
” command and the IP of the print server will be changed:
admin# set ip ’192.168.2.2’
If you enter only “
set
”, the system will list all arguments of “
set
” command
and the command format.
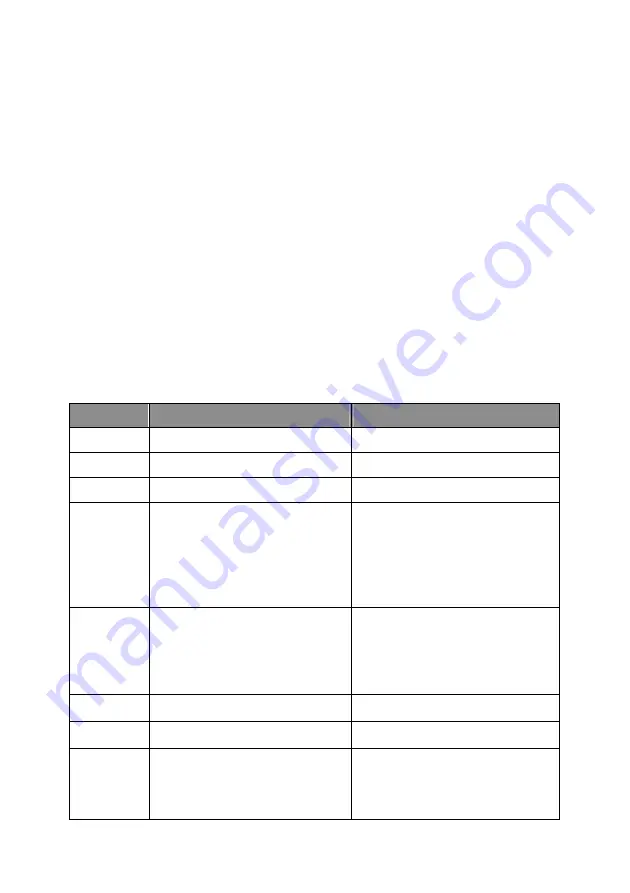
The following table lists all the arguments whose value can be modified by
“
set
” command:
Argument
Description
Example
psname
Print server name
set psname ‘PS001’
password Login password
set password ‘1234’
username Login username
set username ‘admin’
wlfunc
Enable or disable the
wireless LAN function.
The value should be
“disabled”, “enabled” or
“auto”
set wlfunc auto
wlmode
Wireless LAN mode is
Infrastructure or Ad Hoc.
The value should be “inf” or
“ad hoc”
set wlmode ad hoc
ESSID
ESSID of the wireless LAN
set ESSID default
Argument Description
Example
channel
Channel number used by
wireless LAN.
The value should be 1~14.
set channel 11
Содержание SP766W
Страница 16: ...8 NetWare Network see below...
Страница 61: ...53 7 6 TCP IP Configuration Double Click TCP IP icon and the TCP IP configuration window will pop up...
Страница 120: ...112 7 Choose to set the print whether as a default printer or not Click Next...
Страница 123: ...115 3 From the Print Fax screen click Set Up Printers 4 Click Add to add the new Print Server through TCP IP...
Страница 128: ...120 3 In the Local Area Connection Properties select Advanced option menu and click Settings...
Страница 129: ...121 4 The Windows Firewall screen will be popped up select Exceptions option menu...
Страница 130: ...122 5 Enable UPnP Framework from the Programs and Services list and click OK...
Страница 132: ...124 3 Select Advanced tab and click Settings...
Страница 133: ...125 4 Select Exceptions tab and click Add Program...
Страница 134: ...126 5 Click Browse to add a new program...
Страница 135: ...127 6 Open the NPUtil file from C Program Files PrintServer Utilities where C is the system drive...
Страница 136: ...128 7 A new program Network Ports Quick Setup is displayed in the list click OK...


